
I started with the Rust effect layer for some of my main metal objects. This involves spraying and brushing on a variety of rust tones and pigments which are sealed/fixed to the surface.
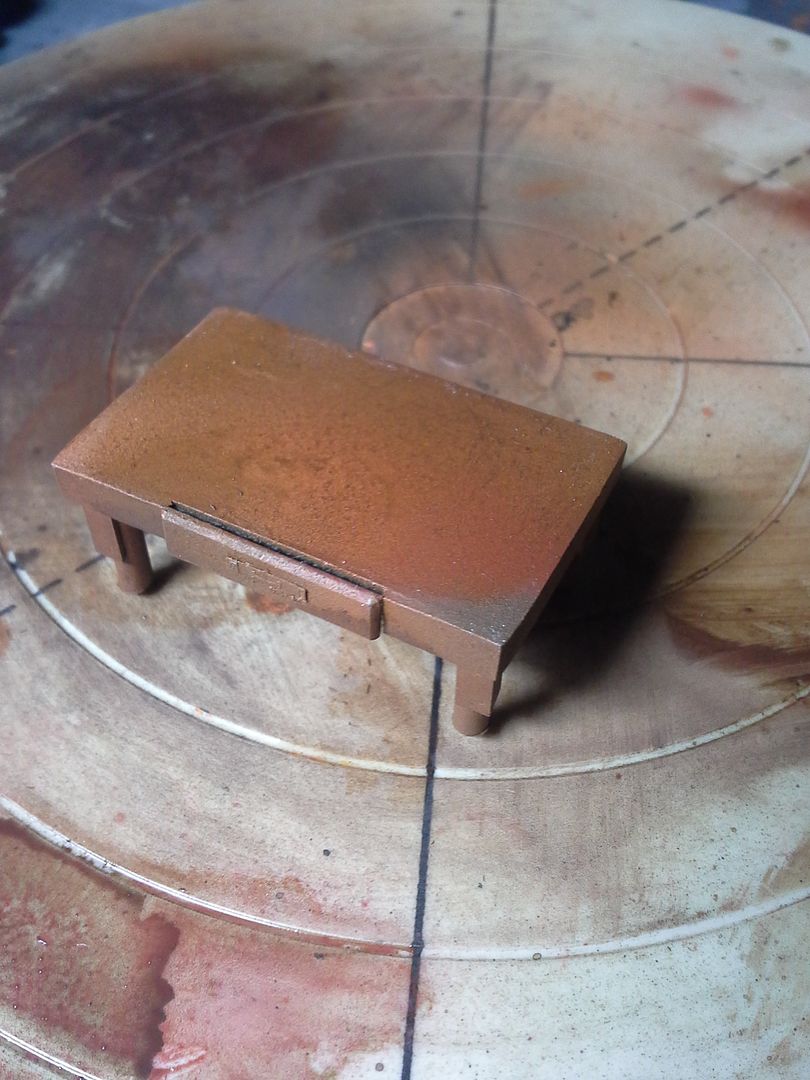
 Once this is dry a coat of AMMO of Mig Jimenez Chipping fluid was sprayed on (Way more consistent results than using hairspray etc.) and then base colours were airbrushed on top of that.
 You can also see the can that I made out of thin sheet metal from the scrap booking isle. I simply used a ballpoint pen and a ruler to impress lines in the metal and then wrapped it around a form (marker in this case) super glued the edge and then, once dry, filed away the overlapping edge. Gave it a couple of dents and it looked super real. I filled it with some leftover greenstuff and them once painted added small black gravel that looks like coal! You can also see where I added a piece of wire as a handle on the small bucket made by Tamiya models.
Here is a pic of one of my other containers - this one was made from the lid of a Crayola marker. I used my mini pipe cutting tool to shorten it and then to score in some grooves to give it a bit of interest and then just sanded the gloss surface down to give the paints something better to adhere to. Gas can and big wrench from Tamiya historical kits, the box is from Herne and Jonne (Rhulic Mercenary team) You can also see that I have started to work in some glazes of green+reddish browns tones into the woodwork here.
Still a ways to go.....
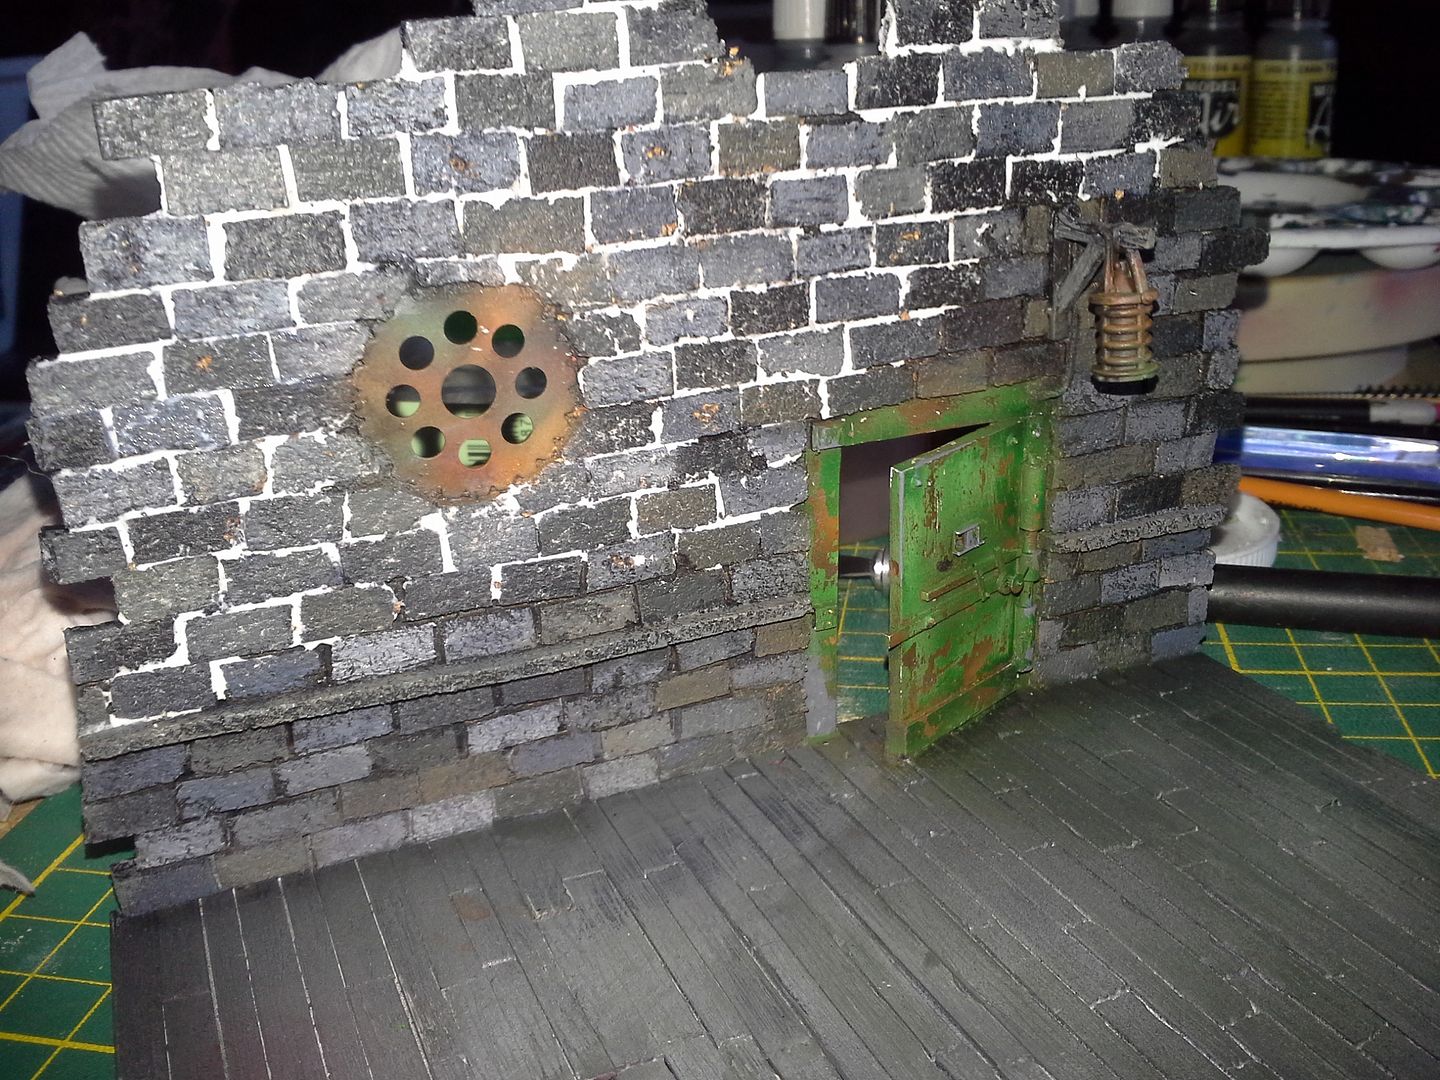
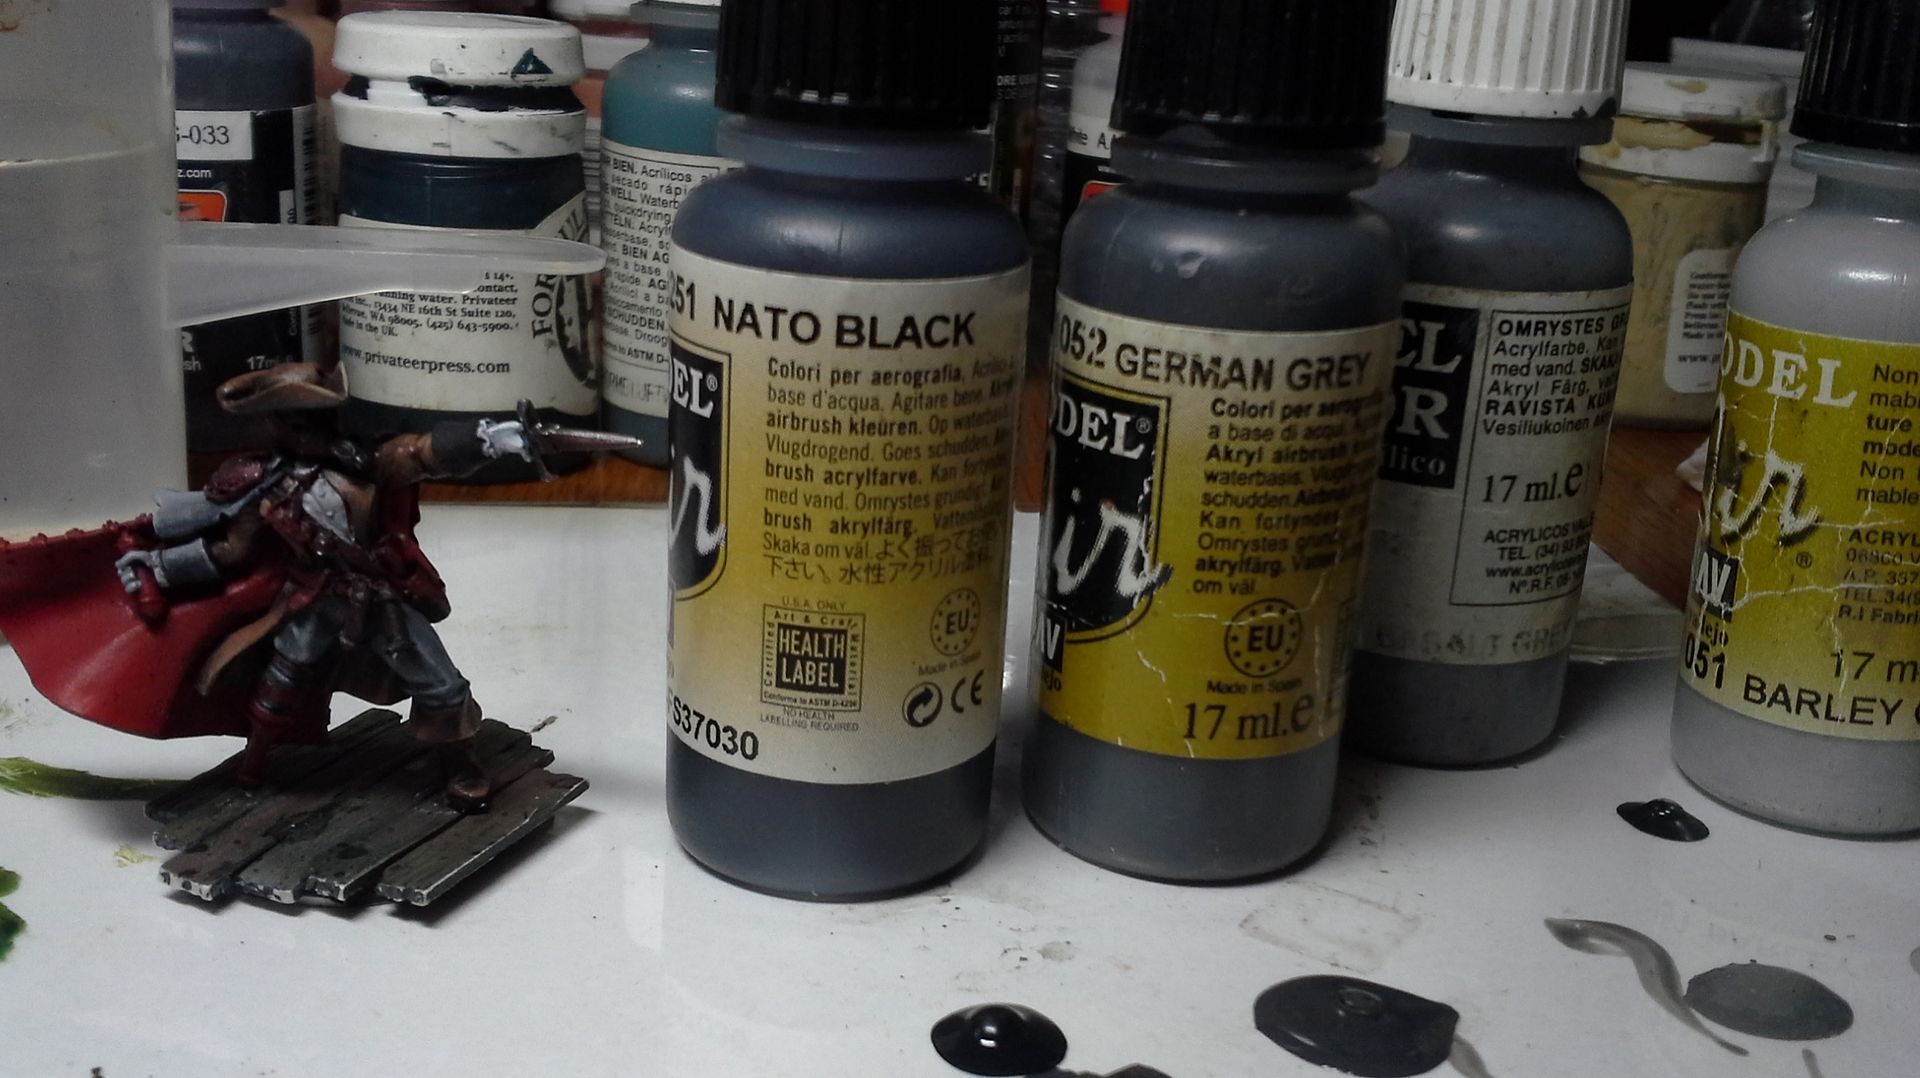
 I then began to rough in the other colours. On the back wall I began to paint all the bricks in a variety of grey tones that I carried into the floor as well. I used mixtures of Nato Black, German Grey, Basalt Grey, Barley Grey and a bit of Hemp, Buff and Beige Brown - all Vallejo Model Colour (VMC) or Vallejo Air Colour (VAC). The goal was to keep them related but not uniform. I looked at reference (see part 1 of this series of articles to see what I am talking about) to give me some ideas for variation and colouration.
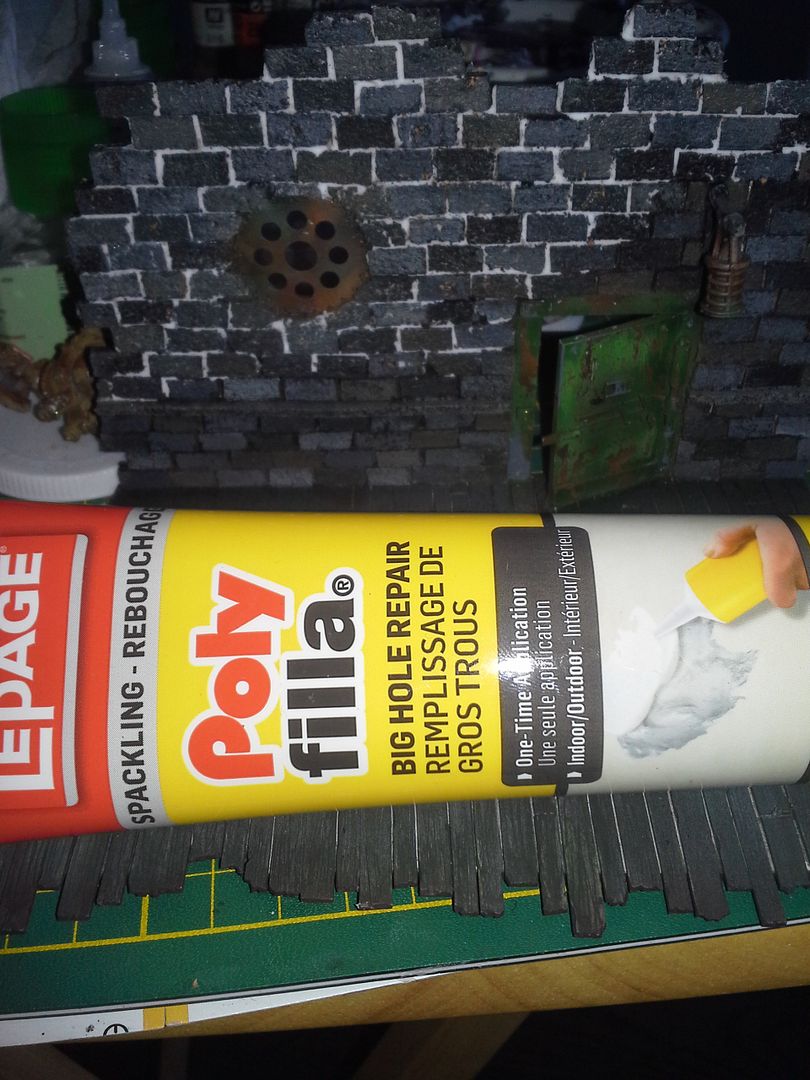
The came the scary part - having just built and painted all of this now I had to grout/mortar it - which meant smearing plaster filler right across all the work I just did!
I used Lepage Poly Filla Big Hole Repair formula - it is thick and I figured it would better hold up to weathering than a lighter version. Using the damp J cloth to remove the excess worked wonders and my mortar filled in nicely!
This is a pretty extreme look but my goal was then to use VMC Transparent red to blend it all together.
I then began to rough in the other colours. On Gorman for the grey tones I used the same Nato Black, German Grey, Basalt Grey, Barley Grey al VMC/VAC that I used in the wooden floor.
Not really a lot of tricks in painting Gorman, He was the one thing that needed to stay clean and smooth in the whole paint job. I can say that I did tone donwn the redness of his cape a bit and ages his leathers by adding some oil paint filtering that really softened up the look a bit. I was very pleased with the overall effect..
Next installment - paint tricks, streaking, black oil and liquid rust......
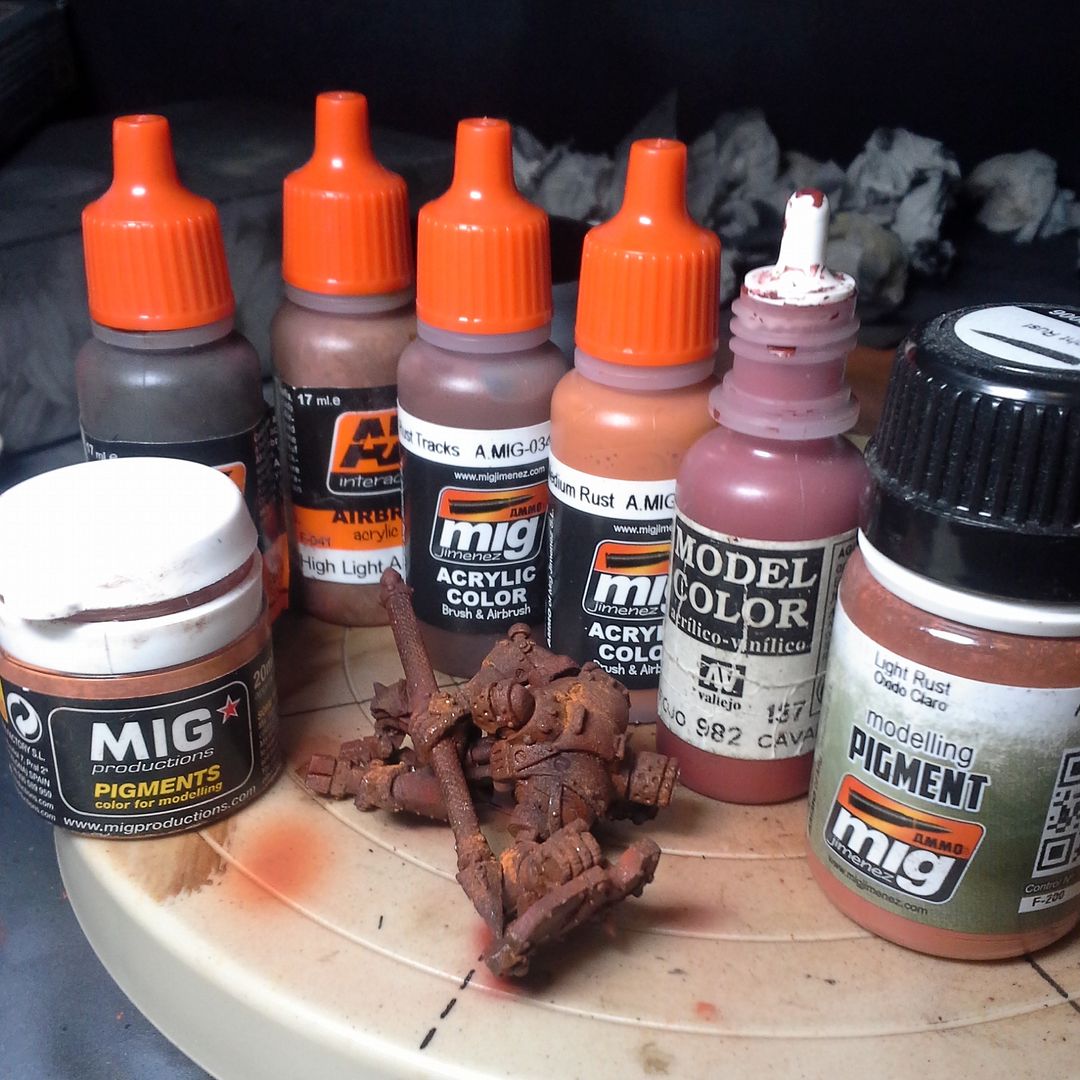 |
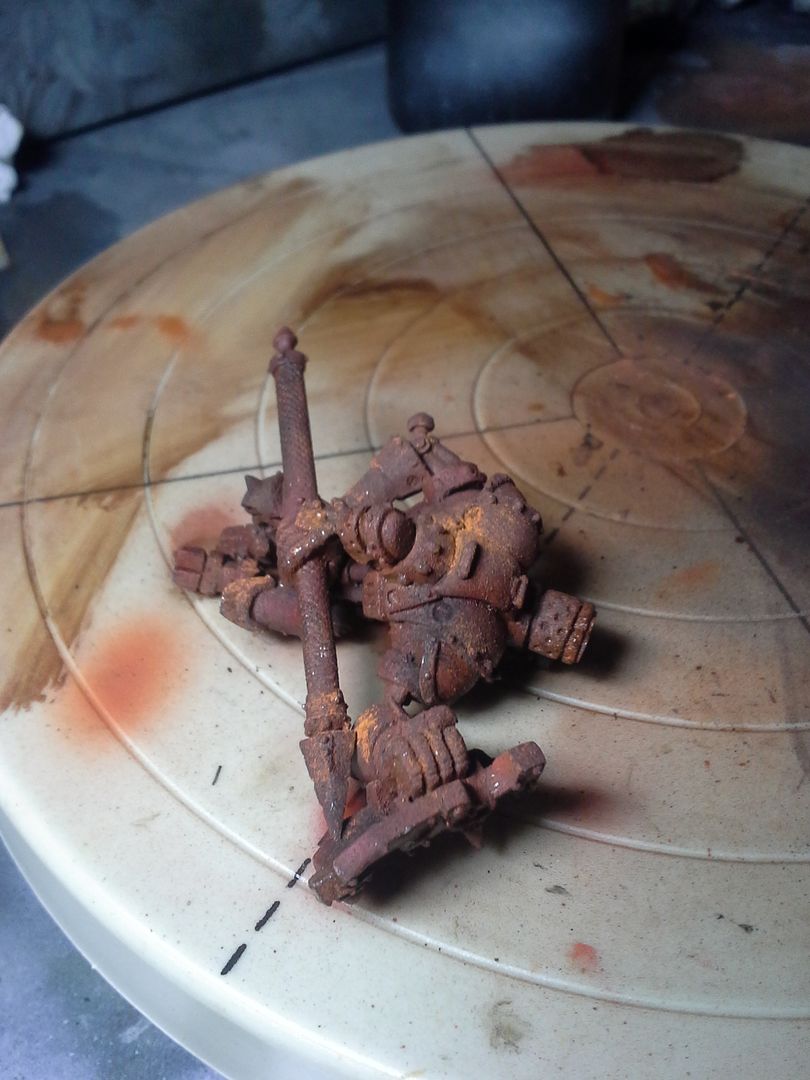
| Here is the fully rusted Warjack - almost a full paintjob beneath the paintjob |
Once this is dry a coat of AMMO of Mig Jimenez Chipping fluid was sprayed on (Way more consistent results than using hairspray etc.) and then base colours were airbrushed on top of that.
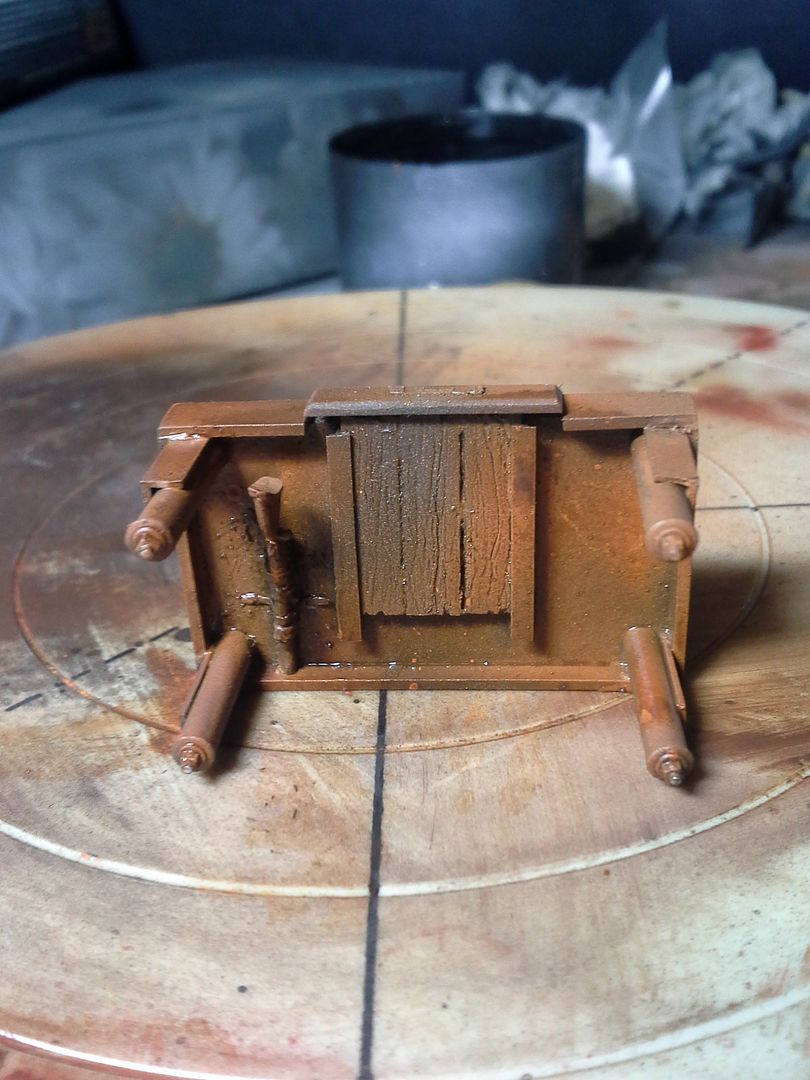
Dry painted surfaces were then rehydrated with simple tap water which dissolved and destabilized the chipping fluid - I then used some wet brushes and small tools to scratch and chip away the upper coat of paint :) Looks so good. I love this technique!
In the picture here you can see the results on the table and also that I also used this on the door which I think turned out spectacular.
It is really important to create a variety of rust tones underneath to make it look real and natural. Gormans's rust bombs did some serious work this day...
You can also see the can that I made out of thin sheet metal from the scrap booking isle. I simply used a ballpoint pen and a ruler to impress lines in the metal and then wrapped it around a form (marker in this case) super glued the edge and then, once dry, filed away the overlapping edge. Gave it a couple of dents and it looked super real. I filled it with some leftover greenstuff and them once painted added small black gravel that looks like coal! You can also see where I added a piece of wire as a handle on the small bucket made by Tamiya models.Here is a pic of one of my other containers - this one was made from the lid of a Crayola marker. I used my mini pipe cutting tool to shorten it and then to score in some grooves to give it a bit of interest and then just sanded the gloss surface down to give the paints something better to adhere to. Gas can and big wrench from Tamiya historical kits, the box is from Herne and Jonne (Rhulic Mercenary team) You can also see that I have started to work in some glazes of green+reddish browns tones into the woodwork here.
Still a ways to go.....
I then began to rough in the other colours. On the back wall I began to paint all the bricks in a variety of grey tones that I carried into the floor as well. I used mixtures of Nato Black, German Grey, Basalt Grey, Barley Grey and a bit of Hemp, Buff and Beige Brown - all Vallejo Model Colour (VMC) or Vallejo Air Colour (VAC). The goal was to keep them related but not uniform. I looked at reference (see part 1 of this series of articles to see what I am talking about) to give me some ideas for variation and colouration. The came the scary part - having just built and painted all of this now I had to grout/mortar it - which meant smearing plaster filler right across all the work I just did!
I used Lepage Poly Filla Big Hole Repair formula - it is thick and I figured it would better hold up to weathering than a lighter version. Using the damp J cloth to remove the excess worked wonders and my mortar filled in nicely!
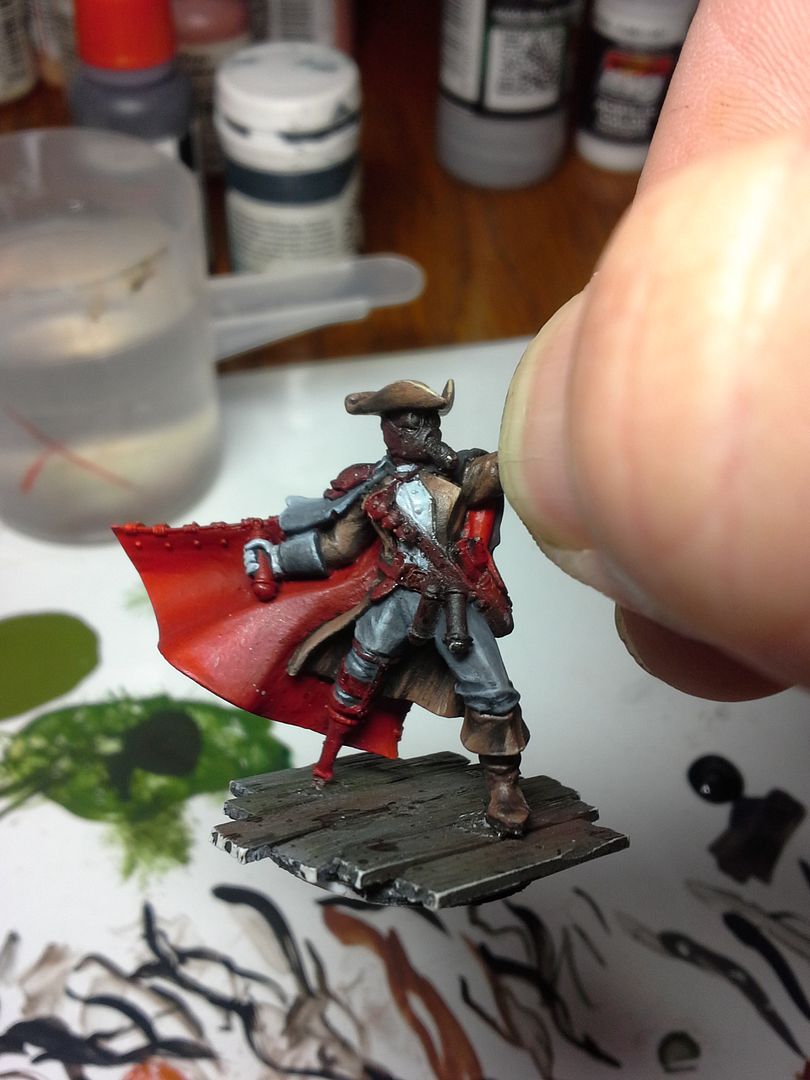
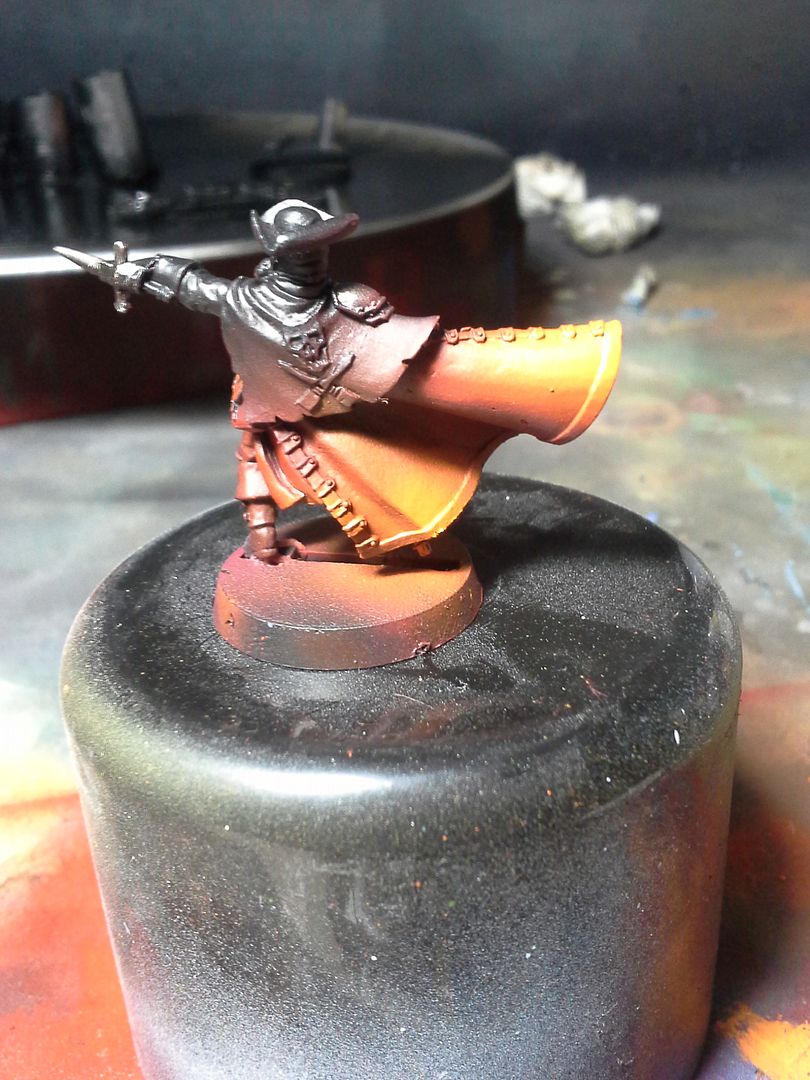
Got going on Gorman himself, started out using a deep red on the cape (p3 Sanguine base IIRC) and worked it up through VAC Scarlet and the VGC Fiery Orange colour.
Got going on Gorman himself, started out using a deep red on the cape (p3 Sanguine base IIRC) and worked it up through VAC Scarlet and the VGC Fiery Orange colour.
This is a pretty extreme look but my goal was then to use VMC Transparent red to blend it all together.
I love the cherry red tonality this gives the piece. I've used this several times in my display pieces/golden demon winners and the colour is one that I get asked about often. Not hard to accomplish but rich and impactful
I then began to rough in the other colours. On Gorman for the grey tones I used the same Nato Black, German Grey, Basalt Grey, Barley Grey al VMC/VAC that I used in the wooden floor.
The Browns were AK Interactive Dunkelgelb Shadow and P3 Bootstrap Leather + Menoth White and VGC Beastie Brown. The vials/lenses were painted with P3 Coal Black and trollblood base with VMC Luftwaffe Blue Grey and then highlighted with P3 Morrow white.
Not really a lot of tricks in painting Gorman, He was the one thing that needed to stay clean and smooth in the whole paint job. I can say that I did tone donwn the redness of his cape a bit and ages his leathers by adding some oil paint filtering that really softened up the look a bit. I was very pleased with the overall effect..
Next installment - paint tricks, streaking, black oil and liquid rust......
Great job, rust effects are just perfect!
ReplyDeleteCongrats on the Top X
ReplyDeletehttp://www.houseofpaincakes.com/2015/02/top-x-something-that-rhymes-with-x.html?m=1
Congrats on the Top X
ReplyDeletehttp://www.houseofpaincakes.com/2015/02/top-x-something-that-rhymes-with-x.html?m=1
Thanks!
ReplyDelete