
One of the most interesting and challenging parts of weathering this tank is a challenge posed by the history and mechanics of the vehicle itself.
 Aside from fabulous front armour and terrible fuel efficiency, these Char Bis were absolute pigs on oil. Their seals leaked continuously and the tracks themselves were horrifically prone to seizing up if they sat too long (not the best of features in a wartime prelude referred to as the "sitzkrieg"!) As such, crews of the B1 Bis tanks were regularily required to oil the tracks all along the sponsons which usually left grease and oil just running and dripping down the sides. The side crew hatch even has a shielding lip welded along the top of it to keep the oil drips out of the crew compartment!
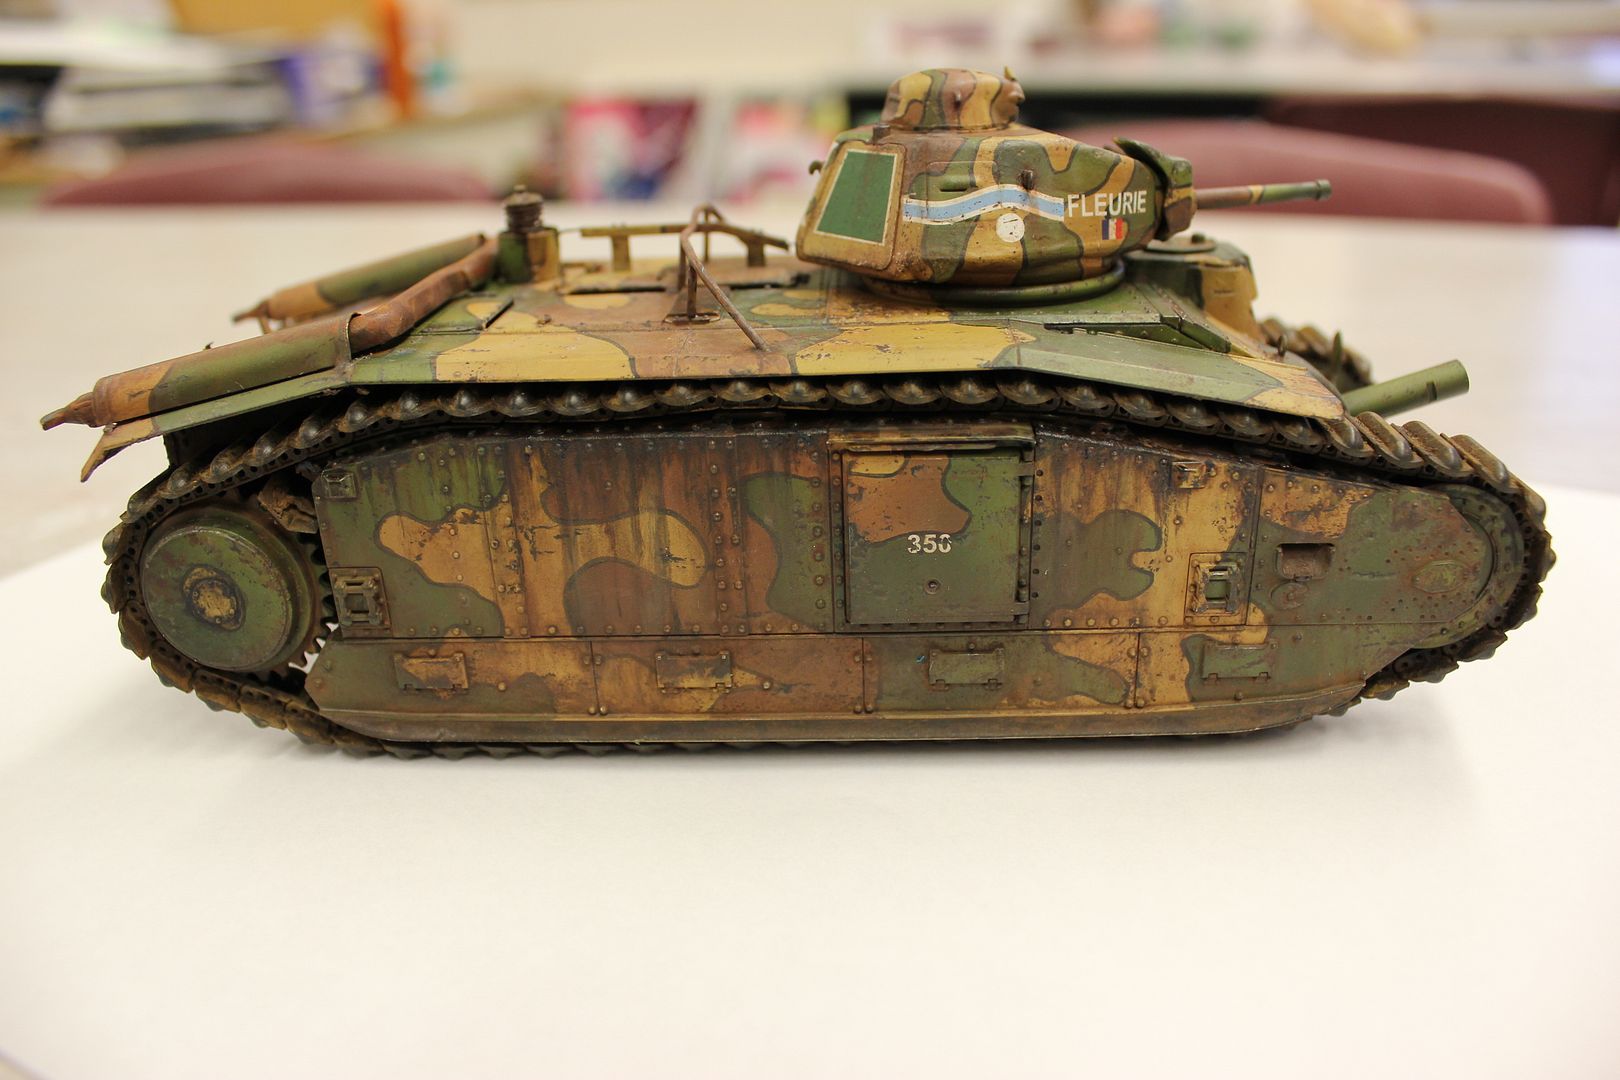
 This meant that as soon as these things began to move any distance, particularily cross country the sides of these tanks got FILTHY. In some of the pics you can not even see the camo patterns along the sides at all because of the amount of dirt and crud stuck to the greasy oily mess on these tanks. I decided to put mine on cobblestone and used photos of French tanks in urban environments as the inspiration. Greasy - yes, Grimy - yes, Worn - yes, completely obfuscated by the filth - no.
This meant I would need to pull together a lot of techniques and try to push my boundaries a bit to create the contrasts and realistic finishes I envisioned.
I used:
AK Interactive - light rust wask - this enamel wash was used to emphasise rusty areas and to add subtle streaks from some of these
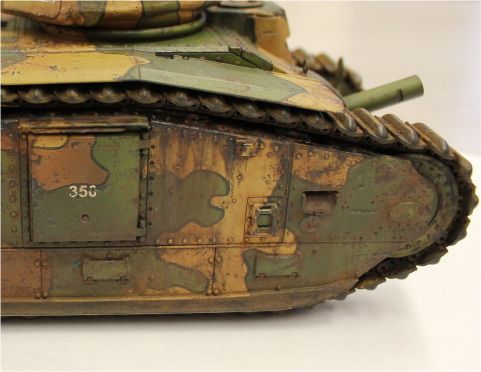
AK Interactive Dust Effects - This stuff is cool - I used it more on the top panels but here on the sides I painted it in streaks up from the bottom of panels and then once it had a bit of time to bite into the paint below I used clear thinner on a brush and dragged it upwards to approximate rainmarks and dustwash
Pigments - Various from AK Interactive, MIG, Forgeworld and Stardust. These were used dry and then stumped with clear AK Interactive thinner. I then took the dirty thinner and mixed a further slurry of dirty pigments and then worked these thinly across zones to really add a thin coat of dirt especially across the lower hull. I then fixed these in place using AK Interactive Pigment Fixer
Tamiya Smoke - this was thinned down and used to drag in some of the initial grease streaks and spatter along the sponson tops.
MIG Abteilung oil paints - I used a couple of tones of oil paint to finish the greasy streaks down the sponsons, between these and the Tamiya smoke I got a good variety of realistic colour and a sheen that is genuinely greasy looking and makes a brilliant contrast to my paint!
A little graphite around a couple of edges and we have Mission Accomplished!
I am super proud of how this turned out. Next up the basing and presentation!
Cya in a week with more Iron Kingdoms terrain pieces.....
5 comments:
Wonderful looking paint work.
really beautiful work. it actually looks like a real working machine, i am very impressed and cant wait to see the basing.
Thanks guys!
I am really proud of this one and have a couple of surprises left to go with it so stay tuned ;)
Very nicely done! I am impressed - and I wish I painted well enough to pull off something so realistic.
Both Tamiya and Trumpeter have decals for the tank in the first picture. Which makes me wonder, what became of Char B1 "Bourrasque"?
Post a Comment