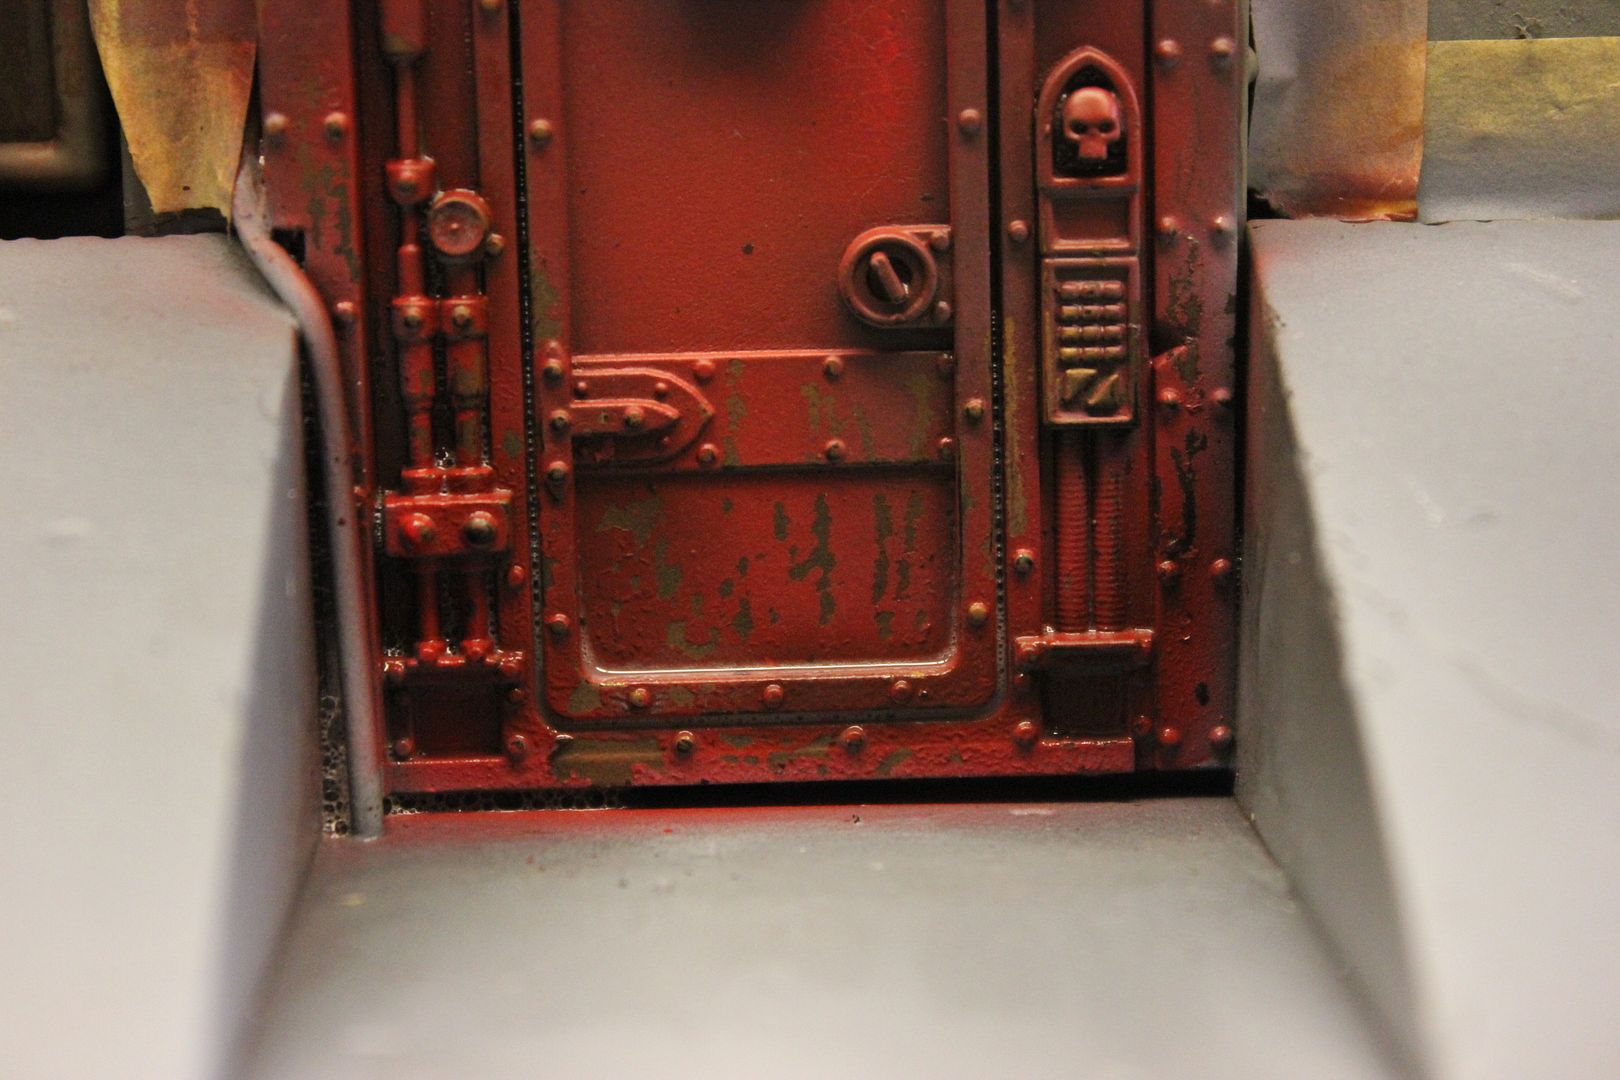
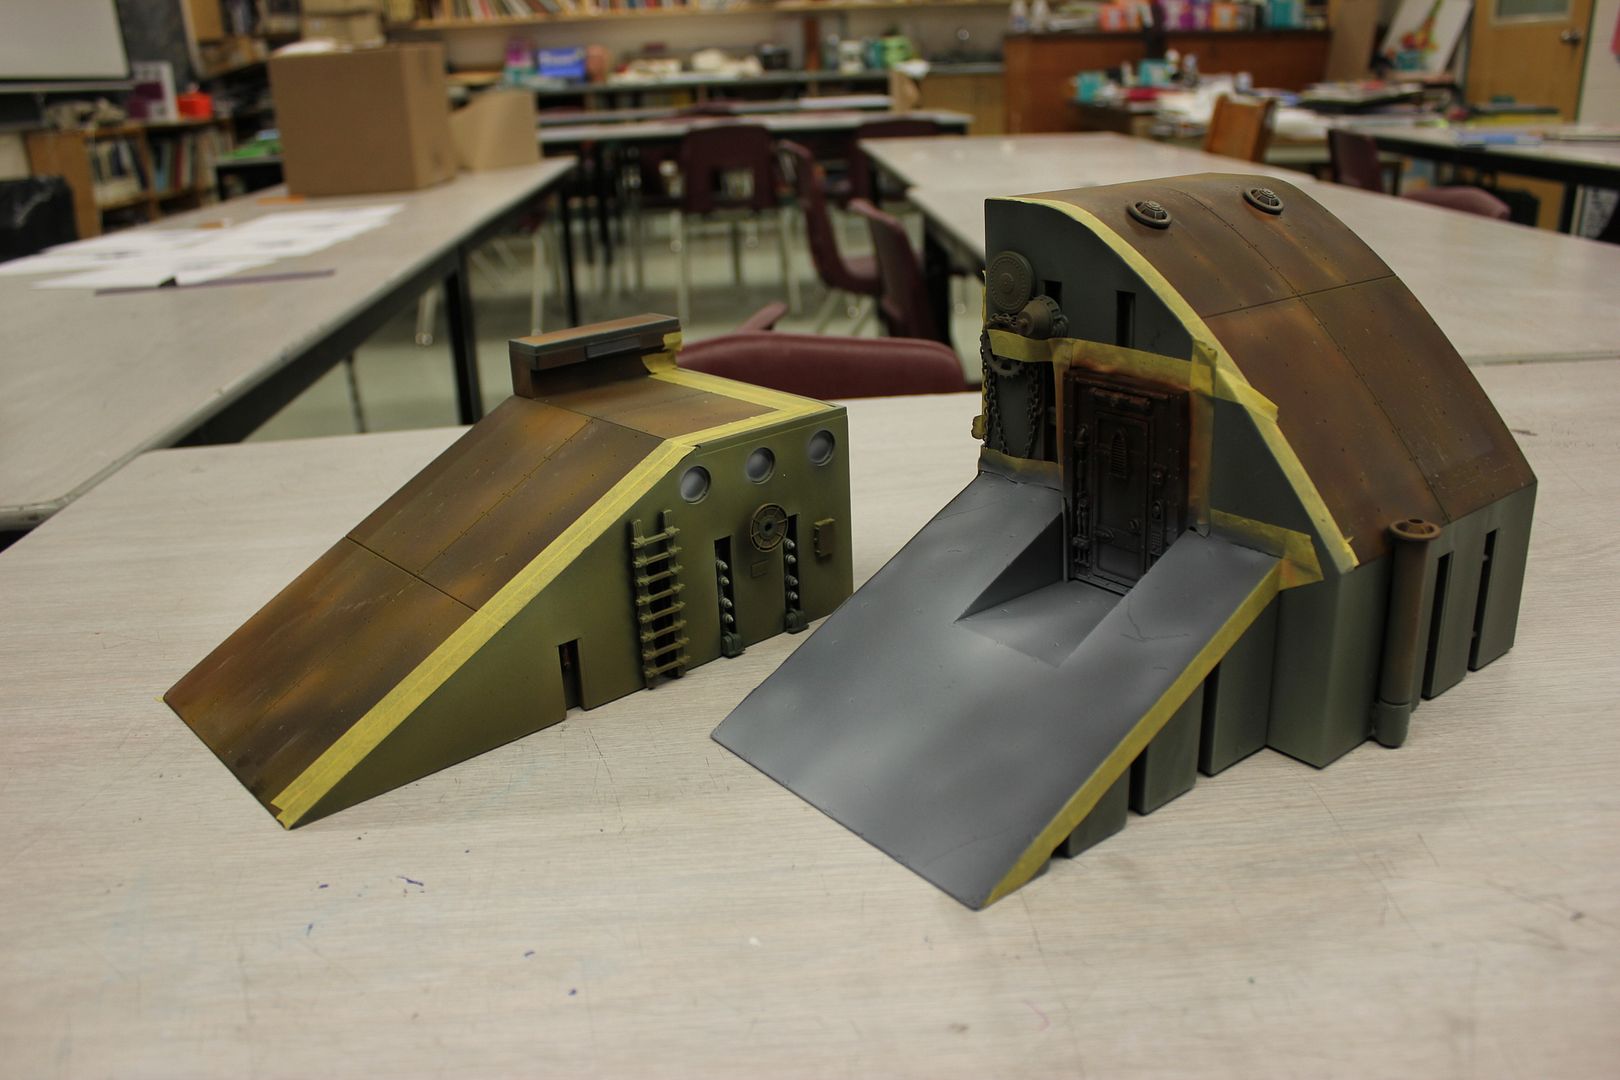
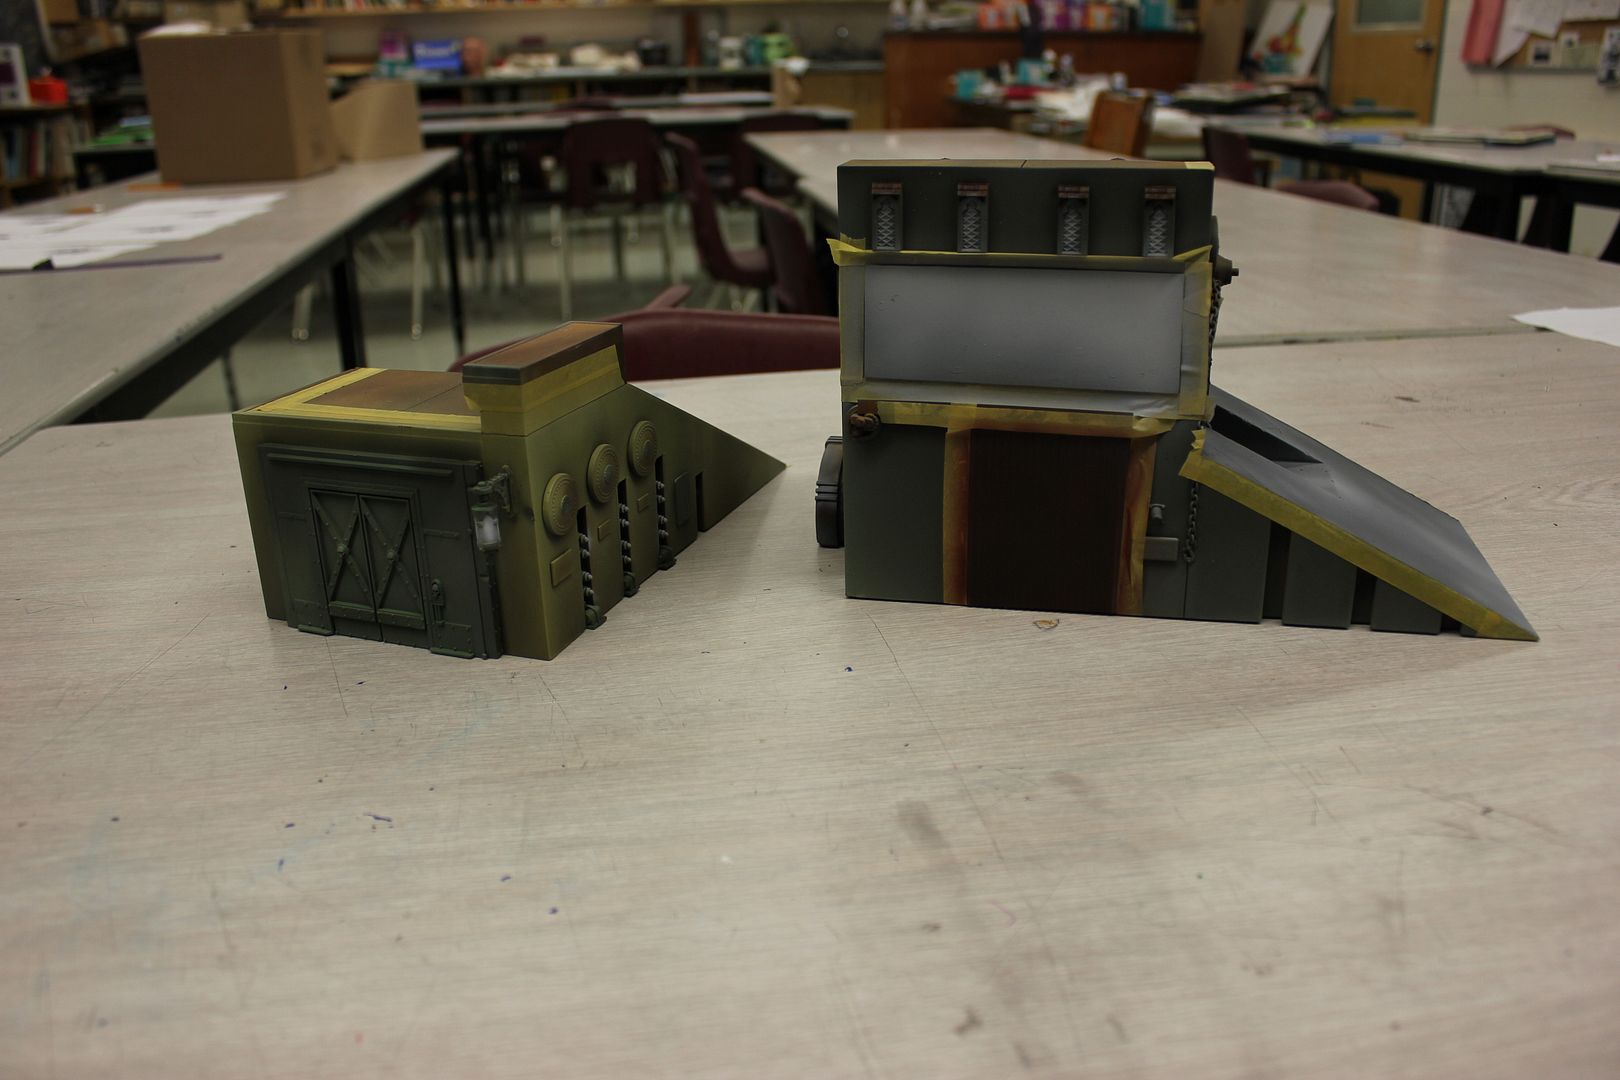
 Now that the buildings are all rusted and a few additional touches of transparent orange added to make the rust even nicer, it was time to add some colour and weathering. The first thing I did was grab my Worn effects and Heavy Chipping Effects liquids from AK Interactive (yeah those guys again - I wasn't kidding when I said their products have completely changed the way I work!). These particular fluids are for using the so called "Hairspray technique" without any actual hairspray! This stuff is made for your airbrush and has several advantages over hairspray in that it is low (nil) fume, does not contain scented or colour additives & will not yellow over time. The other plus is that it will be consistent every time. It is made to do its job without adversely reacting to your paint job. you will never have to worry about which brand to buy for fear of creating a sticky mess or long term instability. Great stuff.
 I sprayed different parts of my building with the heavy or light as I figured best suited the effects for that area. Once this dried a bit I grabbed a couple of colours that fit with the palette I had decided on. Since this was my scenery for my own table I wanted it to look a bit like my army. Military greens from Vallejo Model Colour (VMC) and the AK Interactive Olive Drab paint set were sprayed together to give a nice variation of tone, but an overall cohesive feel.
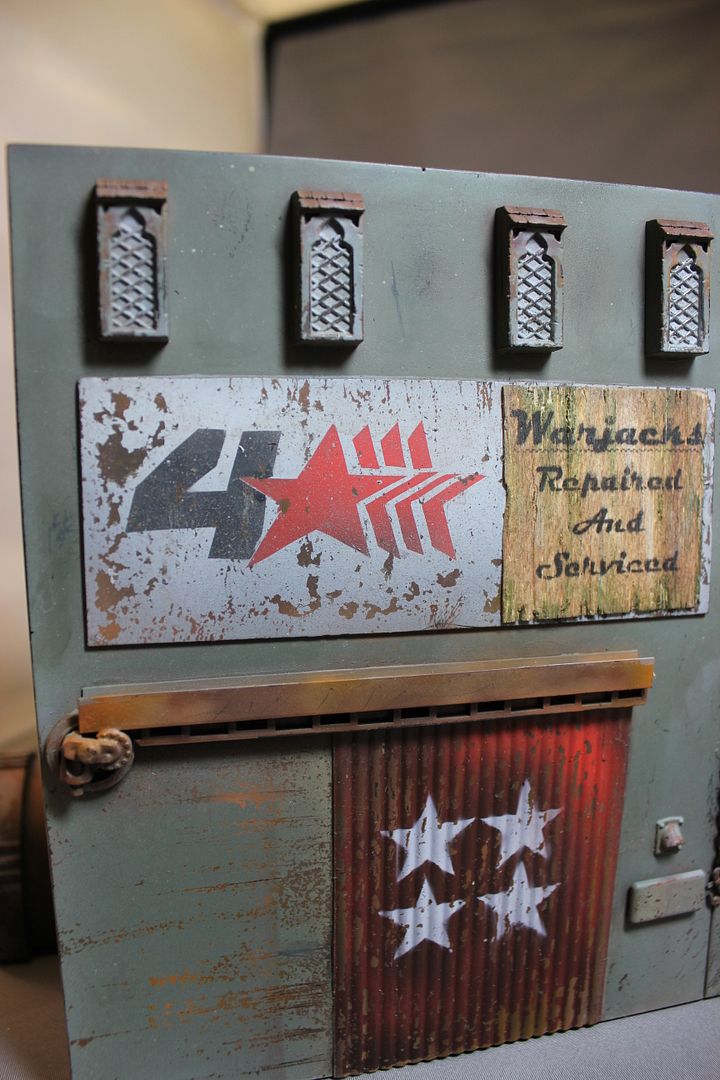
 The stone surface of the ramp was treated to some grey tones (German, basalt and light grey) from VMC/Vallejo Air (VA) and the red doors were done with a mixture of VA hull red and Vallejo Game Colour (VGC) Bloody Red.
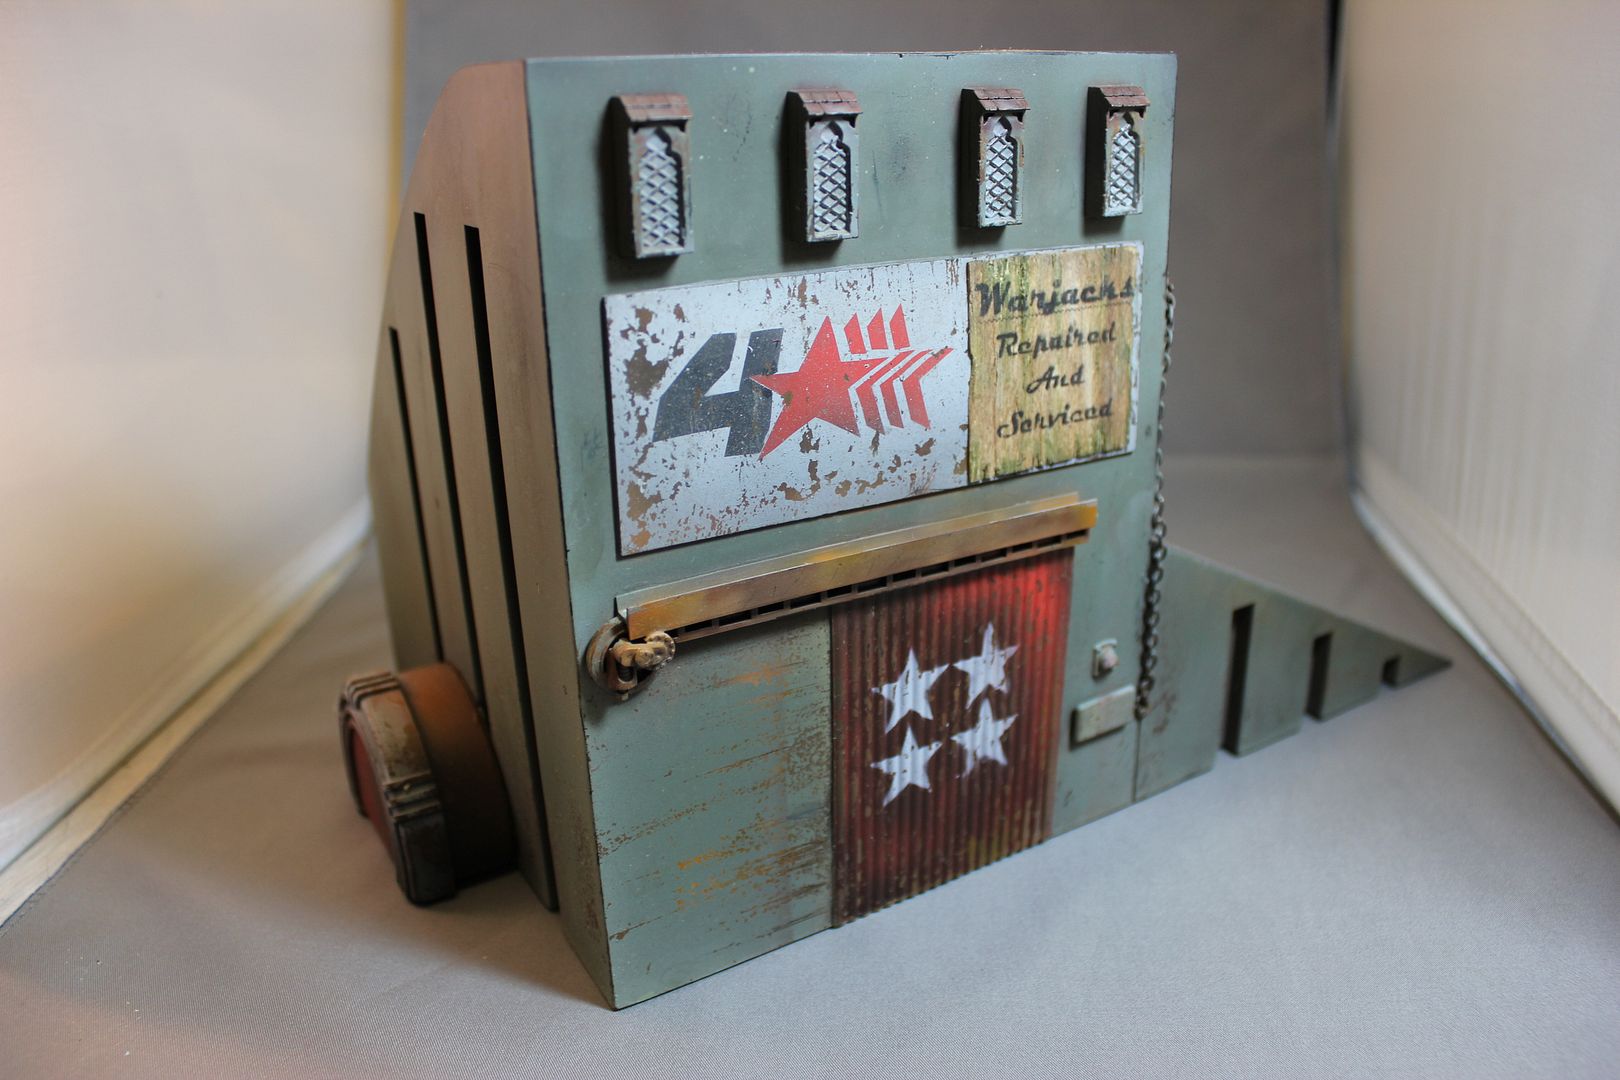
I also used a light green grey which I put onto the end of a paintbrush and then blew flecks of onto my metal roof areas using the airbrush. I smeared these downward a bit with my finger. I think this did a fine job of adding a bit of simulated bird droppings.
 |
| (sorry for the bad lighting in these pics ) |
Next I worked on the wooden sign section. For this I typed up the words "Warjack's Repaired and Serviced" in a font that I liked. I imported this into paint and flipped it horizontally to create a mirrored image. Next I took the printout and laid it ink side down on the balsa sheet I intended to use and rubbed across the back side of the paper with a chartpak xylene marker. This effectively turned the ink on the front of the page into a transfer which adhered to the wood as the chartpak chemical dried.
NOTE: Fair warning to you all - this stuff dissolves ink on the paper - it can also dissolve many types of paint. This technique is not suitable for many applications.)
This gave me a really cool looking wooden sign panel which I spent some time wearing and scraping down with my knife and then super glued to the building. I added a few touches of AK interactive slimy green wash and a bit of their streaking grime to age it more. Later I will glue some metal rivets/bolt heads to the corners of the wooden sign before I finish painting it. I forgot them at home though so not today!
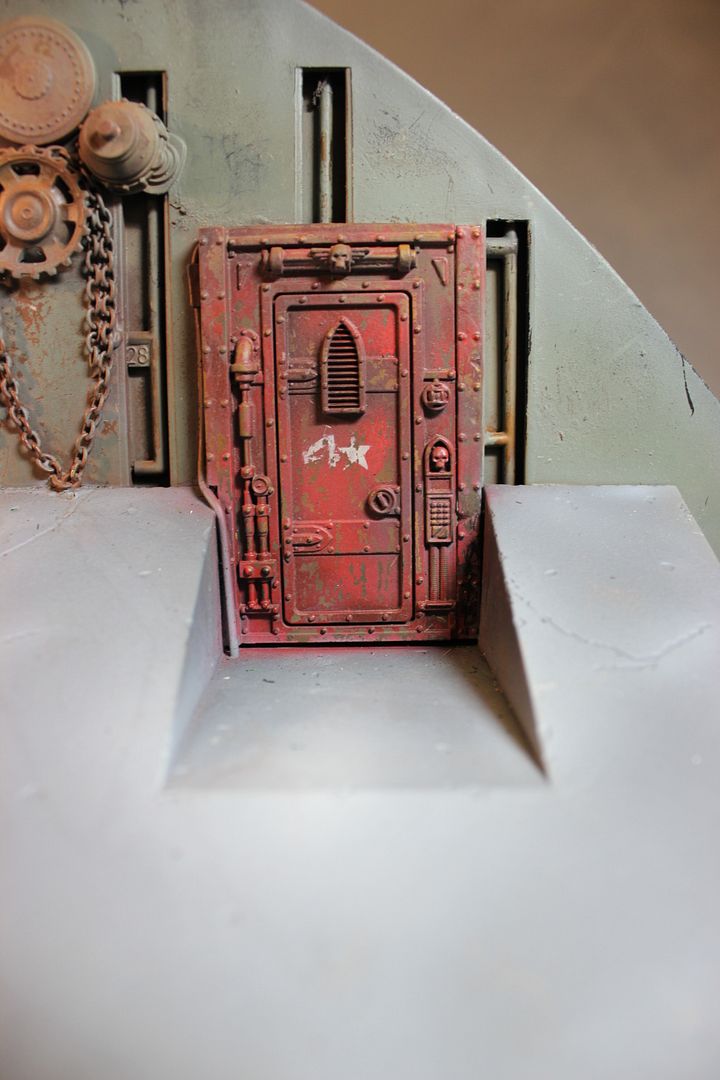
 Next I went about re hydrating the paint with a soft brush and some water. This caused the layers of chipping fluid underneath to destabilise and for me to use various tools,
 q tips, and brushes to chip the upper layers off. This process was pretty quick and painless. I had very few problems - certainly nothing I couldn't touch up after. Here are the results after the first chipping sequence!
Next time I will show you a bit more of this and we will discuss refining out rust/streaks etc with pigments!
Until then :)

2 comments:
OMG! Amazing!
thanks man! more details to come (along with a second building and a third structure.....)
Post a Comment