Now that the build was complete, seams had been filled and filed and all the brass had been fitted it was time to hit the paint booth!
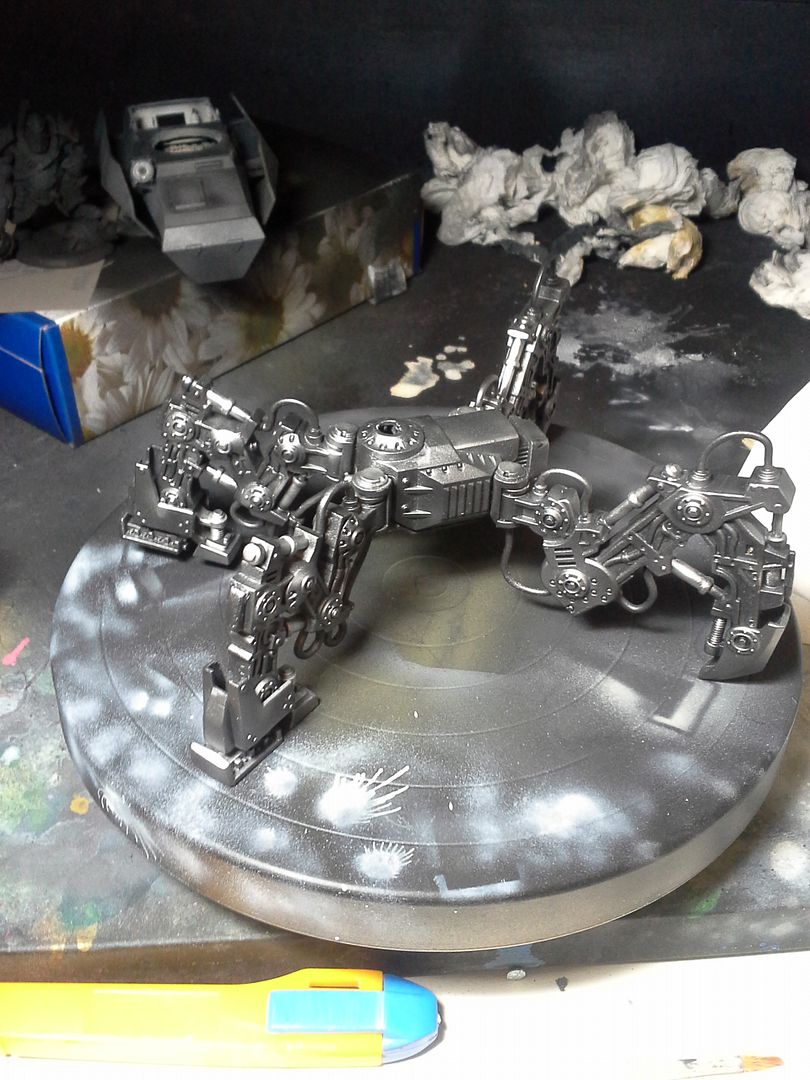 |
| Aluminum paint added - more translucent layers to go. |
I started with the legs/under carriage because they were going to take the longest to fully dry. I loosely popped the legs back into their sockets so that I could paint cohesively but would still have opportunity to repose later. Next they received a spray in a gloss black finish and were double checked for errors - any mistakes from here on in couldn't be fixed without wrecking the finish - so after a couple minor tweaks and a second coat of gloss back these legs were ready to go! I dropped them into my spray booth and cracked out my Alclad2 finishes - I LOVE the way these paints look.
I used polished aluminum, aluminum, magnesium and exhaust to create a variety of metal tones and shading over the black. In the end it looked as though it were genuinely made of metal - not just painted metallic.
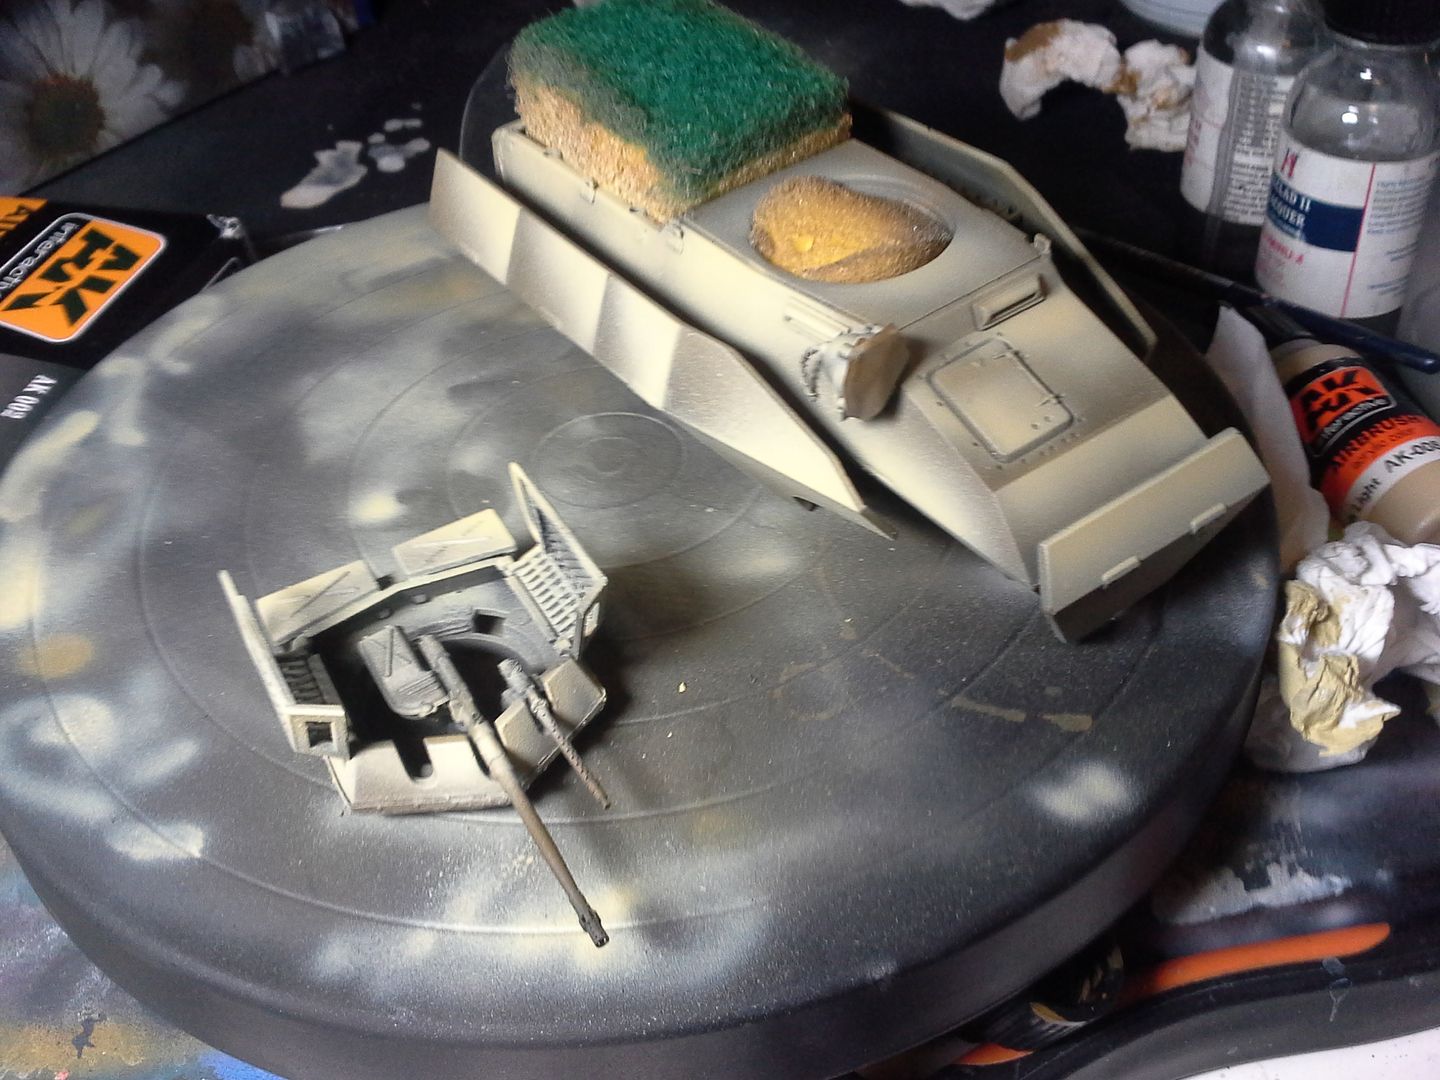
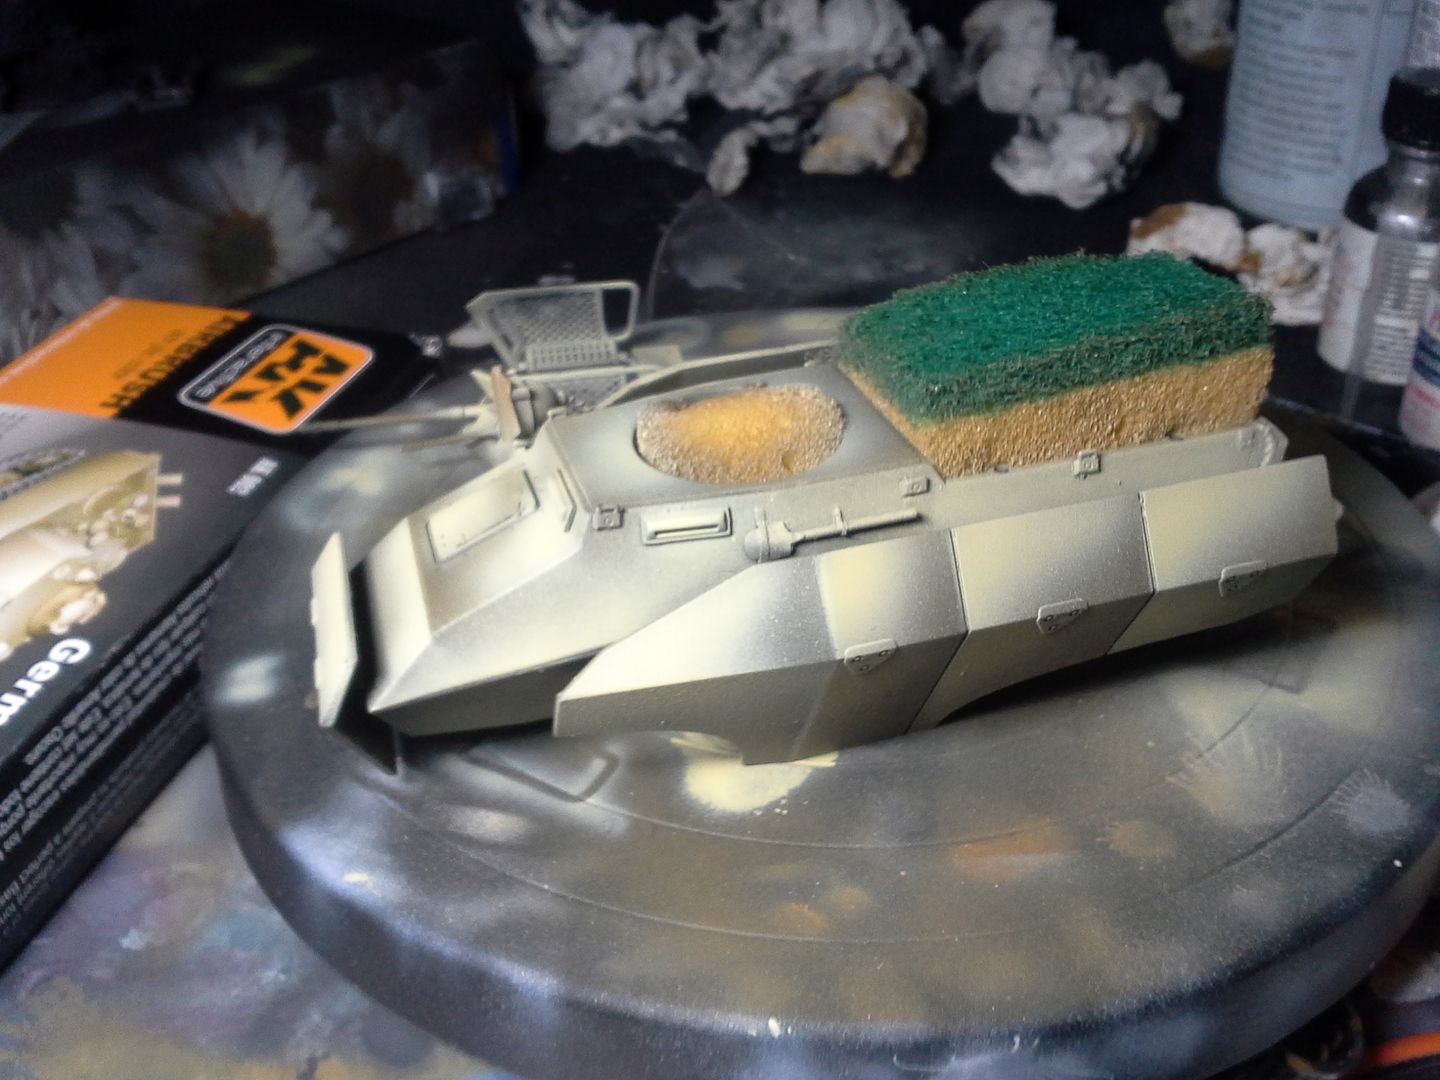
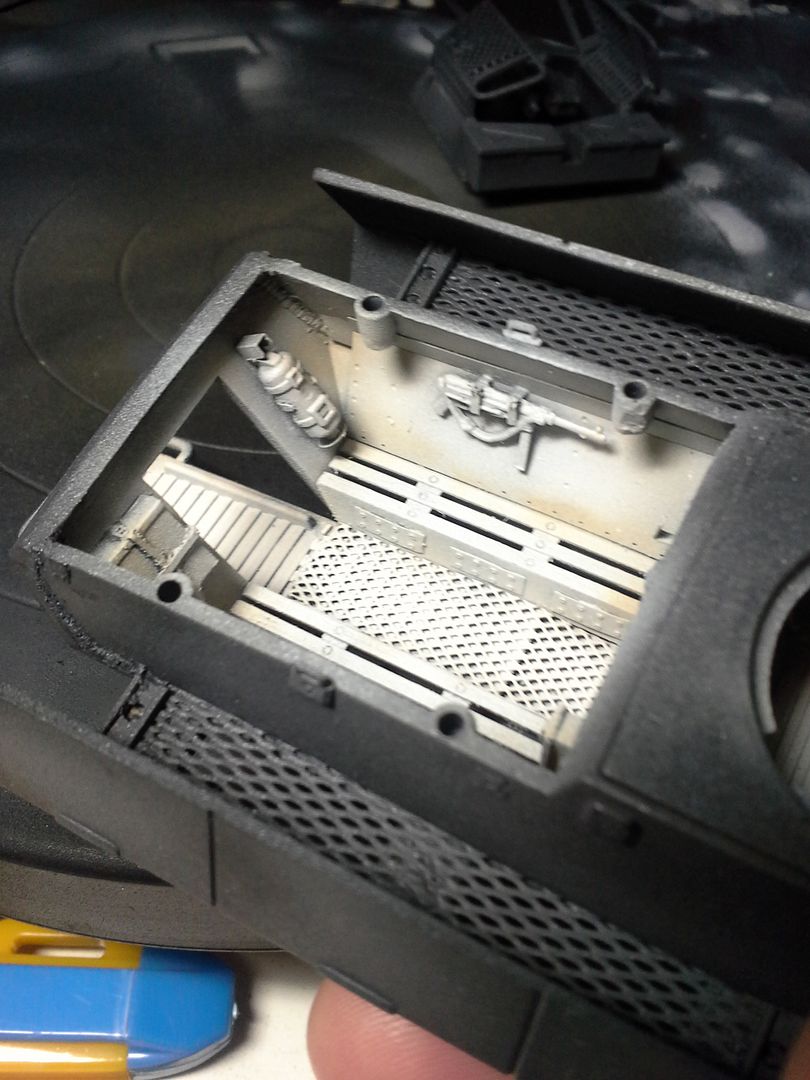 The body received a priming coat of Vallejo black primer and AMMO of Mig Jimenez Grey primer just to help me pre-establish some lighting and shadows. Thought the Vallejo goes on nicely I don't feel it is as good as the AMMO for surface adhesion. Just sayin. Anyhoo Following this I sprayed the interior. As I understand it, most enclosed WW2 German vehicles had off white interiors (some companies apparently sell paints in a colour just for this) and while I'm not certain it is historically accurate for an open top vehicle (I found conflicting examples in my search), I did like the idea of adding a contrast so I used Privateer Press P3 Menoth White Base, Menoth White Highlight and Morrow White to do my interior. Once dry I used a household sponge to mask the full interior bay and got to work airbrushing my hull.
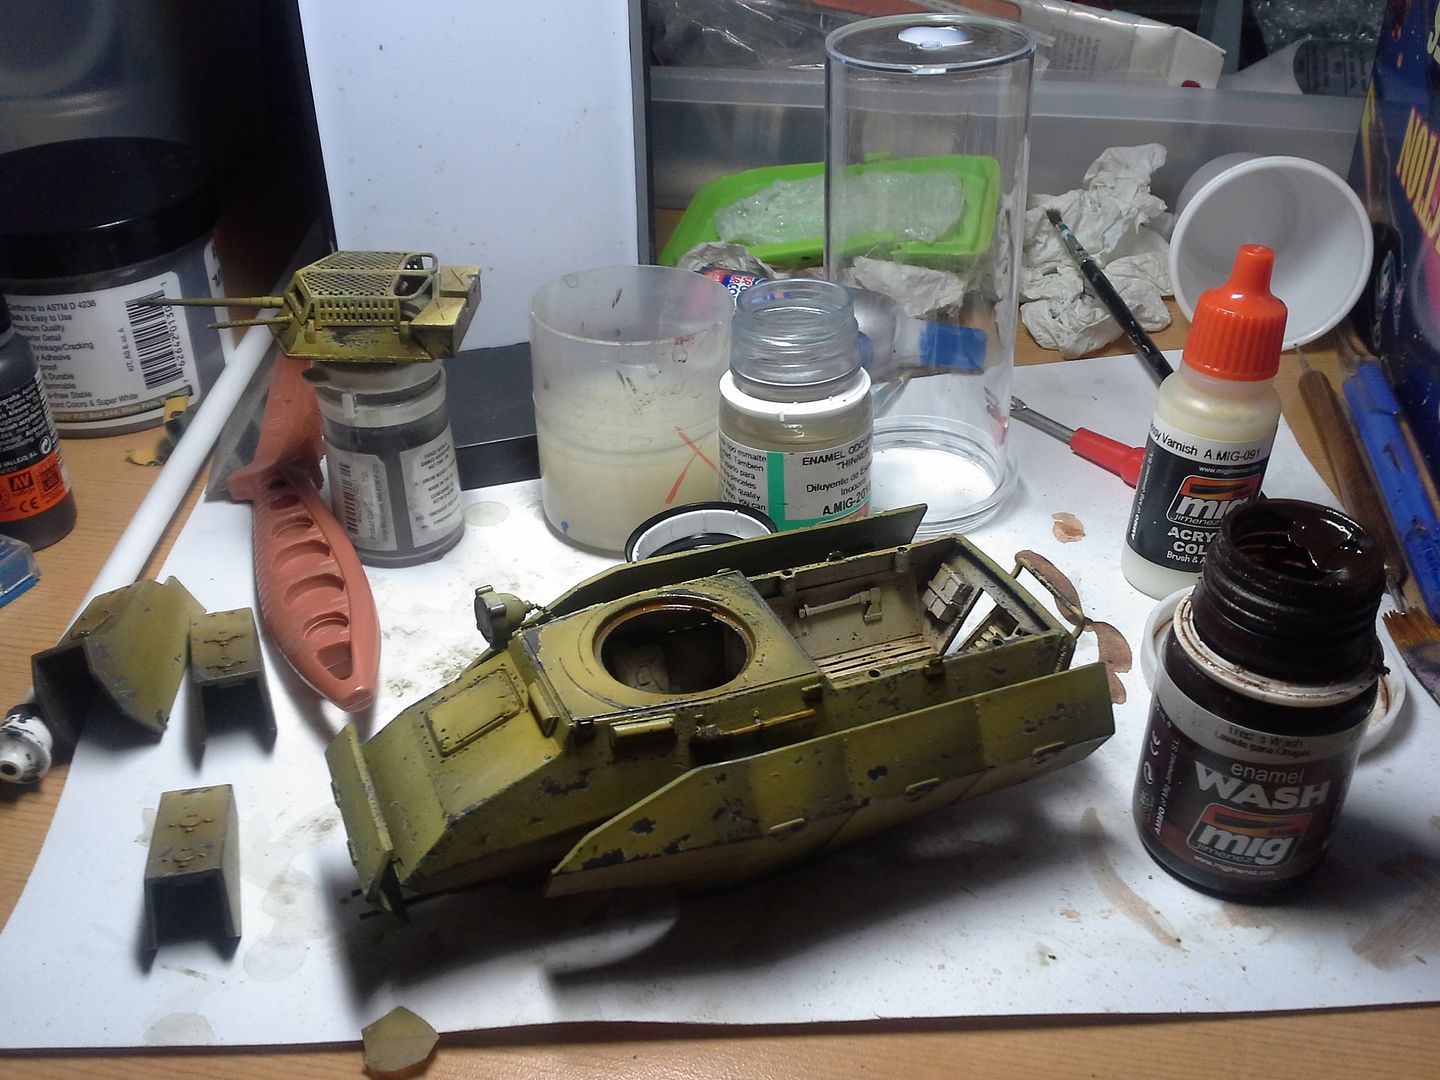
Next I began to modulate coats of Vallejo Model Air 52 German Grey with a little Black Grey and AMMO Grey Primer added to the German Grey to darken and lighten for effect. This gave me a great looking German Grey vehicle that could have gone straight to the weathering and detail stages, but since this was going to be NDAK I had some more to do..... I sealed the Grey with Testors Dull Coat and once thoroughly dry I coated it in AMMO of Mig Jimenez Chipping Fluid, let that dry and started to lay in my Dunkelgelb Desert Yellow colours!
Using the AK Interactive Dunkelgelb paint set, I did the hull in with modulation in mind, but with a bit of added dramatic flair. I focused on contrast and gradation moreso than natural lighting - though I did still take care to pay attention to value and keep the lower zones and shadowed areas realistically/believably darker than uppers. This was a real fun paint job that stretched some of my creative and technical muscles to get to where I envisioned it. A LOT of the subtlety and depth of tones is lost in my photos here but I think they still give a fair idea of my progression and painting idea.
Now that my light was all established and my gradations were all clean, it was time to adjust the colour through filter work. This was extremely simple in this case as I simply thinned down AMMO of Mig Jimenez Dark Yellow Primer and sprayed it across the entire surface in super translucent coats. This gave me an incredible Dunkelgelb finish that allowed all my gradation work to show, while removing the cartoony aspects of the application to that point. I want to add here that I had never tried this approach before so it was with a wing, a prayer and a little faith in my own skill set, that I dove in and luckily found what I think are exceptional results!
In WW2 German vehicles shipped to the African theater from the battlefields of Europe often came painted in typical German Grey schemes. Once in the desert crews would repaint equipment in "Dunkelgelb" Dessert Yellow. As they spent time in the sand and the wind, these vehicles would often be chipped and worn down to the factory applied Grey or even down to the metal in areas. Also, because of the dryness - the tanks would show less in the way of rust than their northern counterparts.
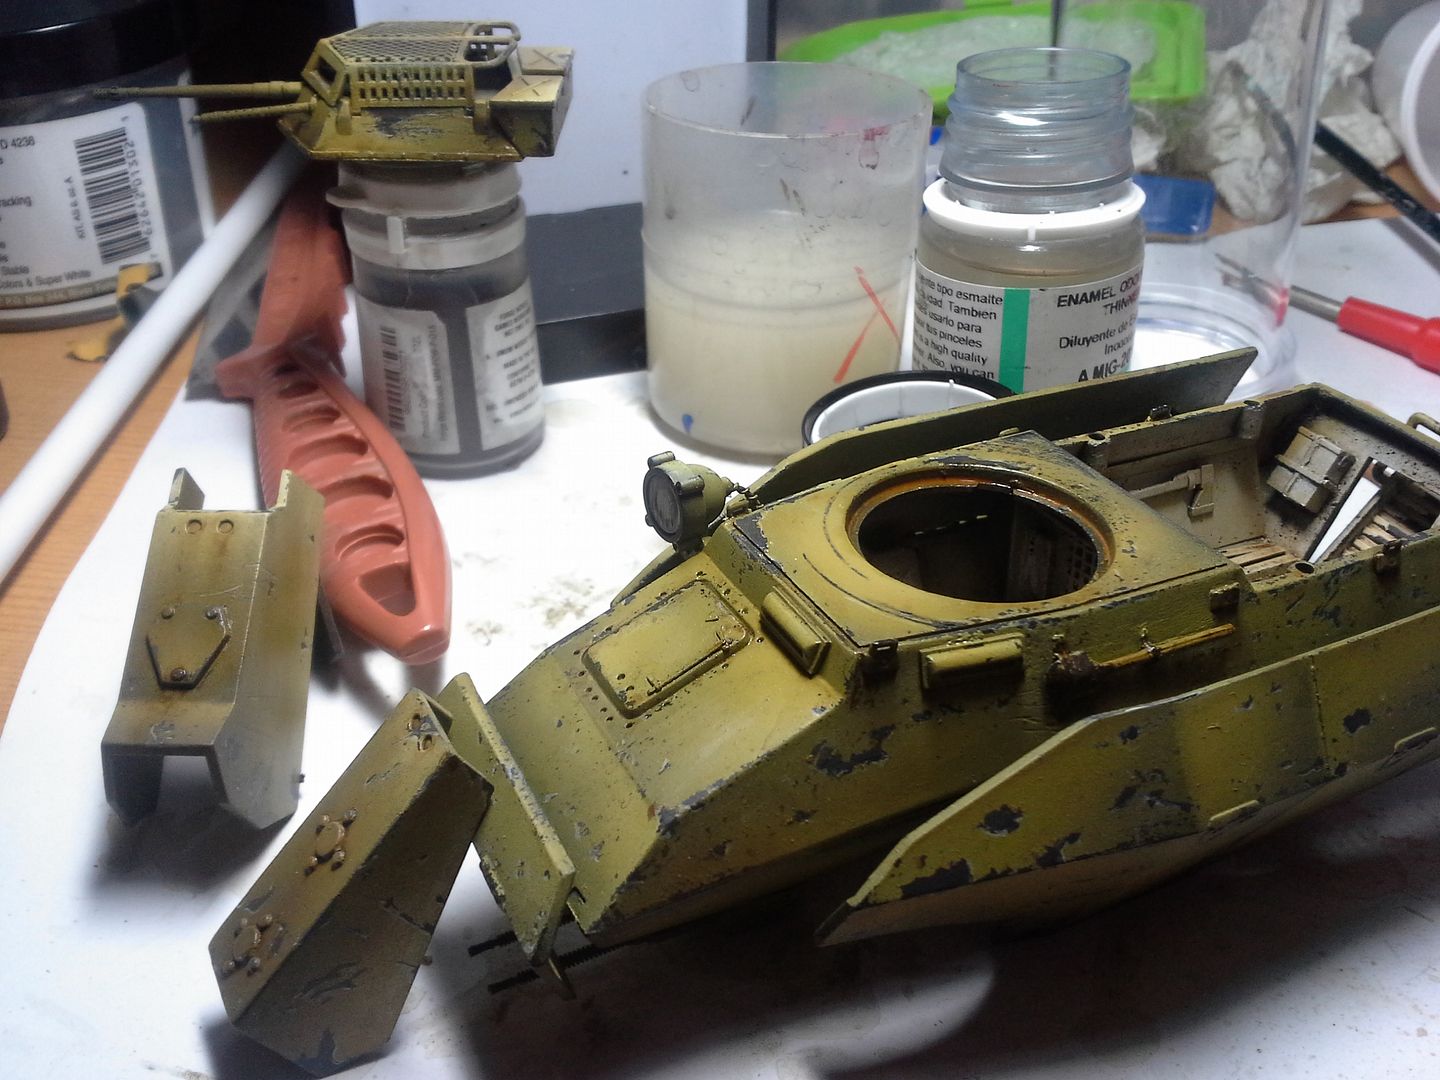
To achieve this look (the main reason I chose this scheme to begin with!), I followed up by wetting the surface of the model to activate the chipping fluid beneath so that I could chip away at the beautiful paint job that I had just finished. Using some old brushes, a stitch ripper and some other random tools I peeled away layers of yellow to reveal the grey beneath. A graphite pencil was also employed to create a few tiny touches of base metal wear and tiny scratches and Forgeworld Dark Iron pigment was rubbed into many areas that were either bare metal by design or by wear. Once the kit had fully dried, I sealed it with several layers of dull coat to protect it from the additional weathering to come.
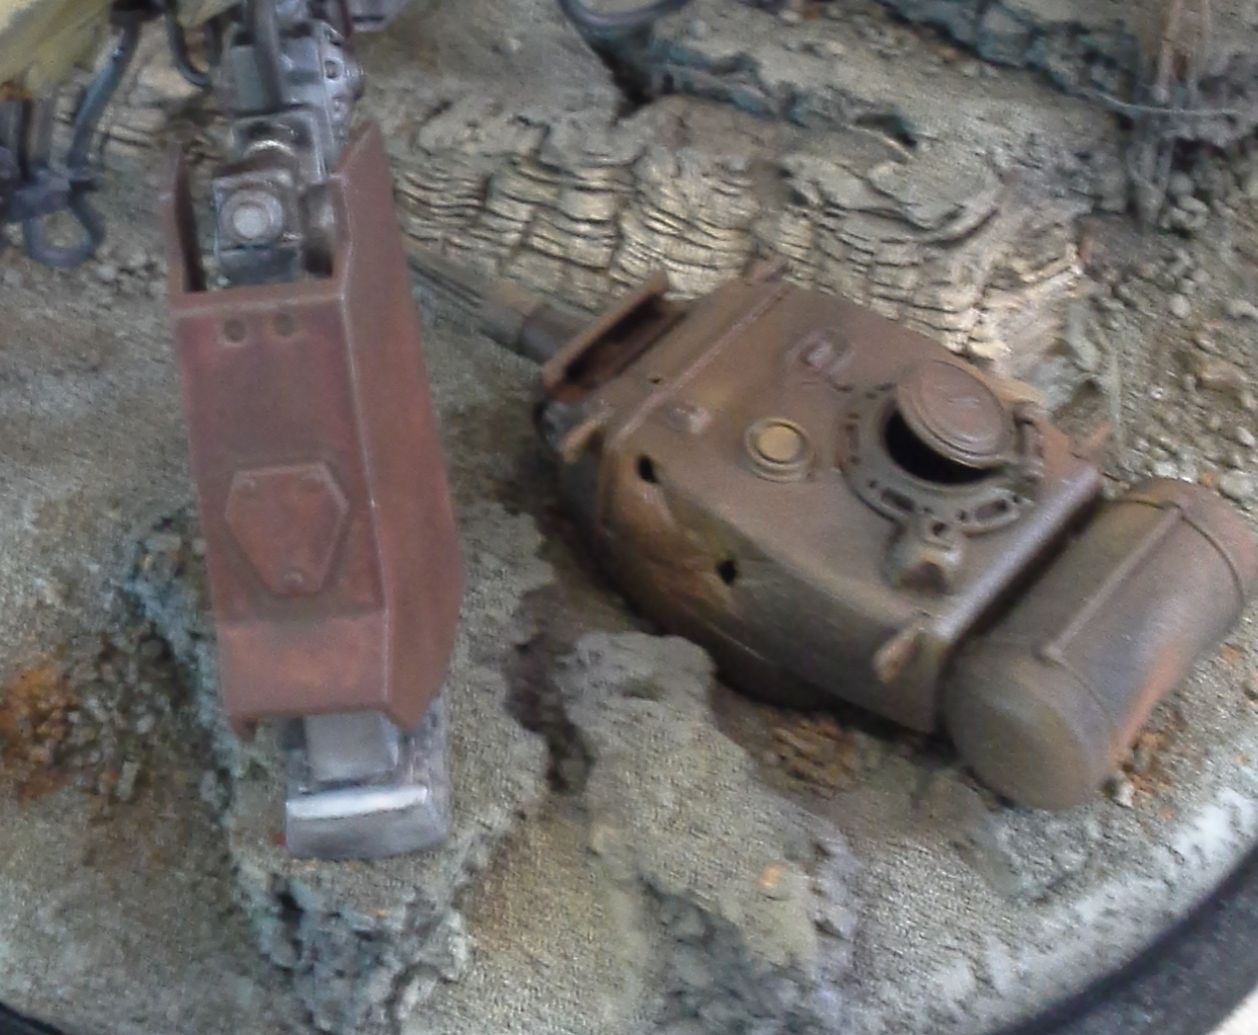 I also really like the way a lot of historical modelers building German Kit include replacement road wheels etc on many of the tanks in base red primer, or rusted as though they had been collected and re-purposed from another vehicle, or were left in base steel and applied without first painting.... As such I decided early on that I would do one of the leg armour sections this way. I chose the one that would be at the front of the model presentation as an anchor for creating more contrast and visual interest. I used AMMO of Mig Jimenez rust coloured paints and AK Interactive German Red Primer Paints along with several weathering powders over a base coat of AK's Dunkelgelb Shadow (one of my absolute favorite colours - a very dark flat brown with an ever so slightly yellow green natural tone to it. Hard to describe but I don't think I will ever take a paint kit anywhere without it again...... I used some techniques that i have read about through the last few years in articles by Scratchmod in various magazines where I added pigment directly into the still wet paint to enhance textures and create really believable finishes. Kind of a scary thing to dive in and do but it was worth it in the end.
Now dried and sealed I did some initial weathering with AMMO Track wash, Dark Brown wash for Green Vehicles (I still have to pick up their Afrika Corps Wash, Interior Wash and Brown for German Dark Yellow washes - I so love playing with this line of products!) and very sparingly the light rust wash - mostly working in pin washes and around specific areas of weathering rather than as a full surface treatment. I then dragged a little of the AMMO light dust nature effects as a test across a few areas, knowing that I would come back and add more later.....
 |
| This photo was actually taken in the Hotel room at Gen Con.... |
I took some of the AK Dunkelgelb colours that I had used in the initial painting and a brand new W&N series 7 to sit and take my time highlighting chips scratches on their lower edges - making them appear more 3-D.
With this, the main painting was done, time for details and a bit more fine weathering to finish!
Cya Soon with the next installment!



6 comments:
I looked at the first pic (before I read the description) and saw a polished, bare metal figure! This is superb!
If I read you correctly, you sprayed Alclad over Alclad to get various shades? I have wondered if one could do that and have the Alclad still look like natural metal.
I looked at the first pic (before I read the description) and saw a polished, bare metal figure! This is superb!
If I read you correctly, you sprayed Alclad over Alclad to get various shades? I have wondered if one could do that and have the Alclad still look like natural metal.
Absolutely - I have done this many times (never occurred to me not to lol!) I worked over the gloss black base as recommended and work in translucent layers and fade them together working from establishing my brightest tone to my darkest/dullest.
Here are nine tips to negotiate the best RV prices whether you're ... RV dealers aren't at trade shows to look pretty; they're there to sell RVs. forest river RV dealers in Missouri
Super option, just like I thought
sexy girls
Keeping an eye on the functioning of compressors is essential. Spray nozzles, hoses, and filters should be inspected and replaced on a regular basis, as should any other parts that may wear out. The primary entry door must always be kept closed and sealed to prevent pollution from entering. Every day, the booth's walls and ceiling must be checked for any holes or cracks. In order to protect their health, paint booth operators should also wear the proper protective gear. All personnel must wear protective clothing, including face masks, goggles, and respirators. Inhalation of spray paint is very hazardous to one's health.
Post a Comment