BUILDING THE DISPLAY BASE
While working on the assembly and paint I was giving some serious though to the display/basing as well. Dust Heavy vehicles and walker transports do not come on a base but I new I wanted some groundwork to display this on. I wanted it to highlight the perceived advantages to legged design over tracks/wheels, to add some height and contrast to the model to help it stand out in the category and to tip it slightly forward to display the interior work as well. I wasn't confident that any judge would know the details of this particular line of product or this kit - so I had to make sure that the improvements I made were on stark and dramatic display.
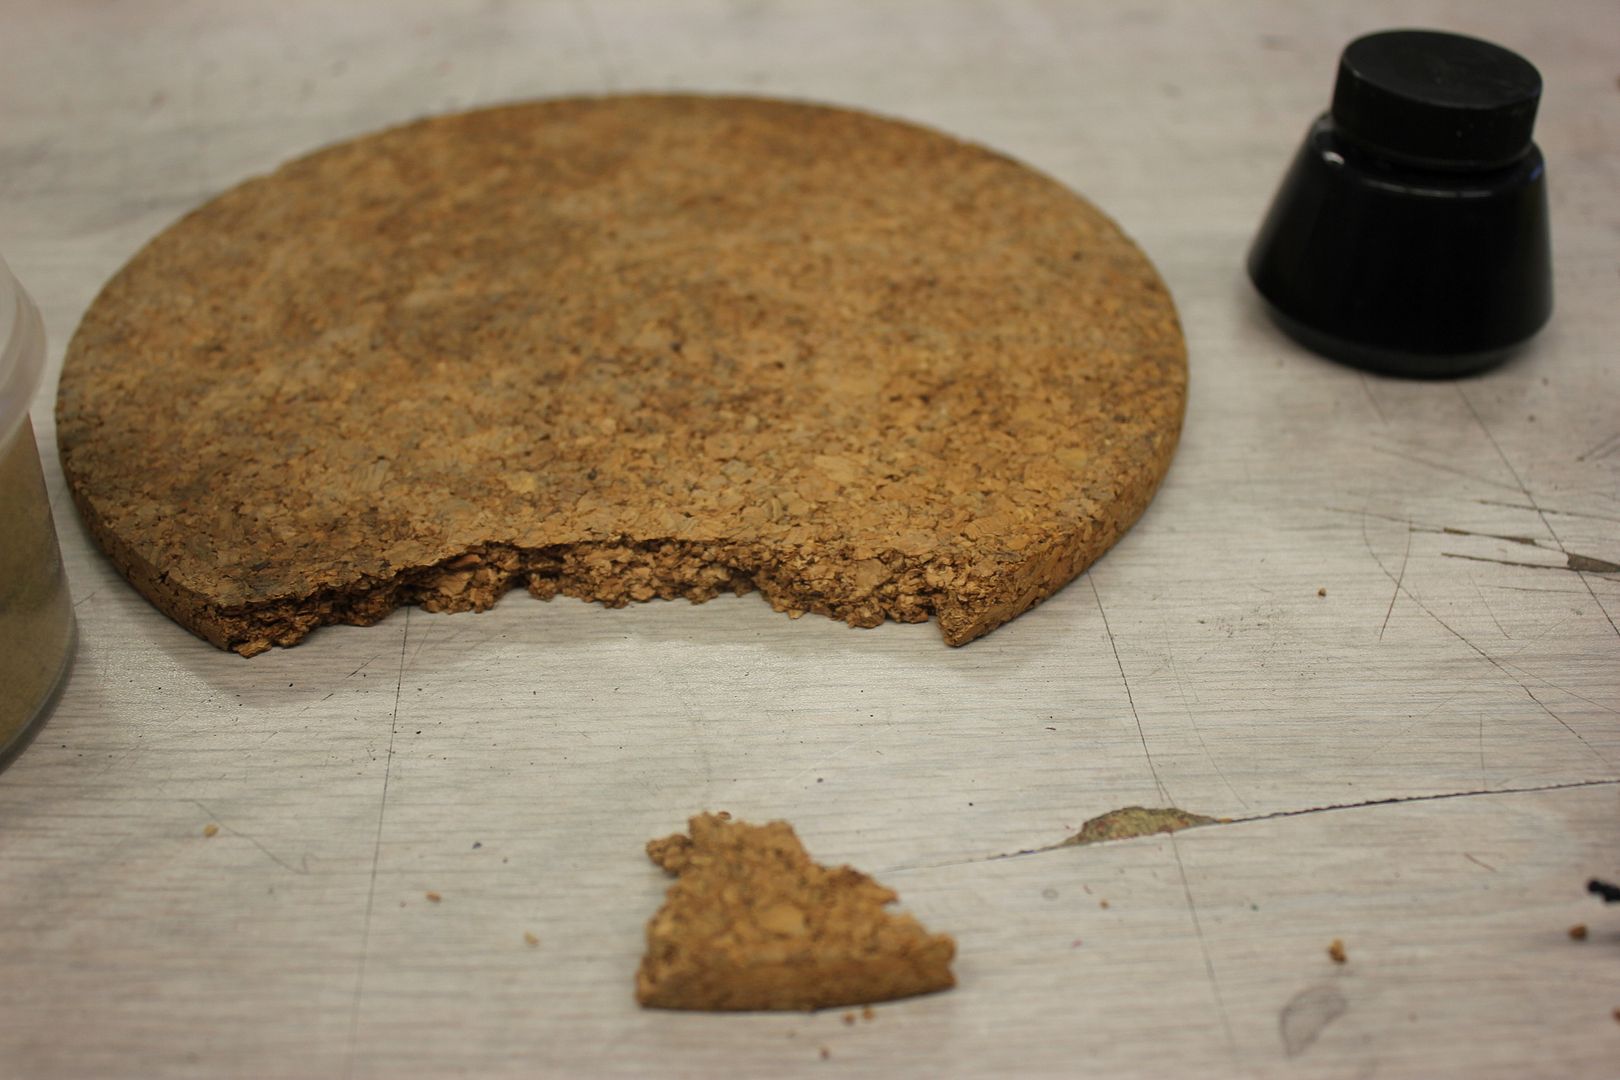
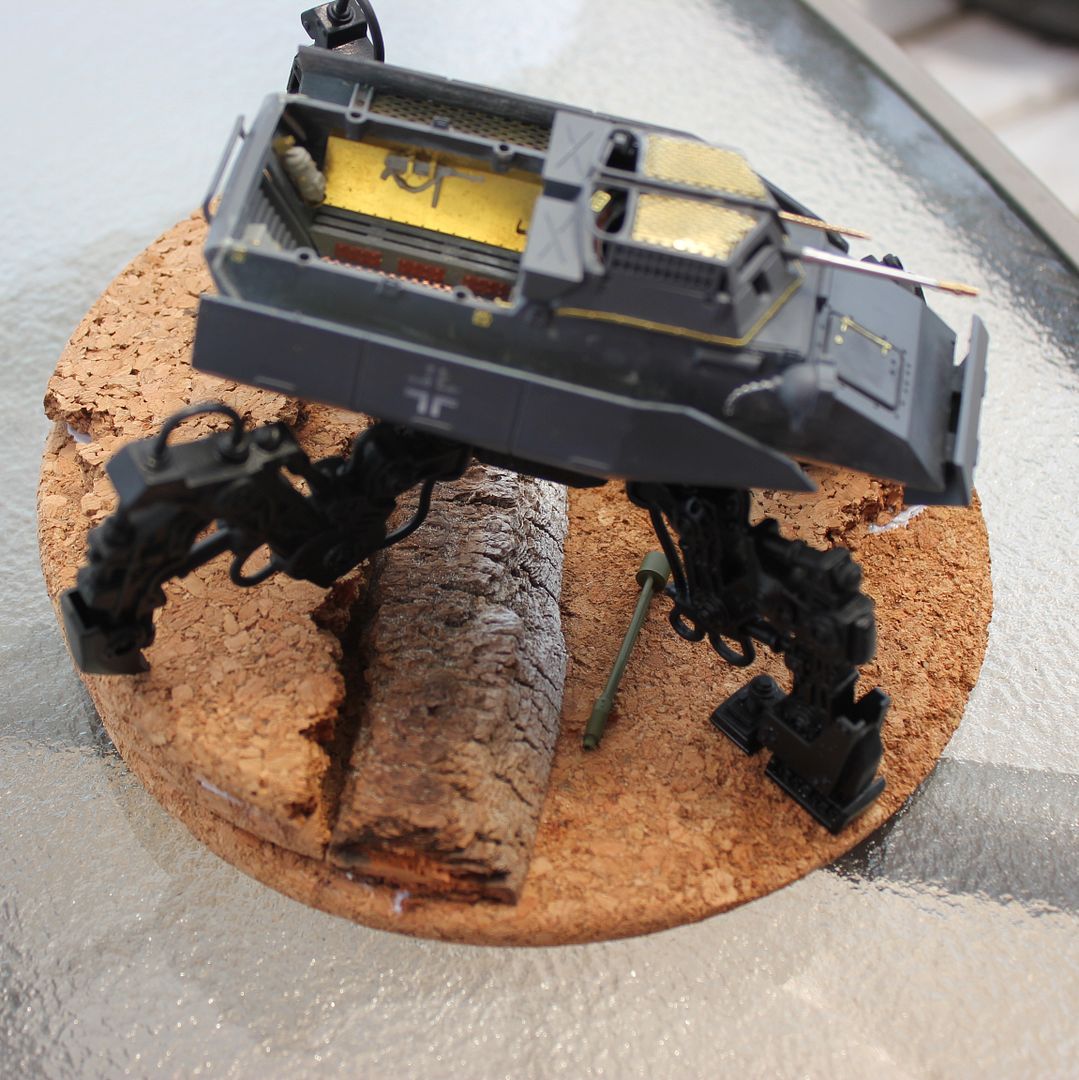
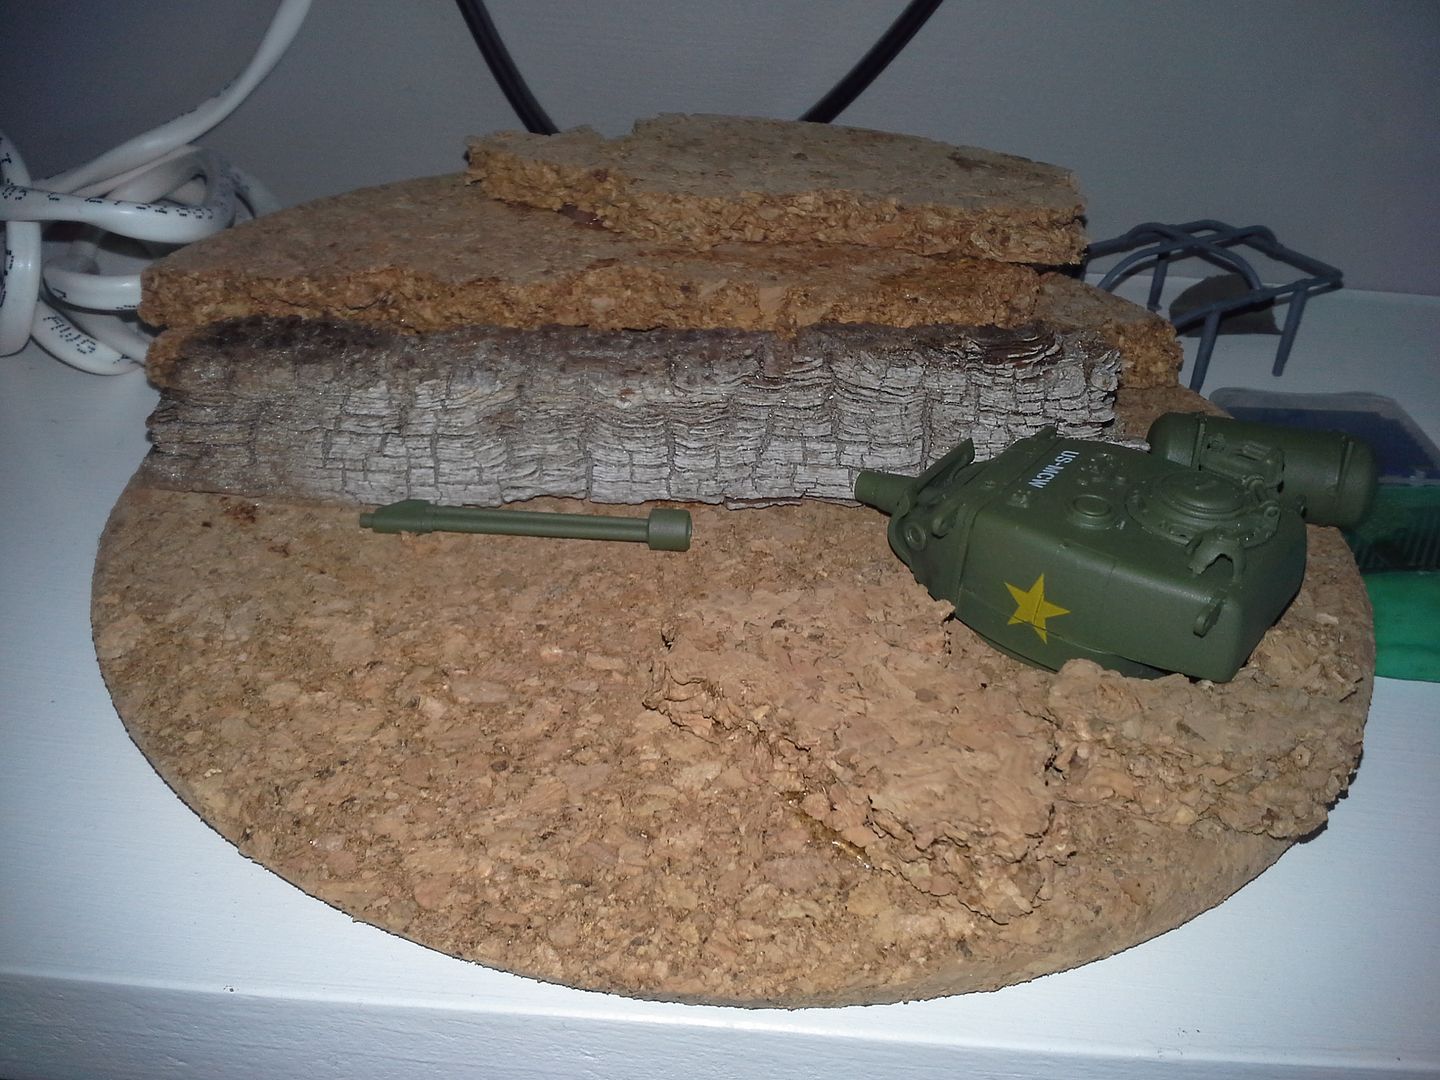
 So with all that in mind I grabbed a stack of cork trivets from IKEA and started to mock up my base and ridgeline. This gave me an opportunity to try and see how I might want my model's legs to be positioned as well and make some adjustments to the overall stance.
 I went to the beach with my family and while the kids were frolicking in the water and sand, I took the opportunity to collect some small roots and I came across a piece of dried out wood that had been used as a part of someone's bon fire. Once I brushed the ashes off I could clearly see the separation and striation between the layers of this wood. I knew it would be perfect to build part of my ridgeline out of so I took it home too.
Always take the time to collect materials from nature - they rarely disappoint in quality or (shockingly) NATURAL look and feel..... plus it an be fun - walk in the woods, day at the beach.....?
Just a thought.
Anyhoo, once I established positioning and forms of the natural elements, I worked out specific placement of both my model and my scenic model element. I definitely wanted something to add to the base that would emphasize a feeling of conflict and emphasize the danger and the ruggedness of the battlezone. I have often aimed to breach the fourth dimensional wall of storytelling with my model basing, and this piece would be no different. I selected a turret from one of my allied walker tanks and softened the entire surface with Testors super thin plastic cement. I used an old brush to stipple the surface of the entire turret - giving it a more natural corroded appearance. I dug the start of some rusted through (and presumably battle damaged/shot through) spots on the turret and thinned them with my dremel tool and a knife from the inside. I then repeatedly softened the plastic in these areas and thinned/scrubbed it away with coarse sandpaper and an emery board - until I had very thin edges of rust and really natural looking holes. I then airbrushed the whole thing using a combination of Rust Effects paints by AMMO of Mig Jimenez, AK Interactive and some Vallejo Model Air. I worked over this with dry pigments and then fixed those in place with AMMO pigment fixer. Finally I applied some small area and pin washes with AMMO Light rust wash and Tracks Wash. This left me with a really convincing natural rust finish that was dark and subtle enough that it really became a part of the basing rather than competing for attention with the main focal point of the transport walker itself!

I then glued all the cork and wood together, cut and dug into the bottom cork pad to
increase/emphasize natural change in elevation and broke out the Apoxie Sculpt. This Two part clay was used to fill the ridges of the stacked cork circles at the back of the display base, to blend the cork and the wooden ridge elements and to create the basis for some sand drifts and ripples in the basing.
While it was drying I pressed a rough broken cork edge into the clay to give it a random natural surface that worked really well. I cut a couple of holes in the cork where the front feet would be positioned and filled them with Apoxie Sculpt and rare earth magnets. This would hold them securely in place basically keeping the walker well fastened to the base without having to glue it down (thus allowing me to play with it in my army later!).
I then broke out the AMMO of Mig "Sand and Gravel Glue" - this stuff is awesome. I glued a few specific items in place and then spread a mixture of Gale Force 9 sand and gravel around along with a few roots and natural material chips and such and then just used a pipette to flood the areas. A small blast from the hairdryer and everything was dry and stuck in place. A few minutes airbrushing tones found in the hull of the vehicle to emphasize unity and I had this:
I followed up with a few brown/yellow brown washes by AMMO (I think I used brown was, track wash and OIF wash) to add depth to a few areas and things came together pretty darn well. I mounted it on a black wooded plaque that I had - Actually I had a BEAUTIFUL walnut one made by Wayne's Bases but I used it as a base to enter my Gorten Battlegroup instead. I may switch this back over or I may keep that one to use for another project - I haven't really decided yet! I also added some Tufts of "Highland" grass from The Army Painter (I LOVE THIS STUFF - Great product for the price). ;)
Here it is in all its blurry cell phone glory on the Paint Demo Table at GenCon just tacked together for Mock up to make sure I liked everything still....
Yep Looking good! Time to finish up and enter it!
Well thats the BASE-ics of how I made this base... (Groan)
Cya soon with another installment!
PS - TO THOSE WHO TALKED BASING STUFF WITH ME AT GENCON- I PROMISED AN EMAIL FULL OF DETAILS. IT IS COMING VERY SOON. SORRY FOR THE DELAY.


1 comment:
Looks fantastic. Great tip on the ikea stuff!
That's one heck of an awesome model and scene you've created. Thanks for all the photos of the build. Really interesting techniques at work here.
Post a Comment