So on to the actual paint! Started with a quick shot of Stynylrez. This primer by Badger is the best I've ever used, though **SPOILER ALERT** Ammo of Mig's new one shot primer is the same formulation made by Badger for Mig!!! Partnerships are something AMMO has really been developing as of late - Alclad being another example - What a great way to get an amazing products into even more hands!!
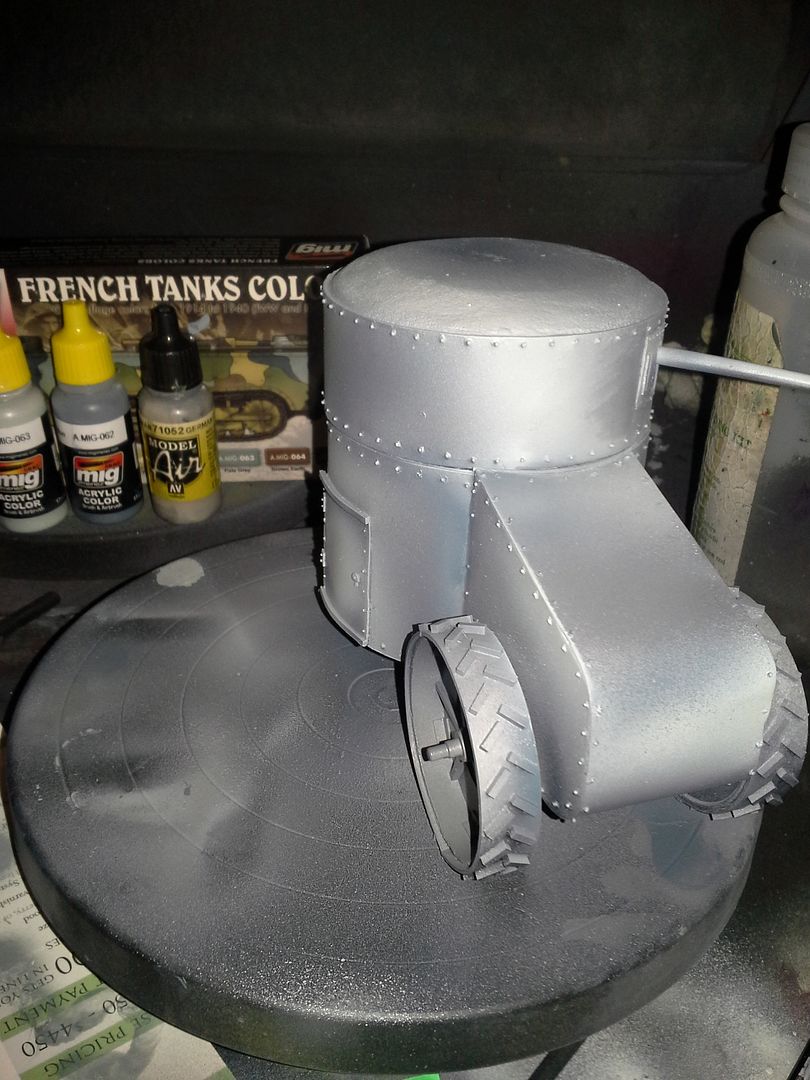 Once primed I reached for the AMMO by Mig Jimenez French WW1/2 Camoflage Colours - a great selection of period appropriate colours, but moreso than that a key selection of skewed grey tones - the light french blue was key in this paint job. I also grabbed some VMA German Grey and some Scale Colour Nacar to do some temperature adjusted contrasting zones in the paint job. With this being essentially a monochromatic model it was important to me to use contrasts of temperature and saturation to create interest in the surface of the model. I tried to create exaggerated and interesting areas of light and accentuated form without making it look completely unbelievable. This can be a difficult line to walk in these early stages as the following filters and layers will dramatically adjust these basecoats in a variety of ways. That being said I nailed 90% of my finishes on the first try. Came back the next day and could see what I wanted to change and made it happen. One of the best starts I have ever had on a model! A quick shot of dullcoat sealed this layer in.
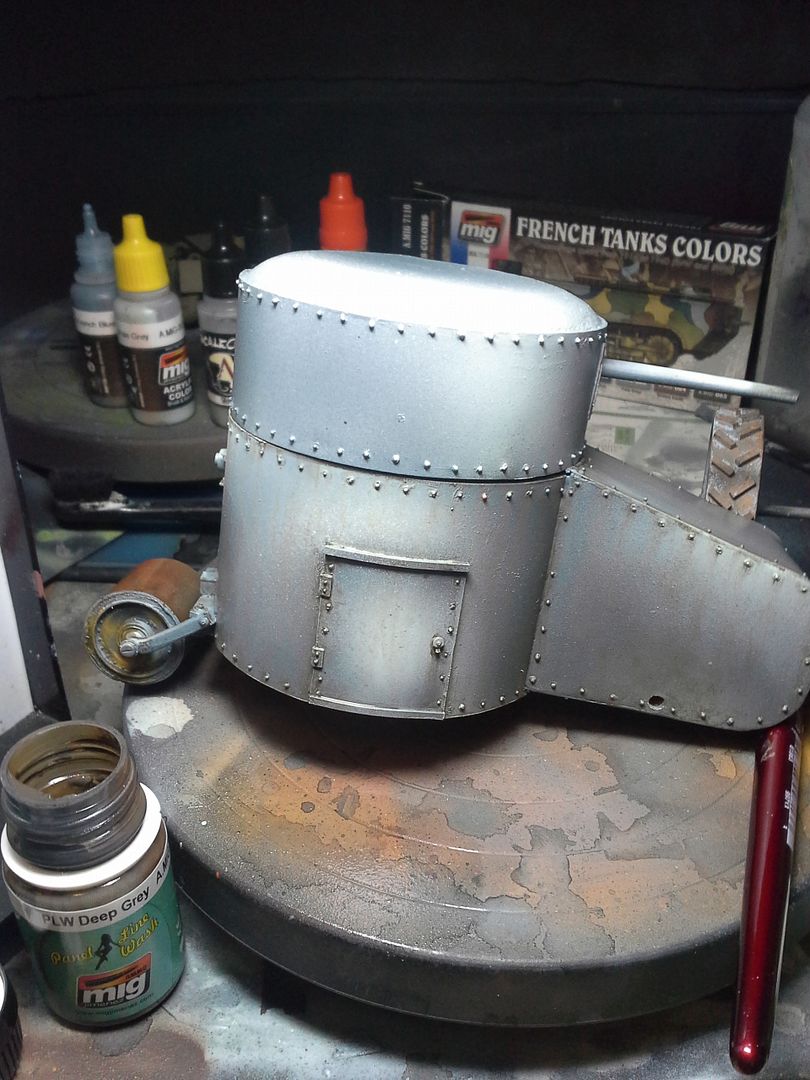
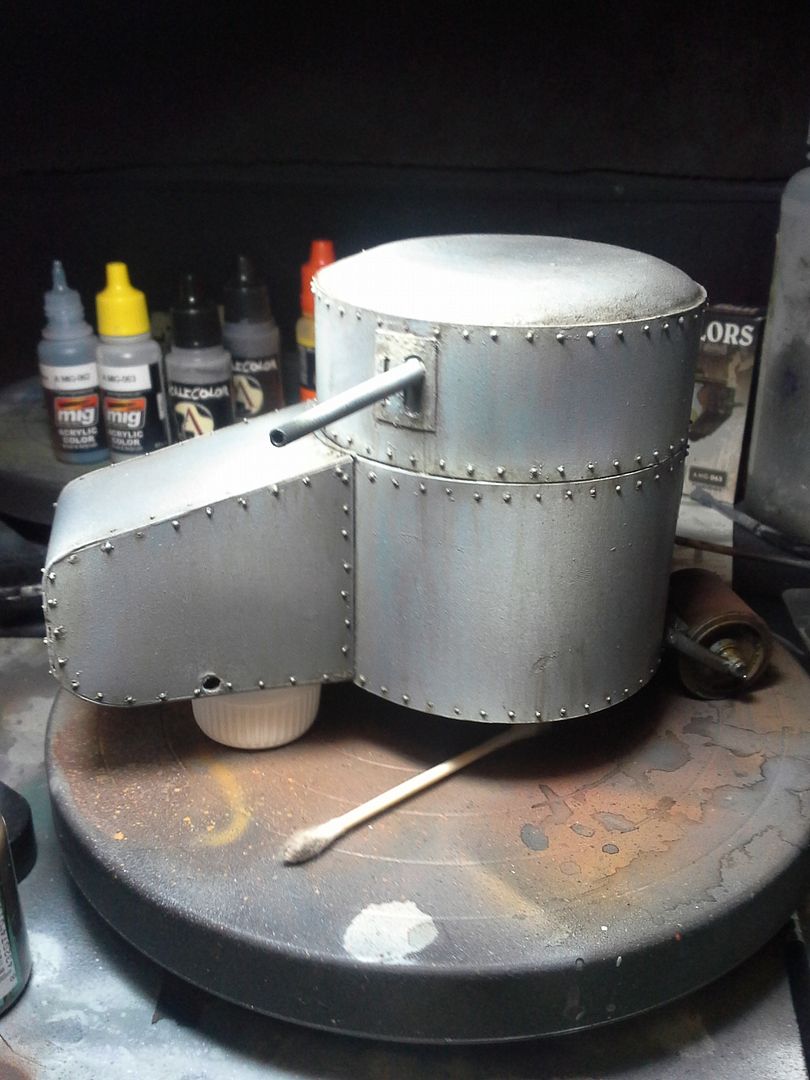
After a little test fitting to make sure all was still properly aligned with the base, the front wheel assembly was removed for separate painting and weathering. I started laying rust tones into the rear roller assembly and then began to apply filters and stains using AMMO of Mig Enamels. Any of my readers will know I love these products and that they have dramatically changed the way I work. Another miniature artist making awesome use of AMMO products is James Wappel - if you don't already follow his incredible mini painting exploits you really should!!!!
While the filters and streaks were drying I started on the wheels where I used a combination of actual chipping with AMMO Chipping fluid and Layers of paints, enamel rust effects washes and pigments.
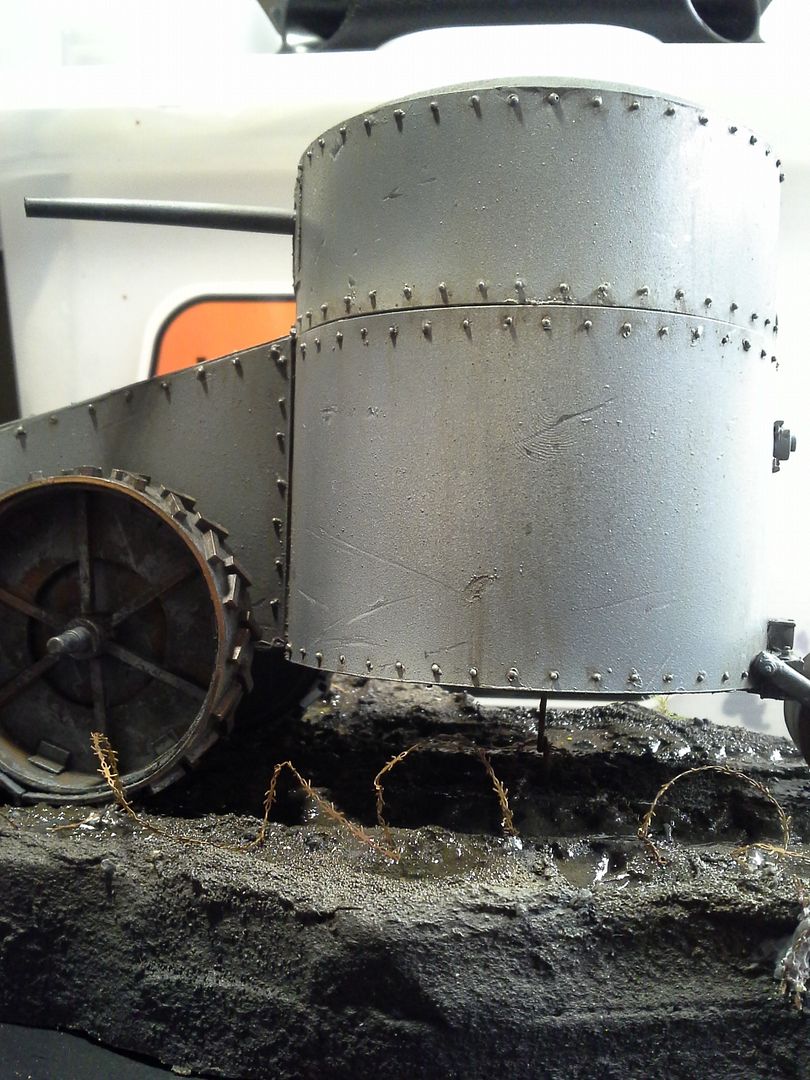
I also used a graphite pencil and Forgeworld Dark Iron metallic pigment to add exposed metal marks and edges. While those were drying as well I took the Forgeworld Barbed wire and began to add it to the base as well. It really added life and interest just as I had hoped - Really pleased at this point with everything!
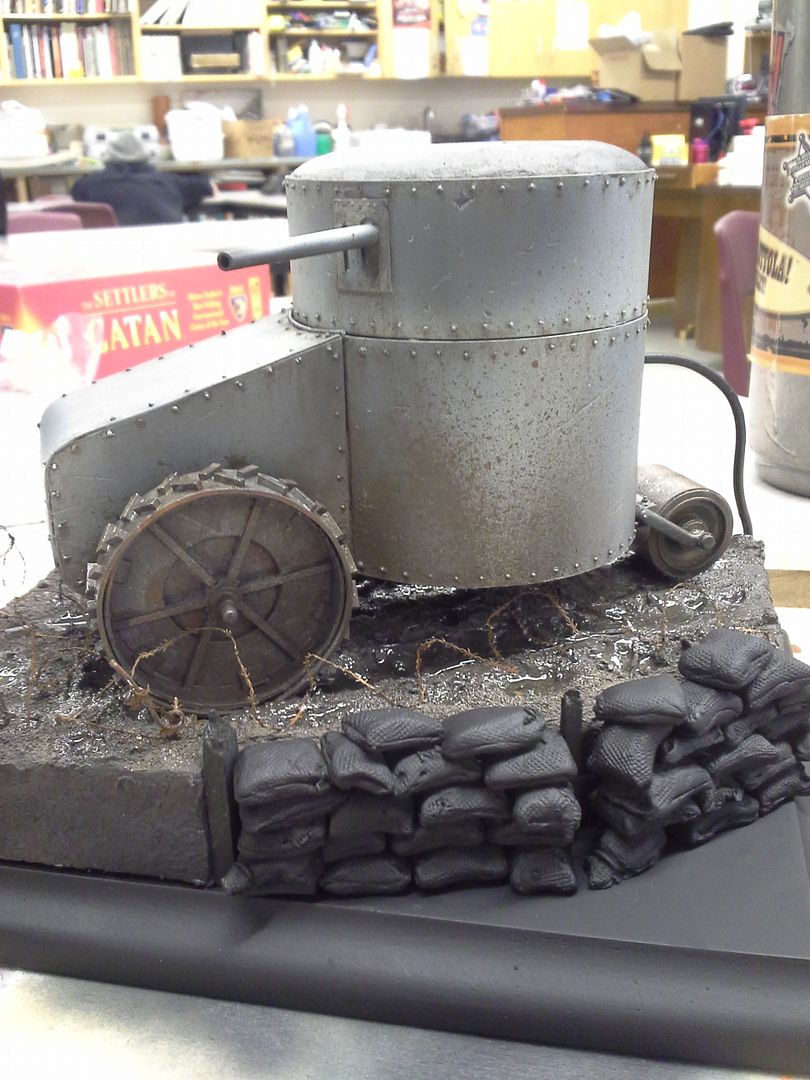
Once all the parts had dried it was time for test fitting on the base again
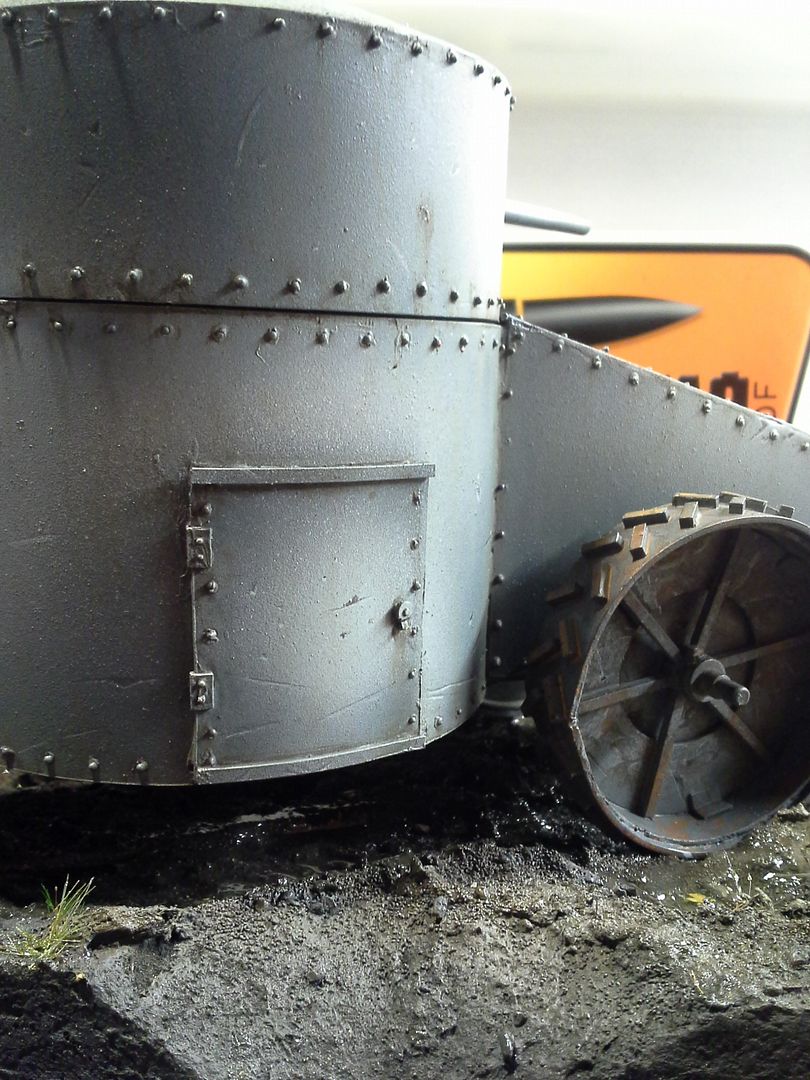
So with that it was time to add more marks and interest across the surface of the hull. Some painters like to refer to this as more "information". Even if (especially if?) it is subtle it really engages the viewers brain more. Sometimes it can also forward the story element by relating the piece to its environment. As this is designed to drive through barbed wire I wanted to make sure it has many little scratches across the lower hull in particular. These were painted with care and individually highlighted.
Once I had addressed surface detail and finish it was time for environmental effects - I like to think of my models in layers - Base coat and basic lighting come first. Filters and surface treatments are next. Weather/environmental factors are layered last. So I began by breaking out more of my AMMO of Mig enamels and using them to simulate a first spattering of mud - basically older dryer splashes that would have a matte finish against the slightly satin hull. I loaded up a large brush with the enamel mud and held it near the hull behind the position where the wheel would be. Using the airbrush I shot bursts of air effectively "flicking" the bristles and giving a natural distribution of spatter across the hull. This was a VERY effective way of simulating the mud and filth that would be spattered by the turning wheels in this wet landscape.
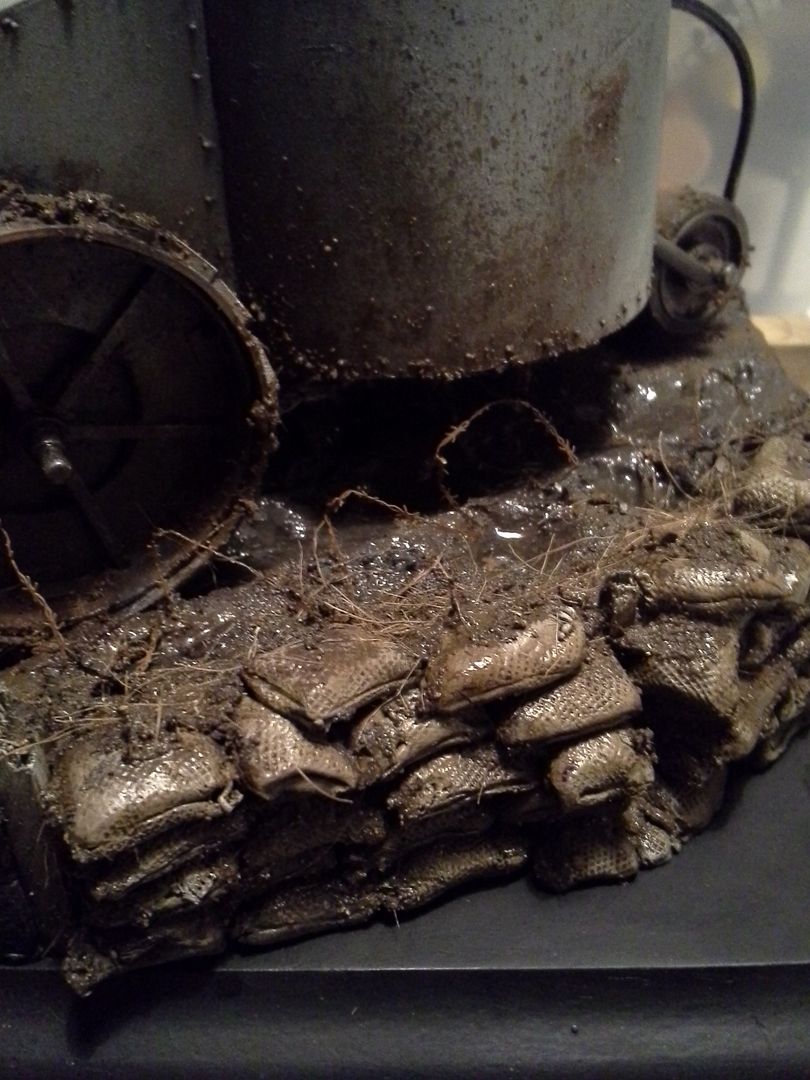
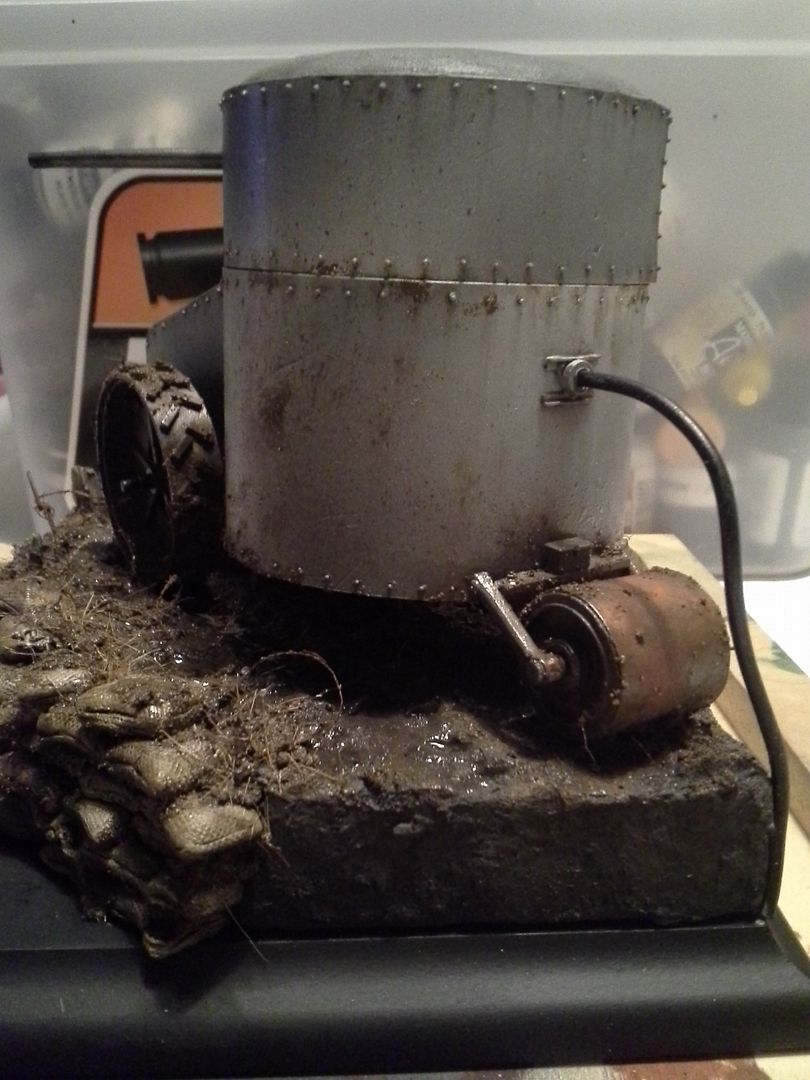
While waiting for this to dry I also attached the extension cord that ran from the back of this wild little electric vehicle back into the friendly trenches (this easily severed and unreliable power source was one of the key reasons cited in abandoning this project after building only the one prototype!). I also fit and primed the sandbags and supports and began to paint and weather them using a mix of acrylics and enamels. I wanted them to be harmonious with their muddy surroundings to be an accentuating detail rather than a secondary focal point. When finished they help lead the eye into the scene rather than drawing strong attention to themselves. Even the way they are stacked is to emphasize an upward movement pointing towards the tank.
Once the body was dry and the bags were in place I mounted the tank to the base and moved toward final harmonization - making sure it looked as though it was part of the scene and not just placed on top of it. I began by adding the next layers of dimensional mud. Made with pigment, acrylic pigment resin, paint, a little bit of gravel, static grass and some plaster this sticky mess matched the groundwork beautifully. It needed to be applied in stages, however, to build up naturally and to hold the dimension. It was really important to pay attention to the front wheels in this stage and make sure they looked partially sunk/dug in.
As the mixture was built up it was also added to the sandbags and areas of the base with additional roots and plant matter mixed into it - to keep the finish natural and to ensure harmony.
With that it was only a matter of small touch ups and finishes - highlighting the wooden posts, using dark iron pigments and black pigments on the gun barrel and metallic components with Ammo pigment fixer and a few more streaks etc with AMMO rust streaks and track wash.
Next Week - Finished photos!






7 comments:
Use the free templates below to create your own professional-looking calendar for business use or daily planner for managing appointments. Calendar Templates We’ve also included an academic calendar for school planning, employee calendars for shift scheduling, and calendars for 2018 or any year.
shareit
shareit download
shareit install
shareit app download
SHAREit, a one stop content delivery platform, has partnered with Google Play to make peer-to-peer app sharing more secure for all SHAREit.
I just found this blog and have high hopes for it to continue. Keep up the great work, its hard to find good ones. I have added to my favorites. Thank You.
Best fitness tracker
Best DSLR Camera for Beginners
DSLR Camera
Best DSLR camera under 35000
appvn ios
appvn app
minecraft appvn
appvn 2019
that is always ready to give you the desired content.
happymod ios
happymod download
happymod descargar
We’ve also included an academic calendar for school planning, employee calendars for shift scheduling, and calendars for 2018 or any year.
tellthebell.com food quality.
Cool
Post a Comment