

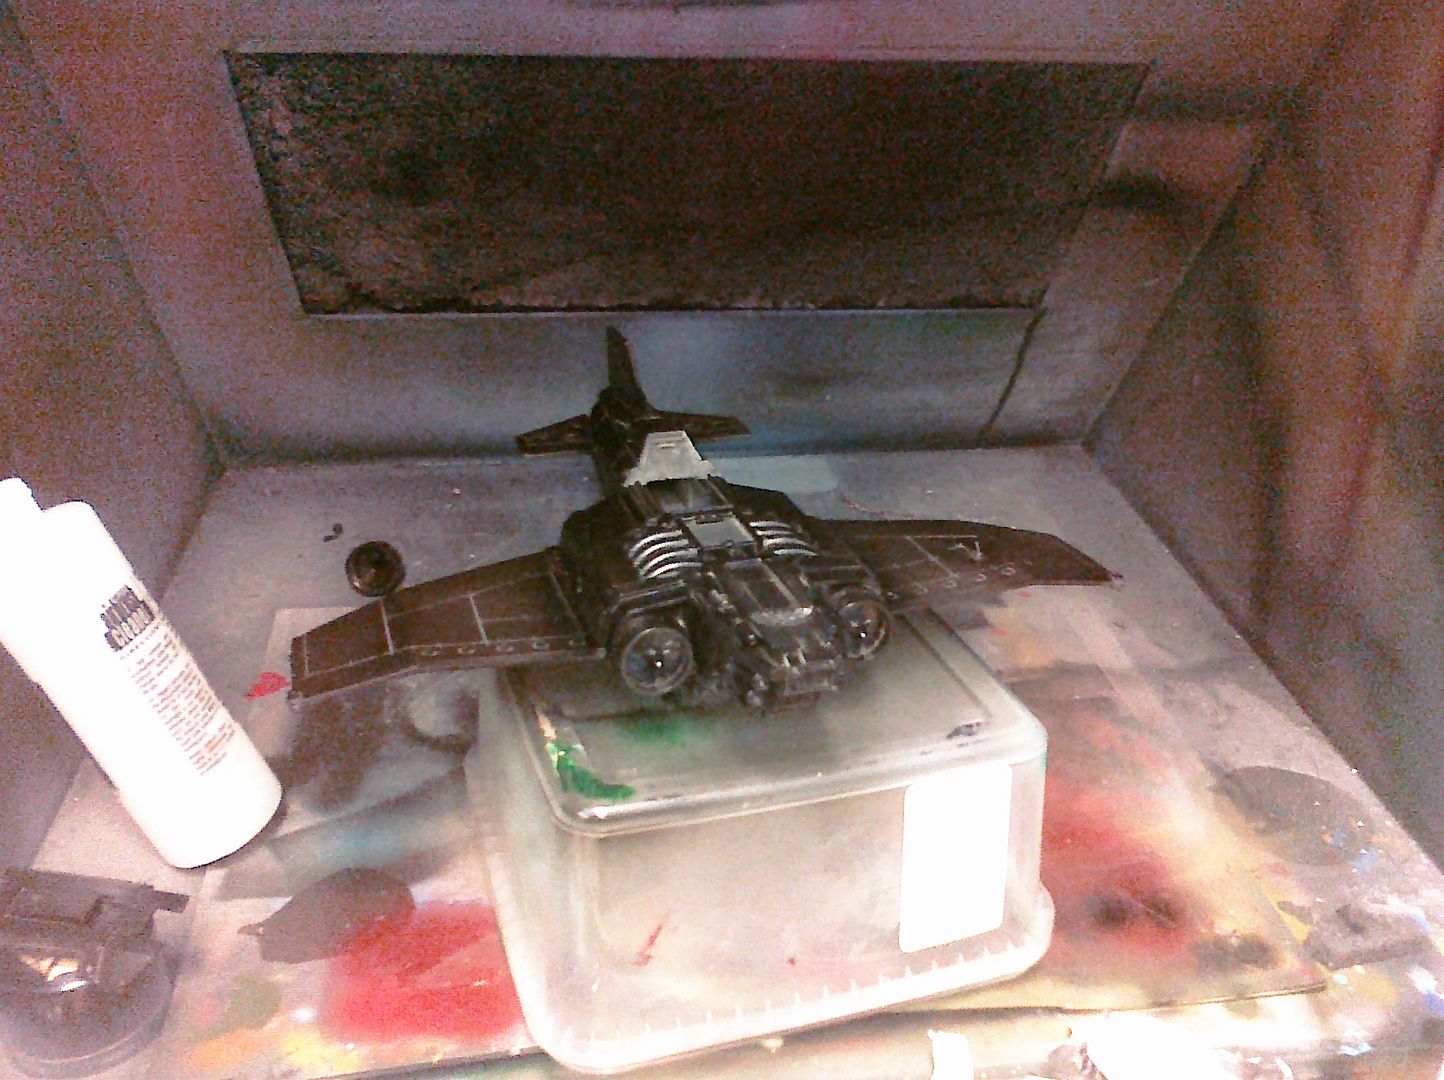
I started by painting the while model with a base of Floquil gloss black base. In retrospect I would probably have used another gloss product (Probably Tamiya) as the Floquil is a really "hot" lacquer and prone to all kinds of problems. Lucky for me the paint behaved beautifully and after leaving it to cure for 4 or 5 days just to be sure I moved on to the main colour coats.

Part of the fun for me in doing this kit was that I would have the opporunity to play some more with the AlcladII metallic paints I own. These are beautiful true metallic finishes that must be applied by airbrush and look their absolute best over a perfectly slick gloss base. The thunderbolt really wasnt the best kit to use these on because it doesnt have a particularily smooth surface and I wasnt prepared to sand out and polish the entire kit but I still figured it would look pretty good and would really stand out in the display cabinets at the event. (oooh shiny......)

will have to look it up) to alter the colours of some individual panels. This was starting to look really cool so I left it to dry for a few days.

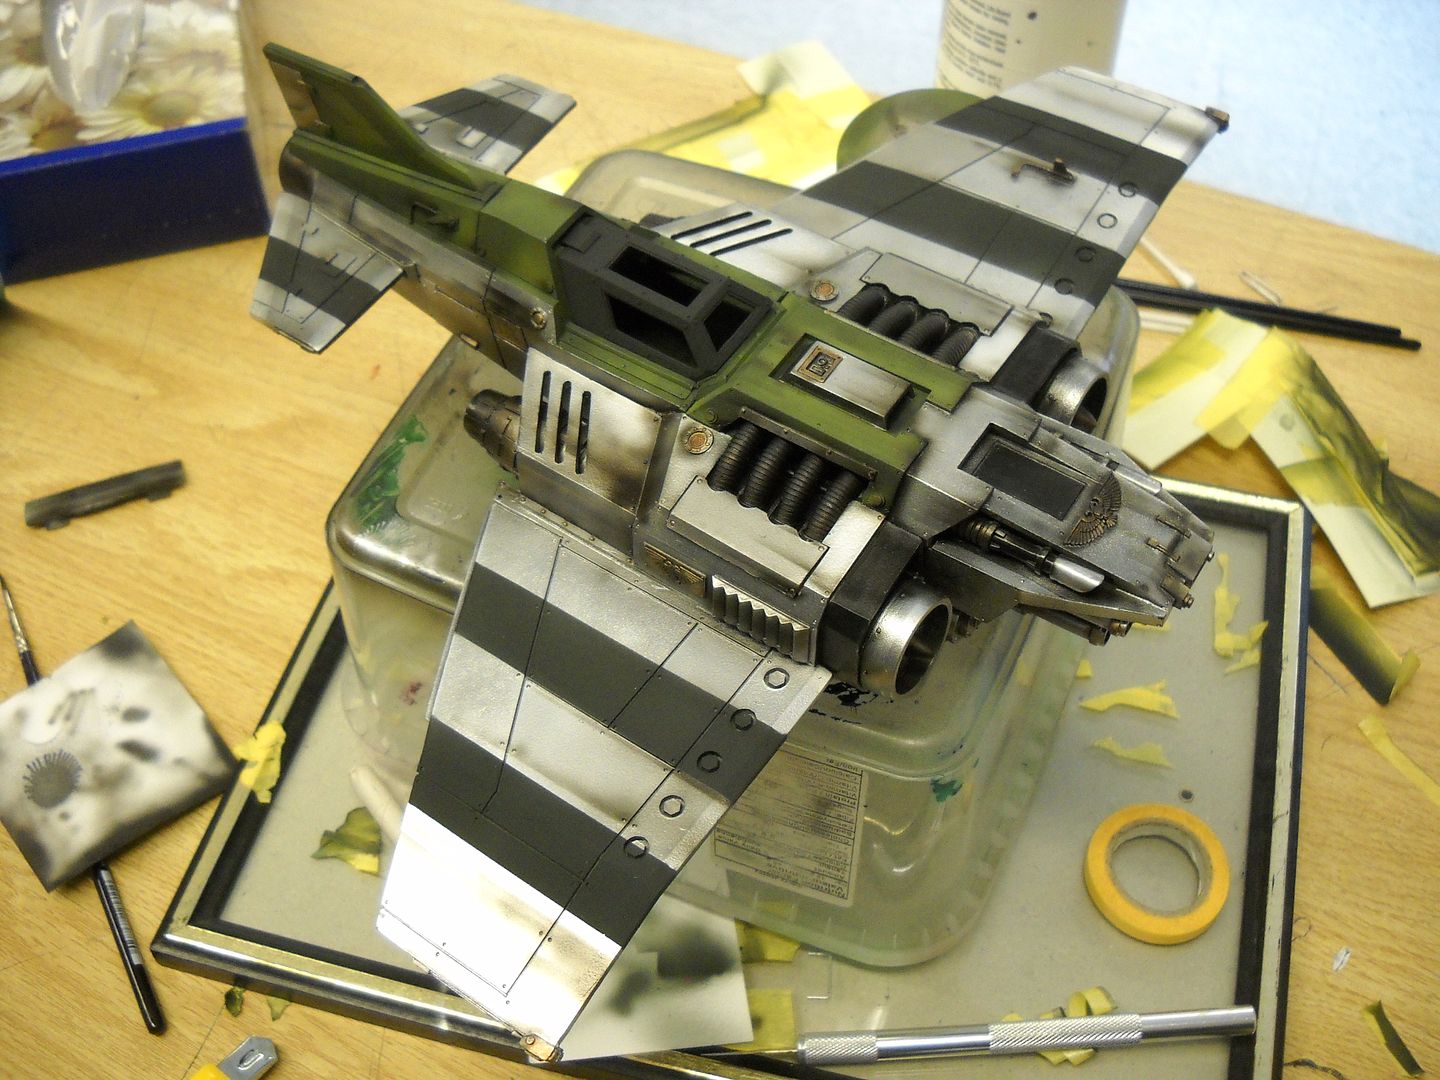 Because I wanted to give this an atmosphere of heavy use in 40k style SF batlezones I decided to notch up the wear a bit with streaks and such across the metallic surface. For this I used AlcladII "Jet Exhaust" and sprayed it across the wings and body panels and, of course, on and around the jet engines. This is definitely all art and no science. I just did what I think looks cool and left it at that.
Because they looked cool, I decided to carry the stripes from the undersides all the way across the tops of the wings as well. This worked out really well for breaking up the big flat wing panels of this kit. I painted these with Tamiya Nato black cut with Laquer thinner because I love the flatness of the finish and the slightly greenish tone of this off black colour. I also started laying some washes onto the engine and hoses (I left the hood removable). Now it was time to let this all dry up good and solid. I went about assembling and painting the landing gear and the cockpit. But more on those and on detailing this kit next time!
No comments:
Post a Comment