Edit - sorry for missing last week - I had this all cued to go and somehow screwed it up and forgot to hit the publish button... oh well back again!
So when last we left off - I had painted and mortared the back wall, base coated the floor, rust coated the door, table, warjack etc., added a chipping fluid layer and done my layer chipping on all of those, Made some barrels from sheet metal and markers and did the bulk of the painting of Gorman himself. Not a bad start!
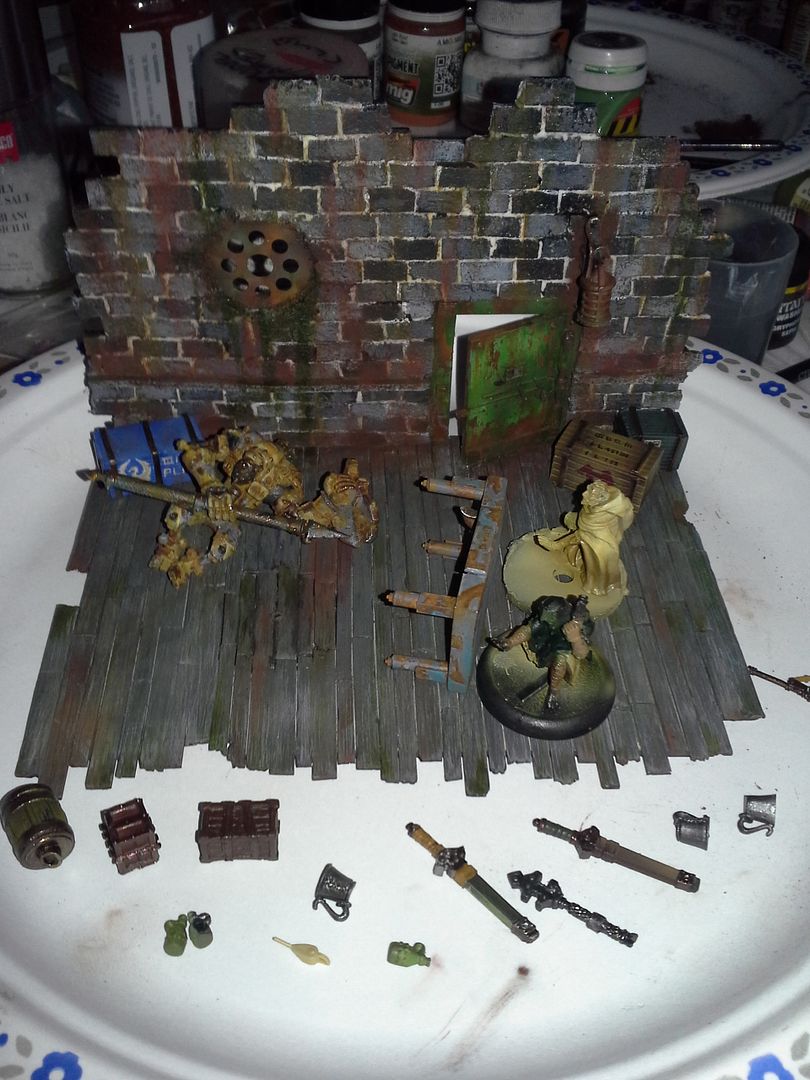
From here I started to work on the accessories in earnest. I had a box from Herne and Jonne, a box and barrel from the Mule kit, some swords, troll mugs, flasks, a Menite Wrench, Trencher Helmet, and assorted odds and sods from the Privateer range to add some detail to the scene that would be recognizable as being from their model collection/universe. I used some great metal gears from Jeff Wilhelm at DRAGONFORGE DESIGN (check out his stuff/support his work as he is a great guy who makes amazing quality products and has sculpted several pieces for PP to boot! The Gears are in the "Conversion Parts' Section) along with many Tamiya 1/35 scale historical model parts as well - gas cans, a really great oil can, a bucket etc. If I had used just those historical parts (there are plenty available) they would have lacked consistency in the sculpting style, and quite frankly visual consistency with the established world/story on their own. In my mind it was REALLY important to have some very specifically Warmahordes parts in the set dressing.
What I usually do when I have a bunch of pieces like this to do is batch paint sections of them by taping them down to a plate or plastic sheet so that I can do a lot of the bulk work quickly and spray or brush whole sets of pieces rather than one at a time (though I do finish and detail individually!). In the pic you can see them in the pre rusting stage same as the pieces you saw in the last post :)
Something else you might notice are the resin crates that I painted up - if you look closely you will see that each is painted with a different Nation's iconography - visually supporting the idea of these guys being Mercenaries or criminals in five fingers and dealing in stolen goods/weapons etc. from many ports. If you can read the runic scripts of Immoren you will discover messages thanking my wife for her support and listing the names of her and my children (Daddy loves you guys!) ;)
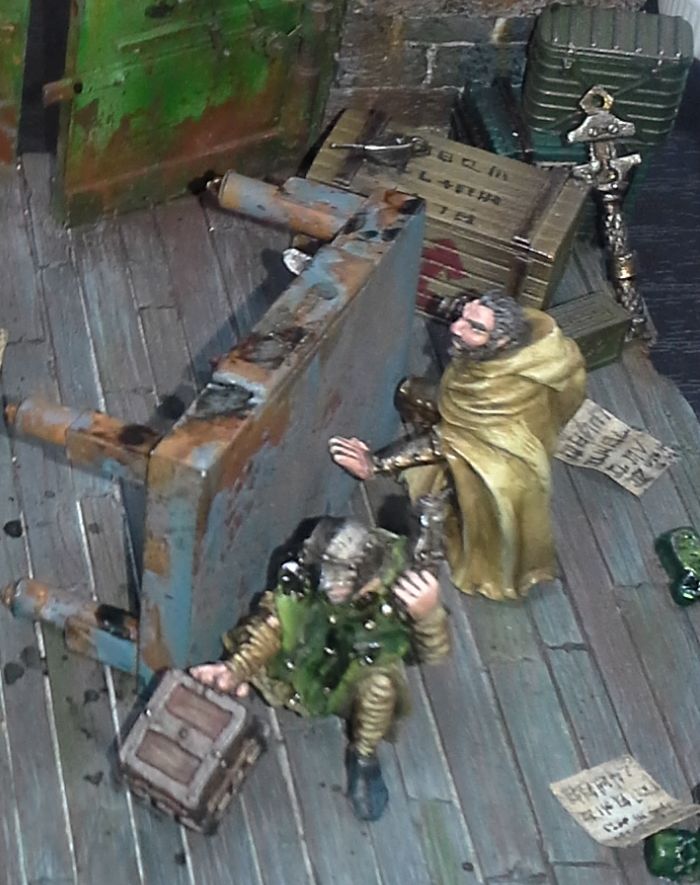
I also started to paint the crooks themselves - I stuck them to bases/pieces of plastic to hold them and decided to use Green (a colour often associated with the Merc faction and which helps to connect the visual of the studded cloak to the studio Croes Cutthroat models that inspired it) and ochre tones (as that is the basic colour I used for the Magnus pieces I have worked on for the kids to play with in my local club!)
 Also I felt the warmer tones would separate them well from the greys and help to firmly establish them as a
focal point in the diorama. I purposely skewed more towards the ochre for this reason - plus it is fun to paint! I used the AK Interactive Dunklegelb paint set along with some P3 colours to establish my lights and shadows and then used AMMO of Mig Jimenez Enamel filters to tie it all together and dirty up the appearance slightly. Reaper skintones (check back in my tutorials section - Chris Borer did a great article for this blog once about these! ) made the faces a piece of cake (as did the sculpt on the face of the bearded figure - it was a real joy to paint!).
Now for the tricks:
These are actually quite simple things that lent a great deal of interest to this and several other paint jobs I have done! I hope you find some of these useful.
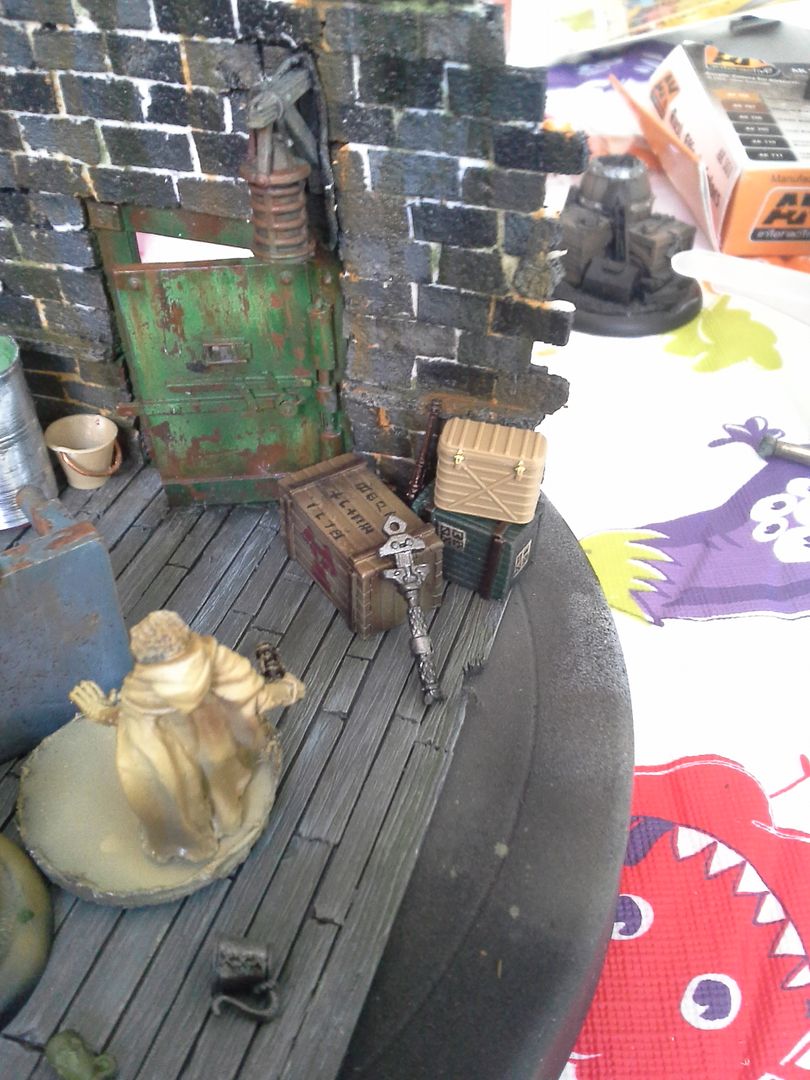
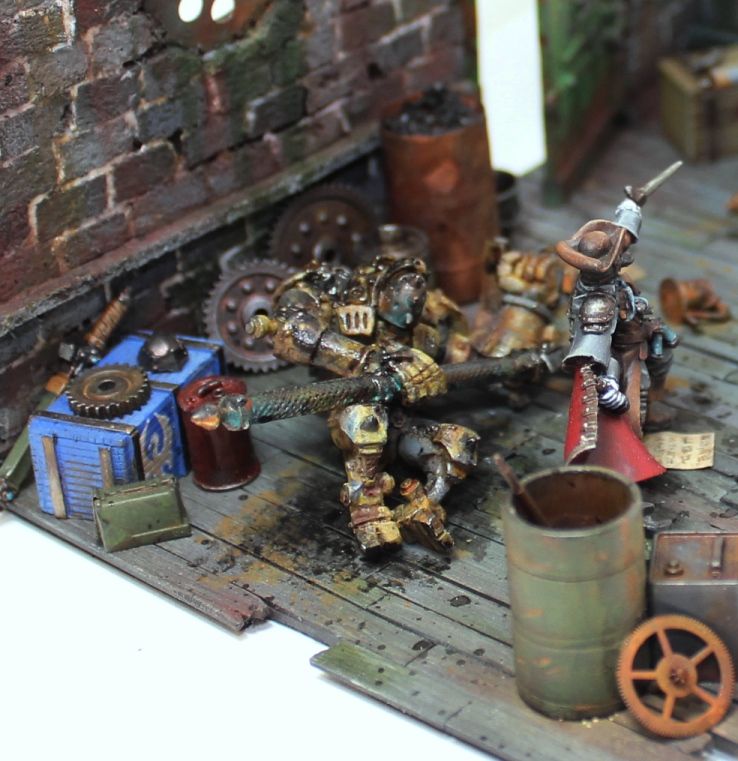
 I started to paint the bulk of the metal items in the usual manner starting with warplock bronze by GW - I really like the warm tone this lends to all my metals (trust me on this one folks - it is worth it) and then worked over it in a variety of metallic tones. For many of the pieces (like the bucket by the door) I went to powdered graphite and Ammo of Mig Gun metal pigment and Forgeworld Dark Iron pigment along with pigment fixer instead of (or in addition to) other metallic acrylics. These give such a beautifully smooth true metallic finish - really awesome (way better than the pictures show in most cases). I added this to the helmets, cogs, handles, boxes, the oil can - lots of places. Looks great!
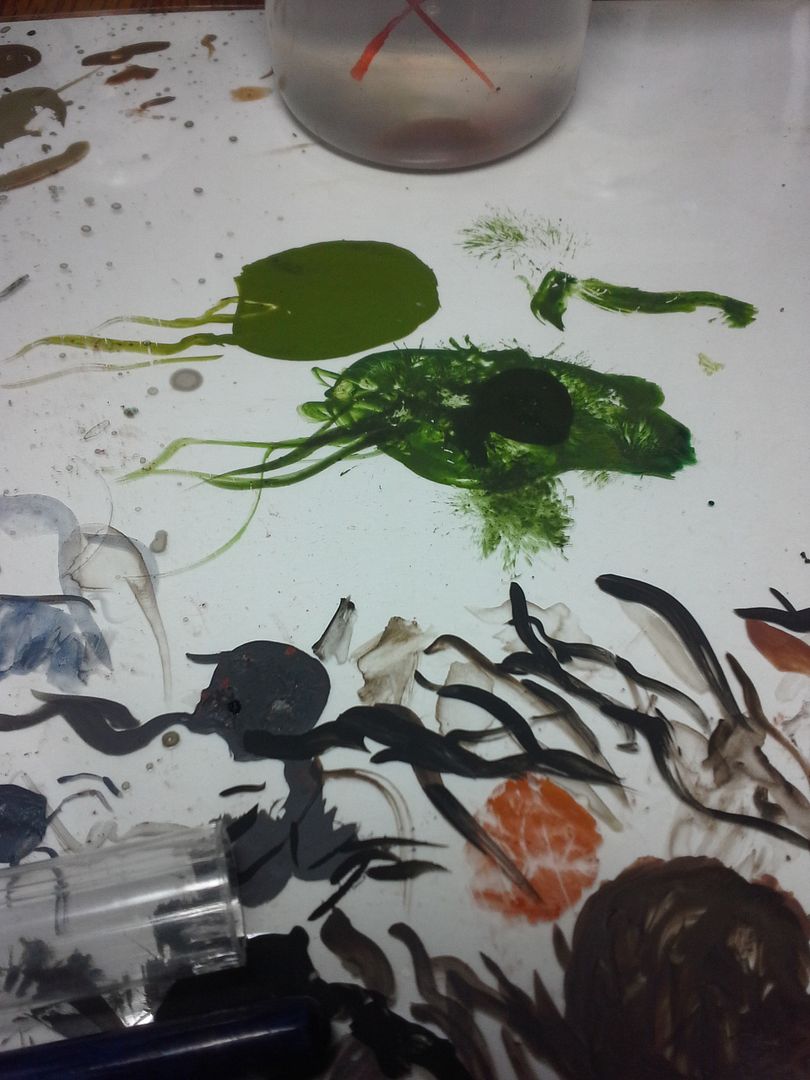
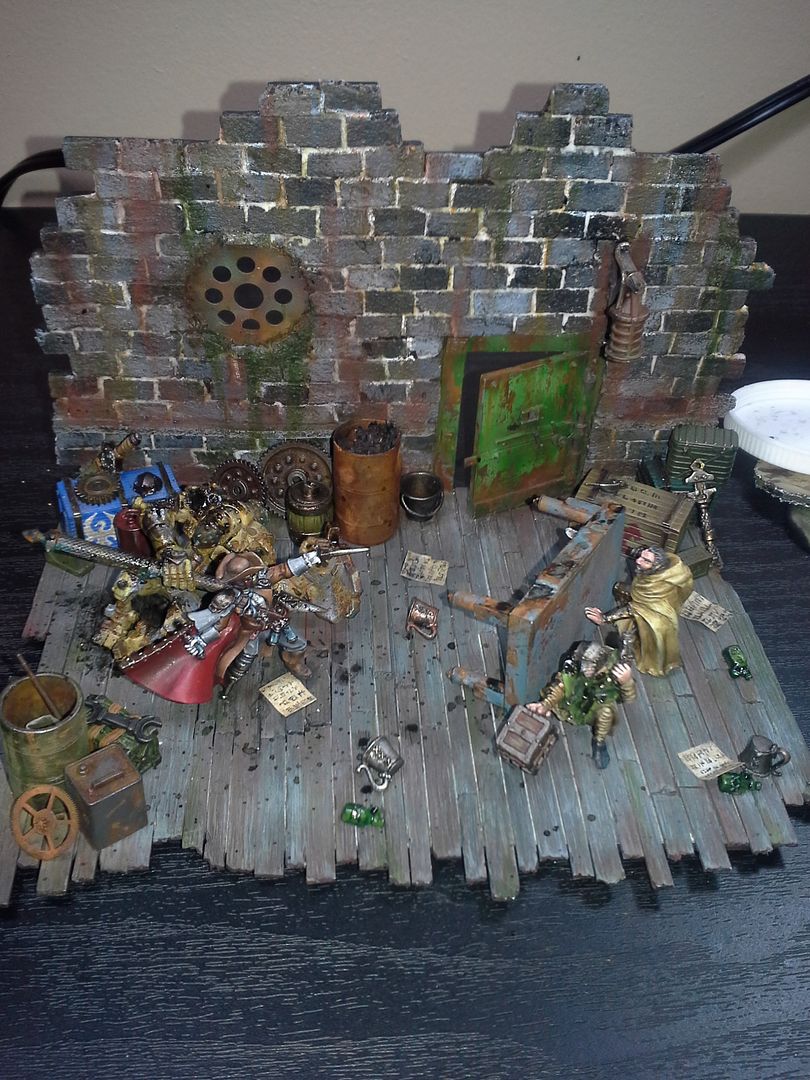
I also needed to represent both the rust effects and black oil effects of Gorman's arsenal. Aside from the rusting I had already done using the chipping fluid - I generally find it is best to layer effects to create a really natural appearance with great variation. So to create the splash effects of the grenade and to create streaks in other areas I reached for my trusty AMMO of Mig rust streaks, track wash and rust effect enamel fluids. These create such amazing looking rust with genuinely minimal effort. I spattered this around the floor making small puddles and spattered and streaked it across all other surfaces that made sense. This brought areas of the floor into the same warm palette seen in the rest of the diorama. Once dry I worked several AMMO of Mig, Mig productions, Forgeworld and Stardust pigments throughout the scene (really evident in the floorboards in the pic to the right). The only place I left fully clean was Gorman himself - again helping to keep him the contrasting focal point of the scene.
 In much the same vein I grabbed Tamiya Smoke. This is a translucent sticky black paint that I often use for oil effects. It stays highly gloss and as such creates yet one more contrast in the scene.
This kind of contrast of shine/lustre is something I have really tried to incorporate in several of my pieces ever since seeing the amazing tyranid pieces of Slayer sword winner David Rodriguez. I like to work with it in a highly diluted form first and then work my way up to using it straight from the pot for maximum shine. Overall this makes a variety of marks and really helps to sell this particular story concept.
I really enjoyed soaking the warjack with this and splatting it right across the face of the thug pushing out the money box in acquiescence (though I must admit this was a little scary to do to a full painted and otherwise finished figure - but it was totally worth it in the end. In pursuit of similar contrasts I also used gloss varnish on Gorman's vials and lenses to make them pop.
Final tip/detail trick - I scattered contract papers all around the floor - it can be hard to make papers look natural, hold paint well and bend in pleasing ways - the answer to this all is to use 1000-2000 grit sandpaper! The material is meant to be used wet, so thin washes and coats of acrylic have no detrimental effects whatsoever. The grit is so fine that the surface looks smooth - and you can use the back which is generally smoother, but often contains printed text which means more paint to cover - so I prefer the grit side. I used both a brush and a sharpie pen (finer than most of their fine point markers but every bit as stable ink-wise) to write text on the sheets that I had cut (in properly translated IK runic text of course - gotta stay in character/world!). Small details like this really help to finish the story in the scene AND add yet one more contrasting surface/material to the scene, giving it life and believability.
That was pretty much it - if there is anything that doesn't make sense or that you feel I have missed - just ask! Next Monday - the final pics :)


No comments:
Post a Comment