

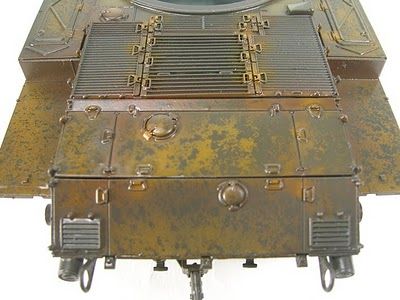
 On the AK website (listed in my links) are several tutorials regarding their new products including an article on weathering a wrecked m41 in Vietnam by Iain Hamilton of AK Interactive USA (inspirational pics from his article to the left and below). I Intend to combine this guide with some of Mig's historical model painting techniques and his new line of products to create some (hopefully) fantastically worn and beaten 'Jacks straight from the Rhulic mines!
I am honestly not sure how this is going to work out on this small scale or how far I want to take the entire effect when it comes to the units I have planned past this initial group, but for now I am optimistic and excited to try!!
So I started with a solid coat of black primer. Over thisI painted the model with a combination of Tamiya Nato Black and Black Green to give a dull dark base that will simulate aged metal and protected it with testors dullcote.
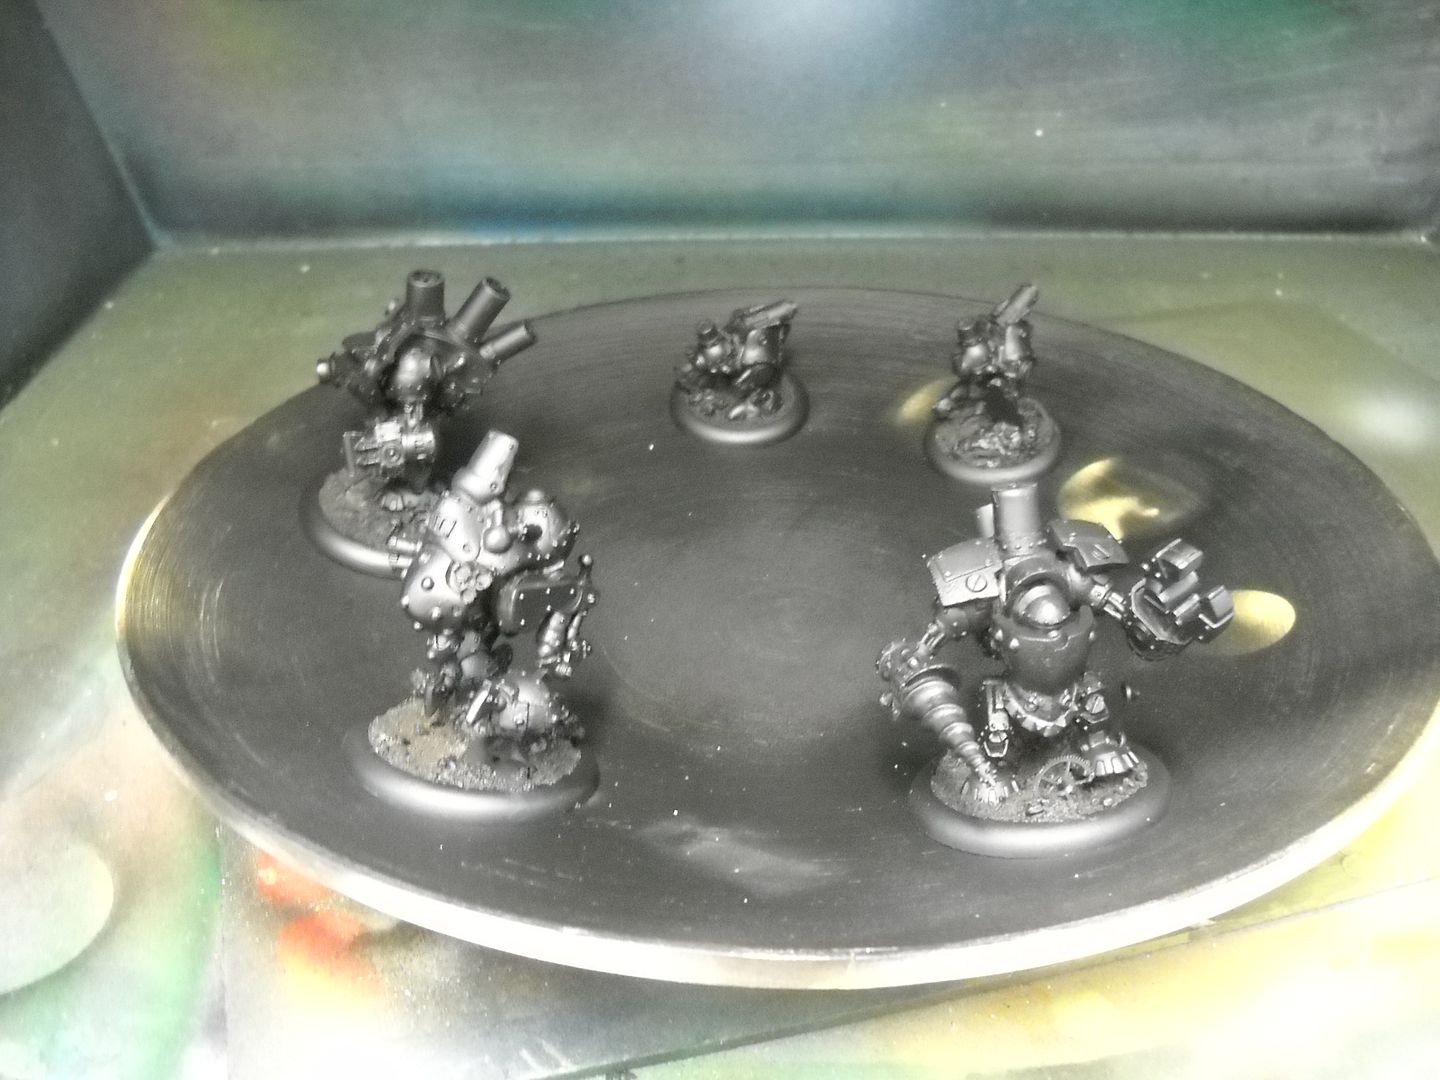
I also tried a super thin and quick cote of a special metallic paint called Alclad II on some areas. This paint is meant to be used in an airbrush specifically and is a metal flake in a
suspension. It gives a really hyperrealistic metal finish. Superb stuff! Long time readers may remember that I used this a couple years ago on one of my golden demon projects (Ill add the Link HERE when I have a chance to look it up). I used Magnesium, a little polished aluminum and one caled Jet exhaust. Once that was given 24 hours to dry I then masked off a few of the areas I had painted with Tamiya masking tape to preserve the metallic sheen for later.
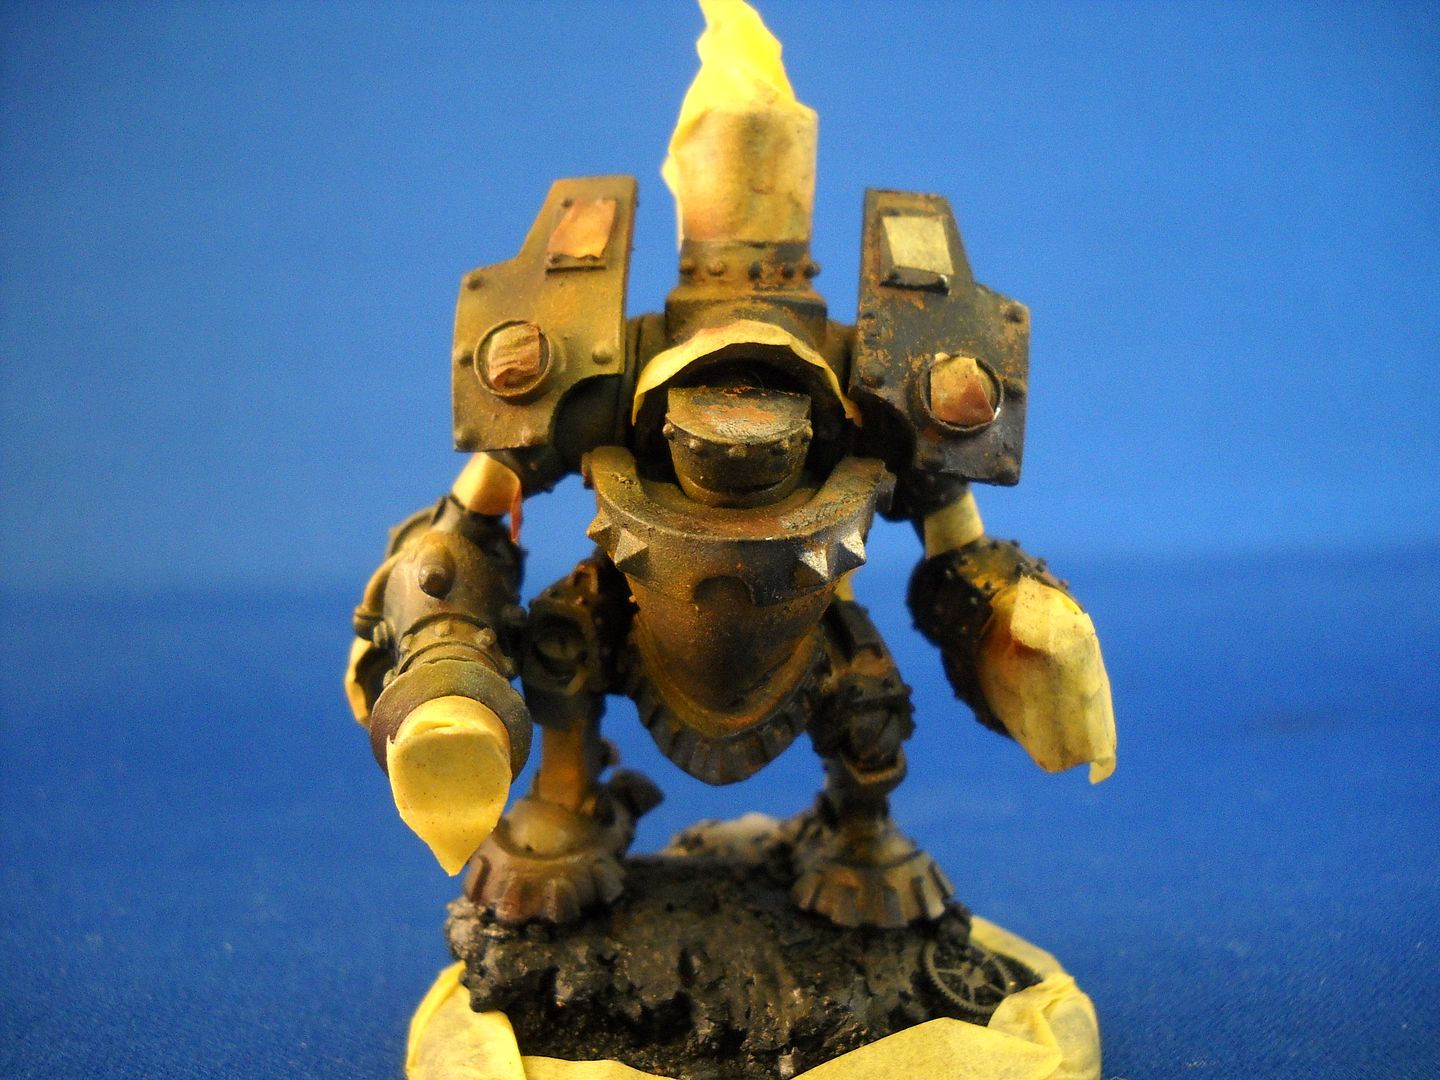
 I then shot the models with a coat of hairspray. This would create a water soluble barrier over the "metal" finish. I then sprayed the model with various rust coloured tones like orange, red brown, yellow green and hull red. Once the paint began to set up and all sheen had disappeared I took a wet stiff brush and rubbed back through the paint and hairspray to remove the paint layer. I started with a citadel stippling brush but this was really abit of a heavy handed tool for this. The paint came off REALLY easily once it was wet. Qtips and soft square brushes took it off well enough and I experimented with a few different tools.
 Equipped with the knowlege that I was going to do this again I allowed myself to practice a fair bit without worry.

Before and After first chipping/rust layer
Half and Half
Then I repeated the whole process to add more convincing rust and layered textures. This was then sprayed with Testors Dull Cote to protect my work. Here are some of the models in their second coat of rust tones awaiting more chipping!


Truth is I liked the look of this so much that I was really tempted to just leave them in rust coats..... but I am out to learn new things so I am going to push on and do the next layer sets. So one more dullcote and we will be onto the real painting.
NEXT: It Aint easy Being Green.... Events Coverage.... Sleep?
1 comment:
Very nice. It is a technique I have been struggling with recently!
Post a Comment