So a little back story - I am a highschool Art teacher who is also qualified to teach History and got the opportunity to do so for a semester (grade 10 Applied Canadian history - focusing primarily on the Canadian experience in the first half of the 20th centurywith a particular focus on WW1 and WW2). One of the goals for the year was to help raise the profile of, and draw attention to, the history department at the school. One of my best friends on staff is History teacher John Bunton and he and I came up with the idea of doing a historical model build-off. John has been building historical models for more than 30 years and has a ton of knowledge to share, which is key since I have never built a historical model before (and didnt even know what some of the parts were called!). I, in turn, was focused on helping John improve his painting and to share some new techniques and products with him.
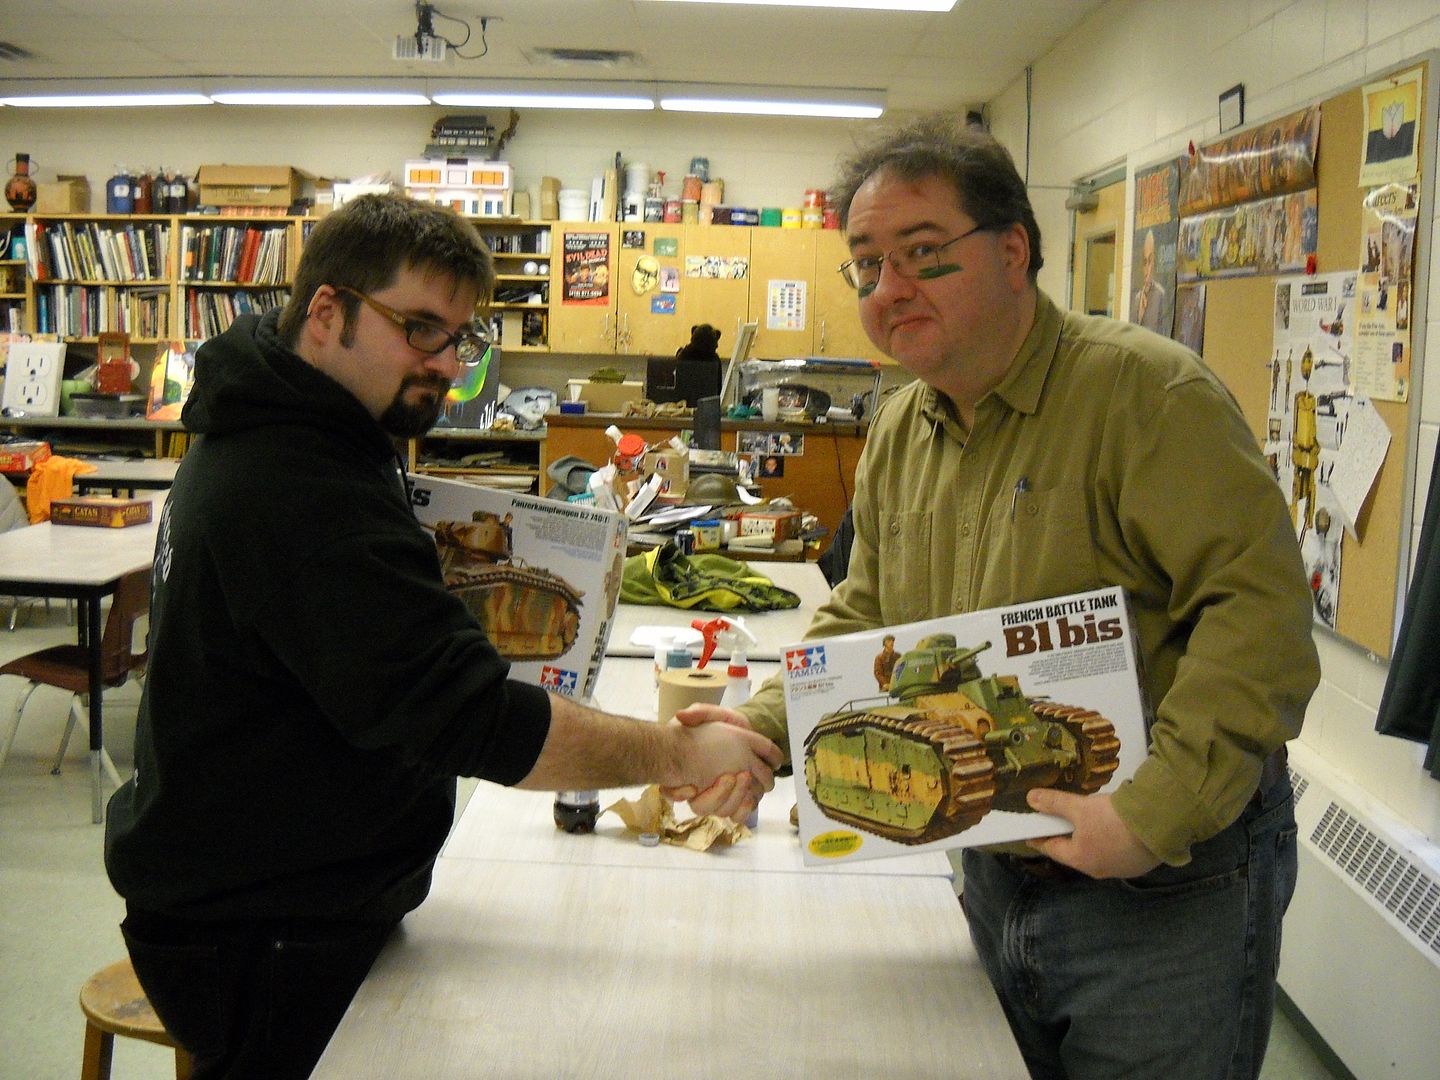
We decided to build something really oddball and interesting - something different from the usual German and Russian armour that John was used to. So we picked the Tamiya Chars B1 Bis French tank from the beginning of WW2. This behemoth had 14cm thick front armour and was a terrifying sight on the maginot line during the "sitskrieg". Later in the war the Germans would put the captures French chassis to good use with new flamethrower upgrades etc. We began researching the history of these behemoths and once the kits arrived in the mail IT WAS ON!
John decided from the get go to build his mostly straight from the box and to focus on advancing his painting and weathering techniques. He added brass barrels from Voyager Models to the guns but otherwise trusted in the fit and finish of Tamiya to carry the kit. I knew from the beginning that I wanted to build this as a competitive level display piece and as such felt it prudent to really research and track down any corrections and upgrades that could add to the historical accuracy and sway judges opinions. I also picked up a brass etch kit from Voyager Models, which gave me the barrels and a large number of additional details, and a resin upgrade kit from Blast Models which cost a fair bit, but saved me some crucial time/effort in adding proper detail to the top hatch, front visor and radio antenna housing in particular. In retrospect, however, as beautiful and easy as these pieces were, I think I would have added these details myself instead as they could have been accomplished with a little care and at substantially less cost.
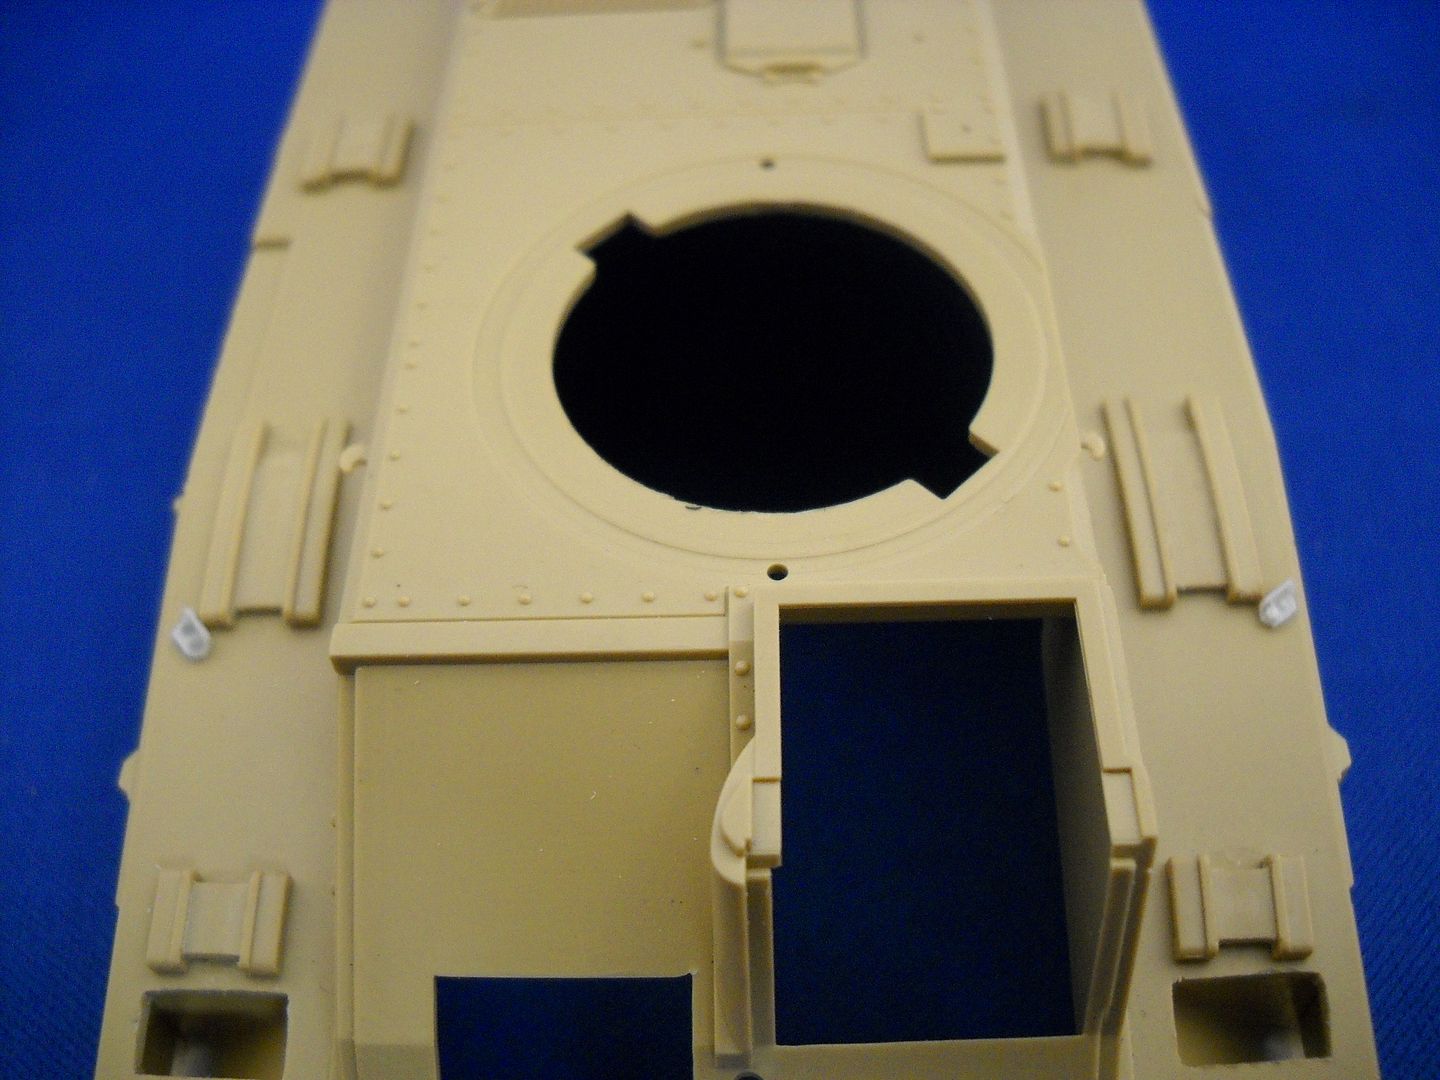 |
| resin scraper - can you tell which one I made? |
spent more time looking up details and deciding on a specific tank/colour scheme and so started to lag behind almost instantly. Also many of the particular sub assemblies were old hat to John whereas I had to continue checking back and forth between the instructions and simply asking him.
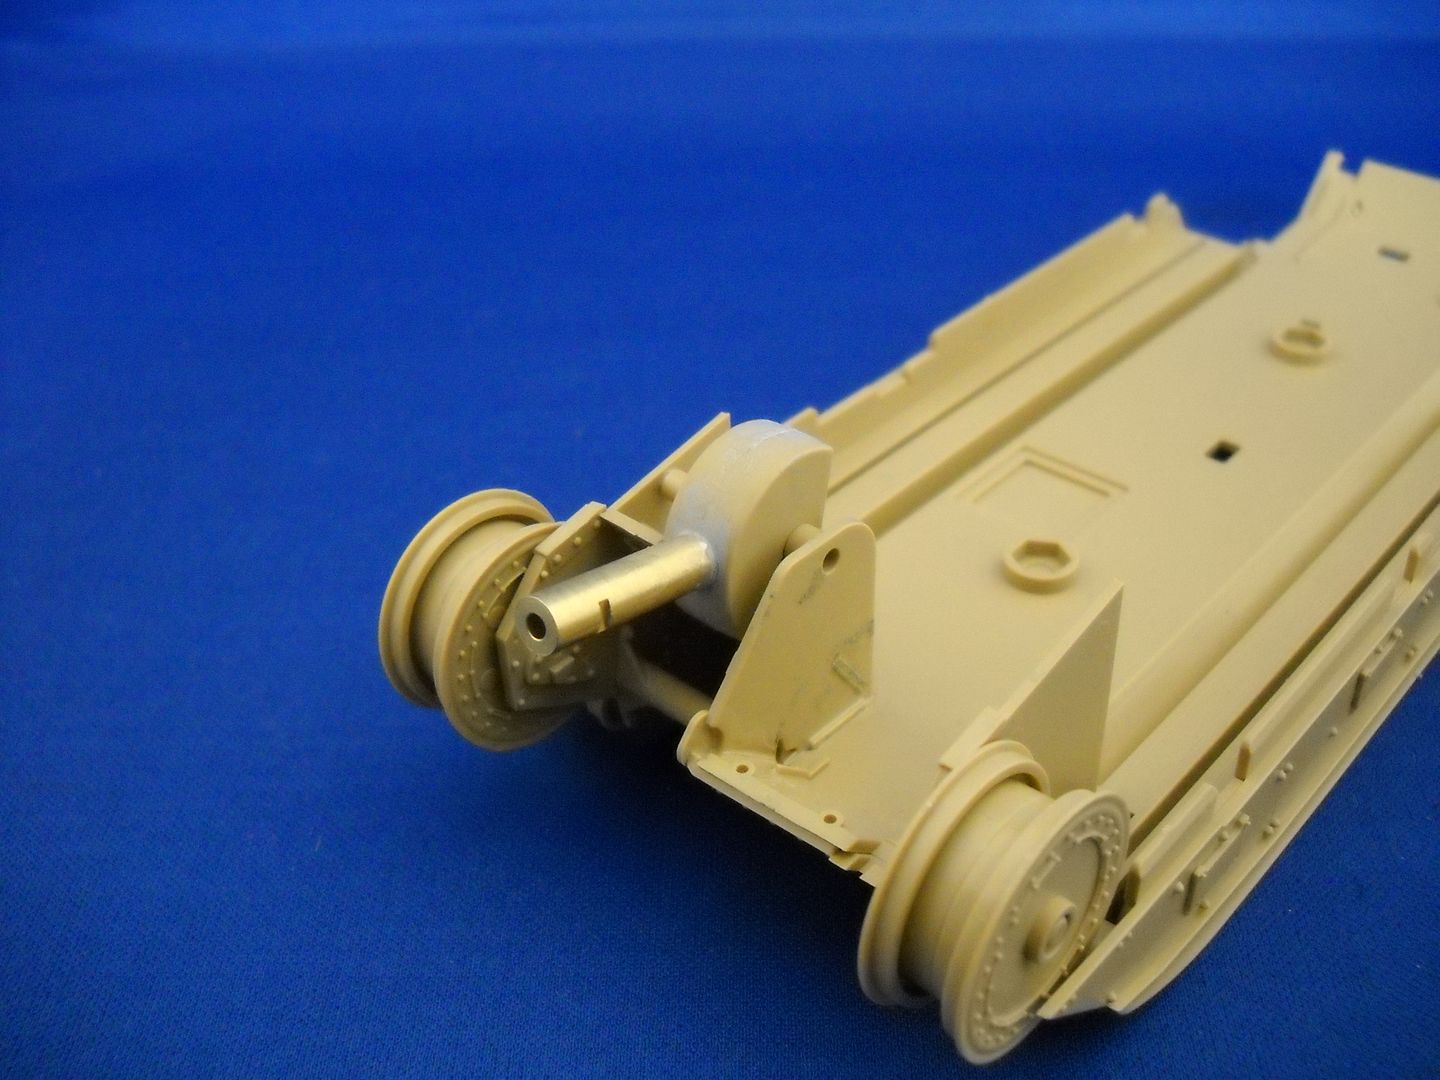 Brass Barrel Brass Barrel | Brass Mud Guards | |||||||||||||||||||||||||||||||||||||||||||||||||||||||||||||||||||||||||||||
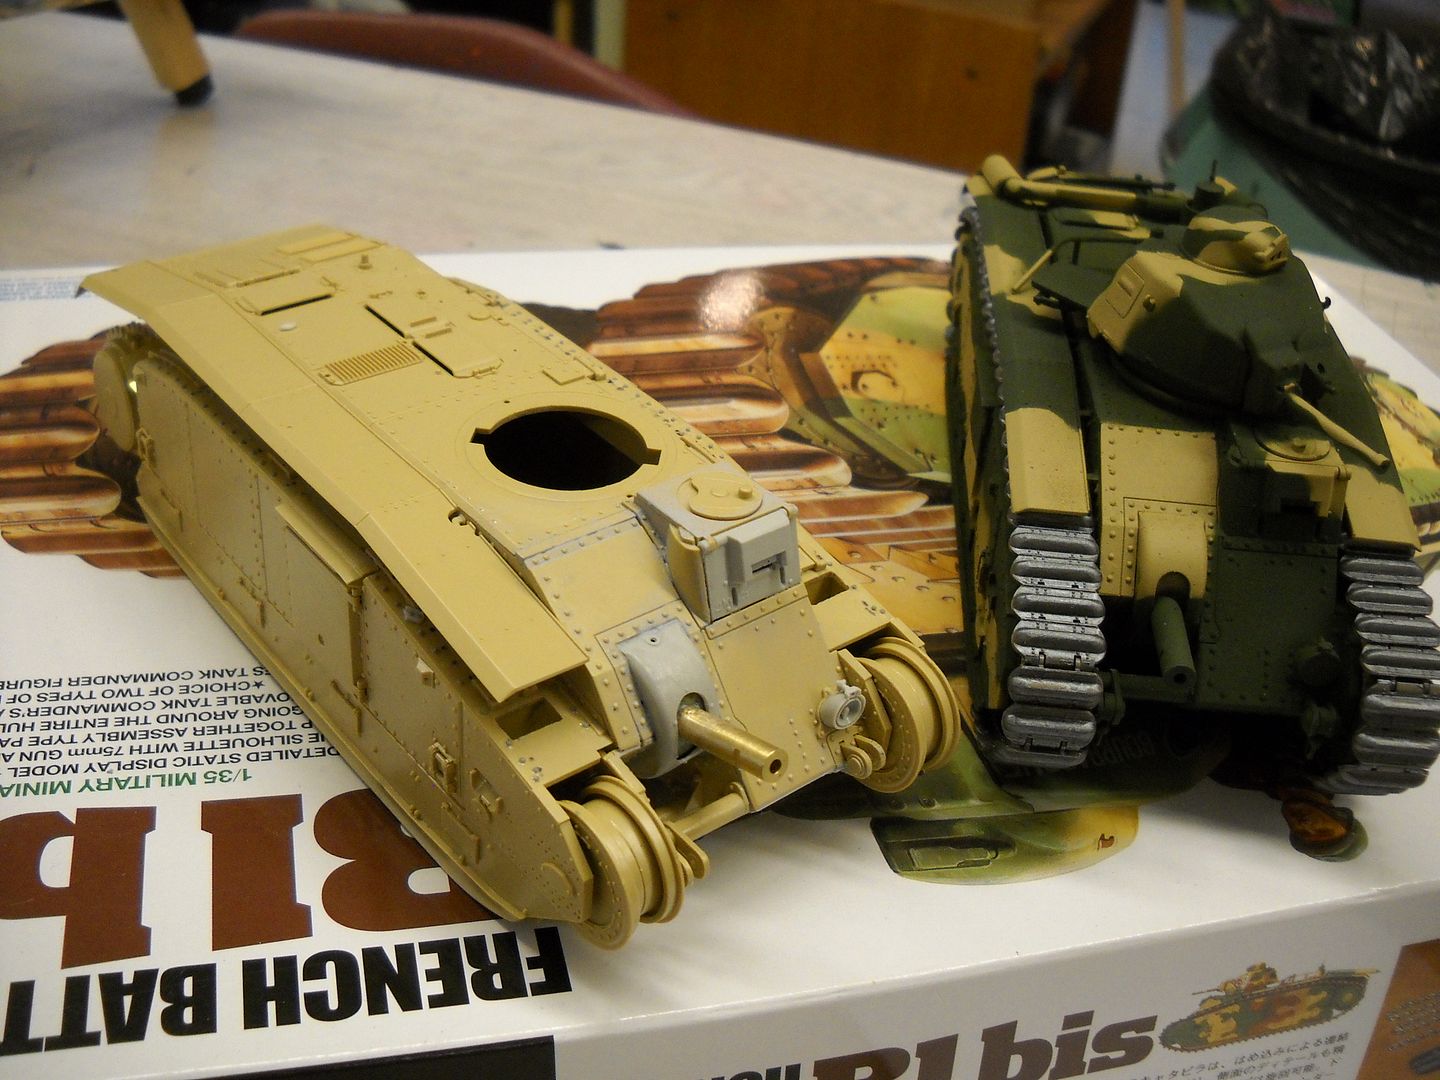 |
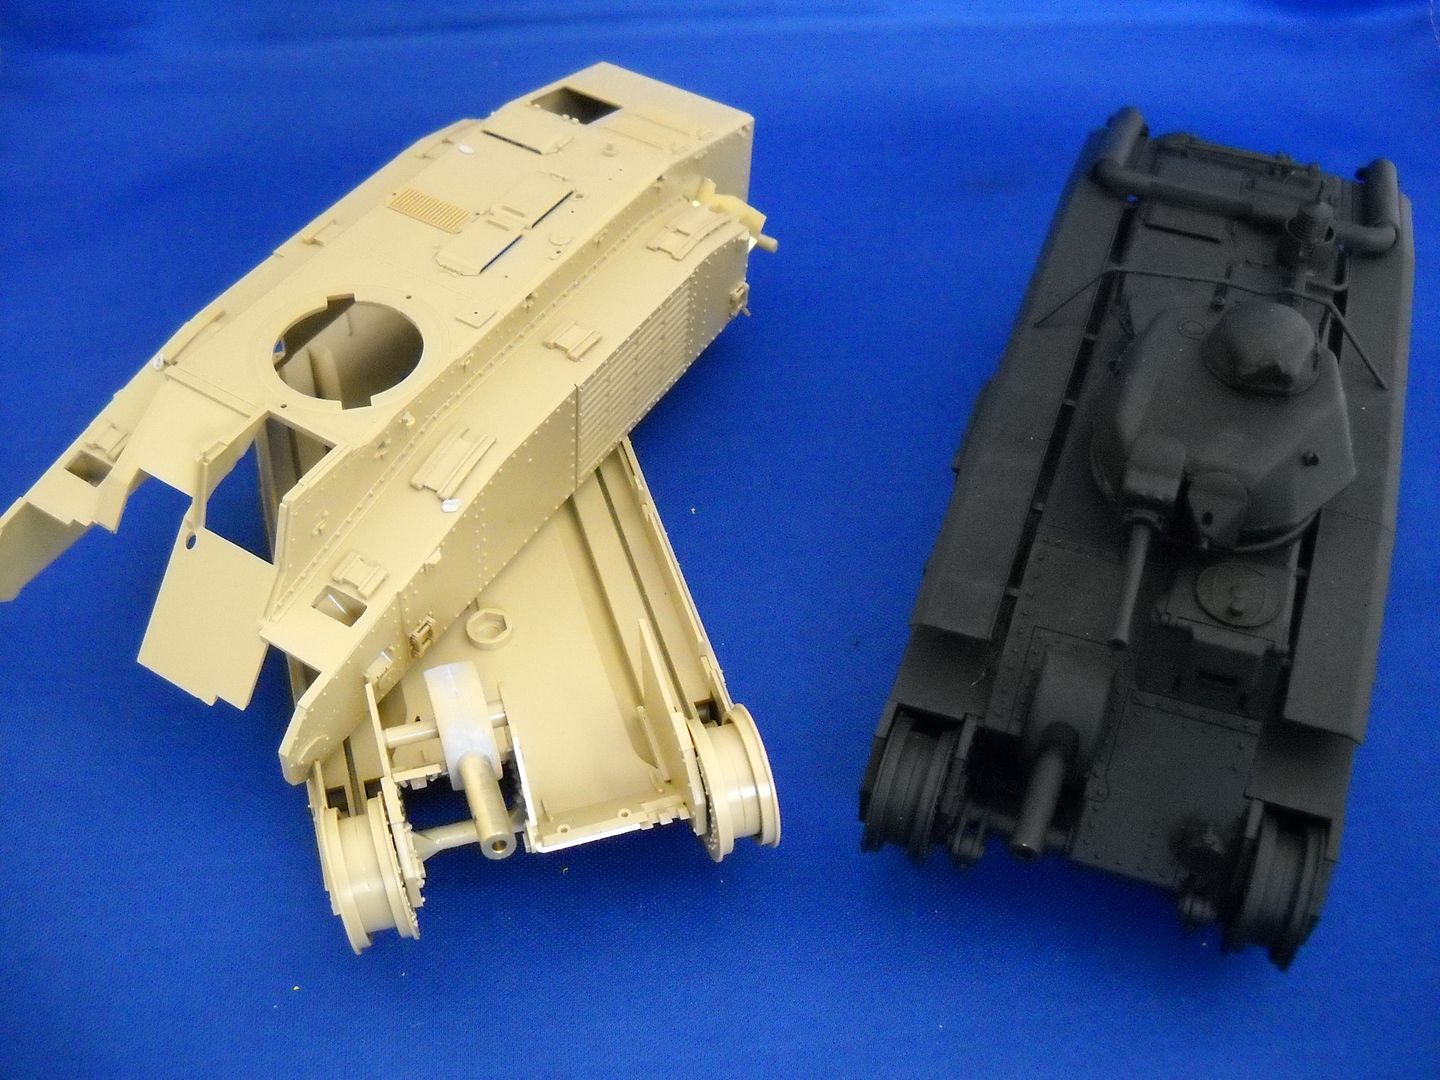
| Our tanks at the end of Stage 1 |
Well that will be it for tonight - I look forward to your comments and to sharing this process!



No comments:
Post a Comment