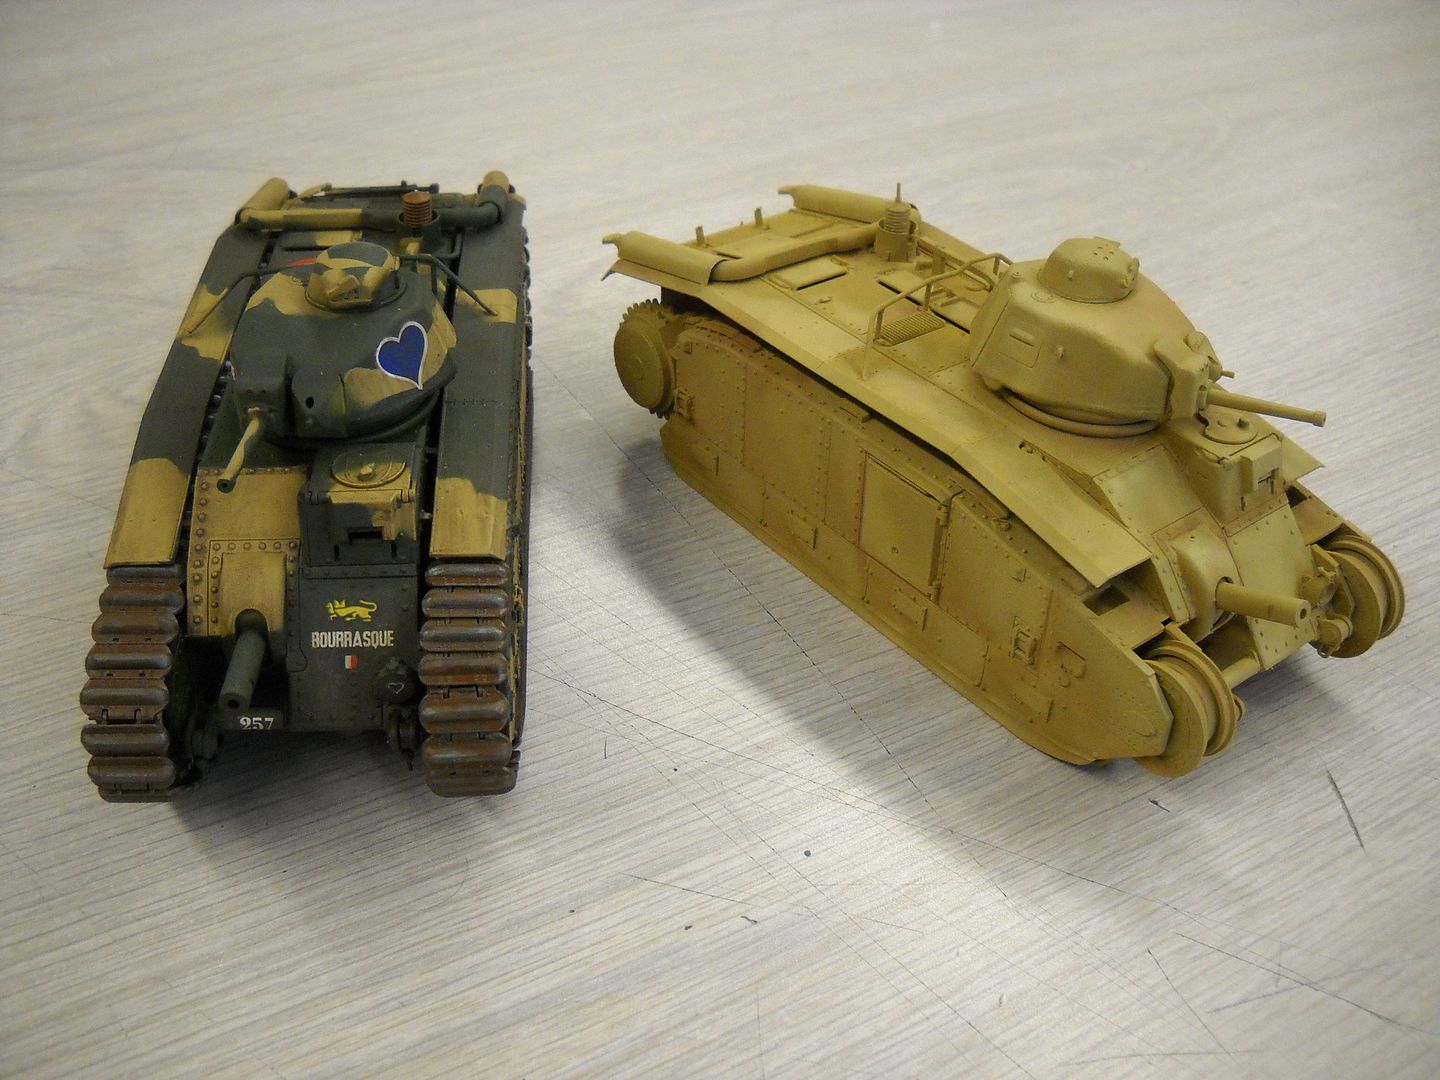
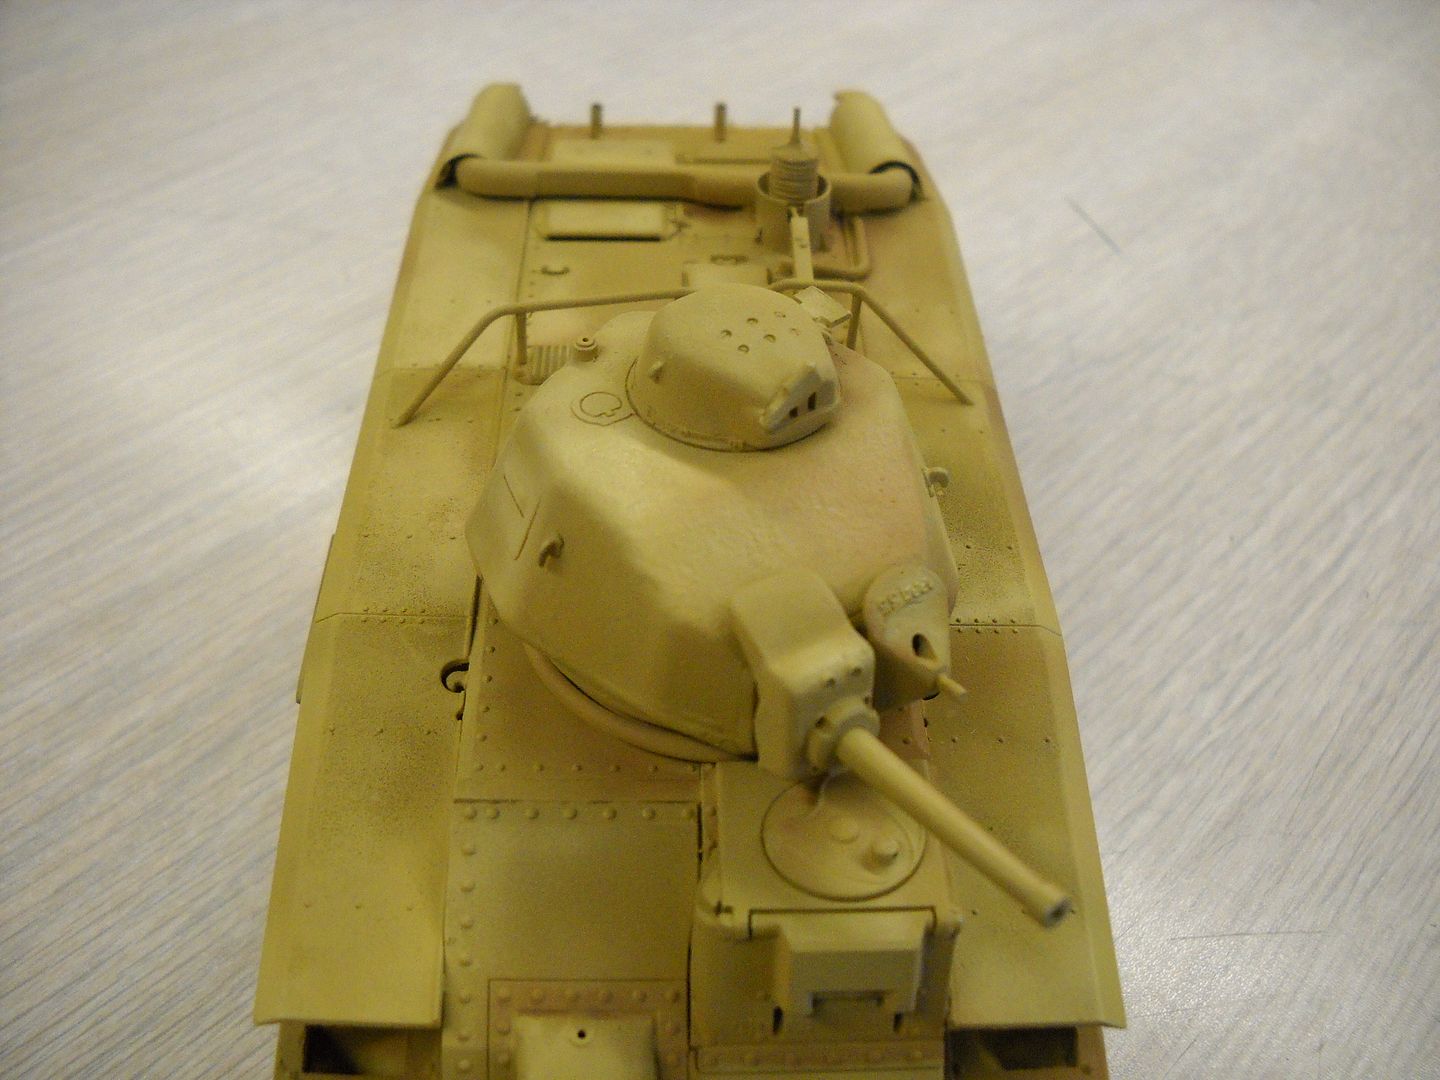
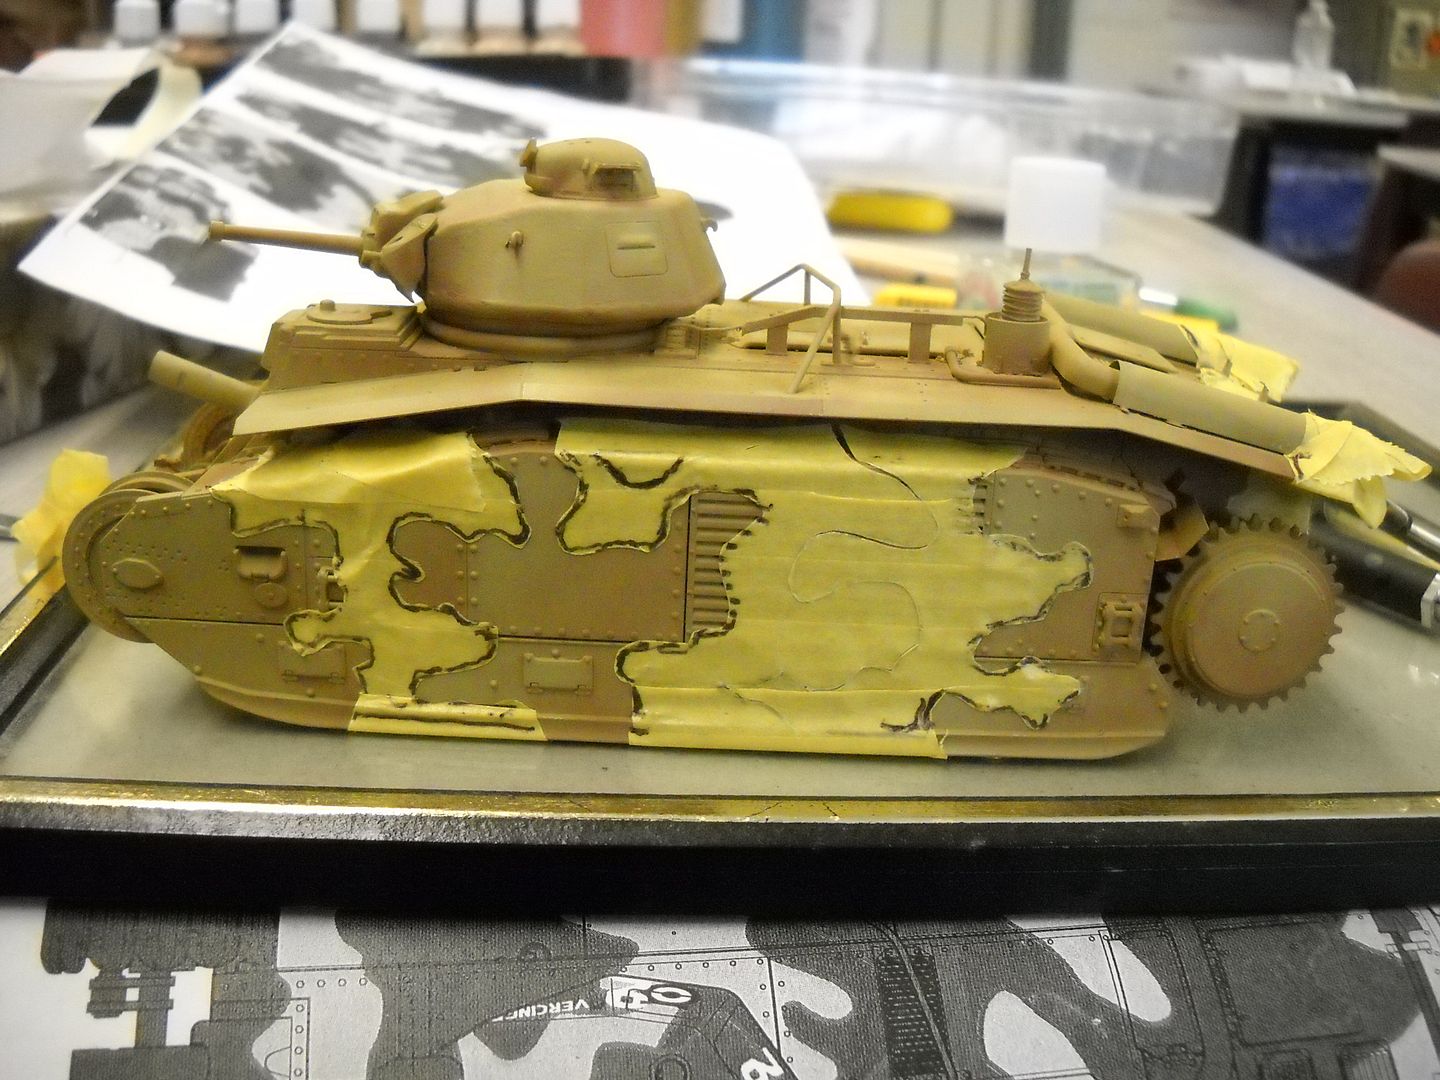
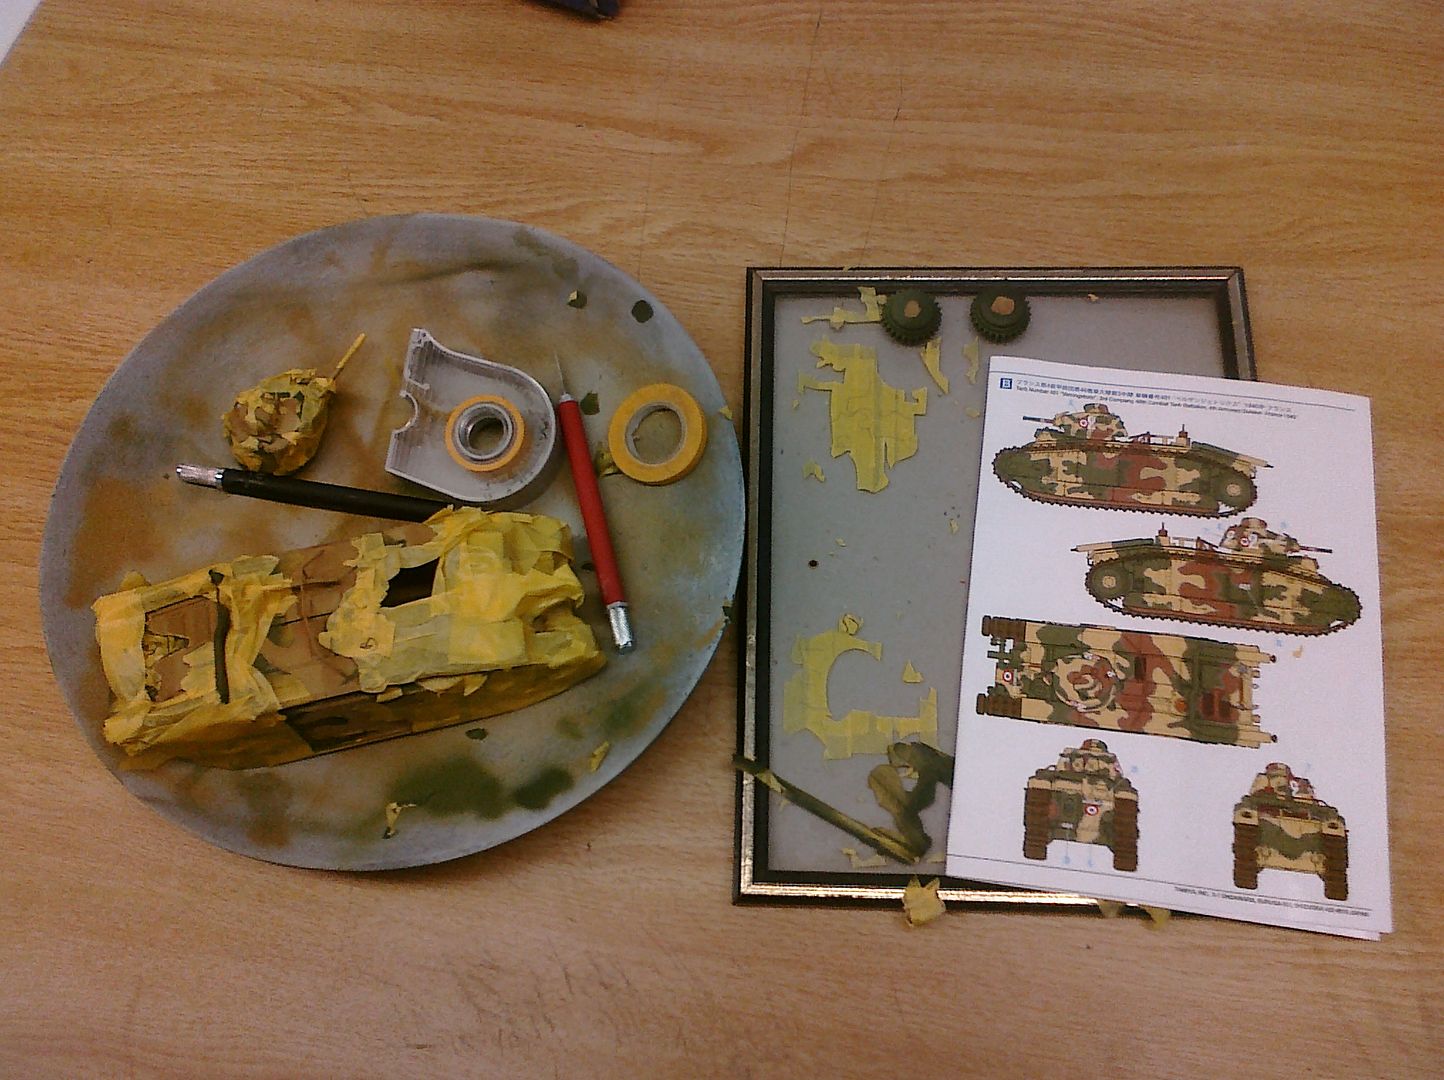
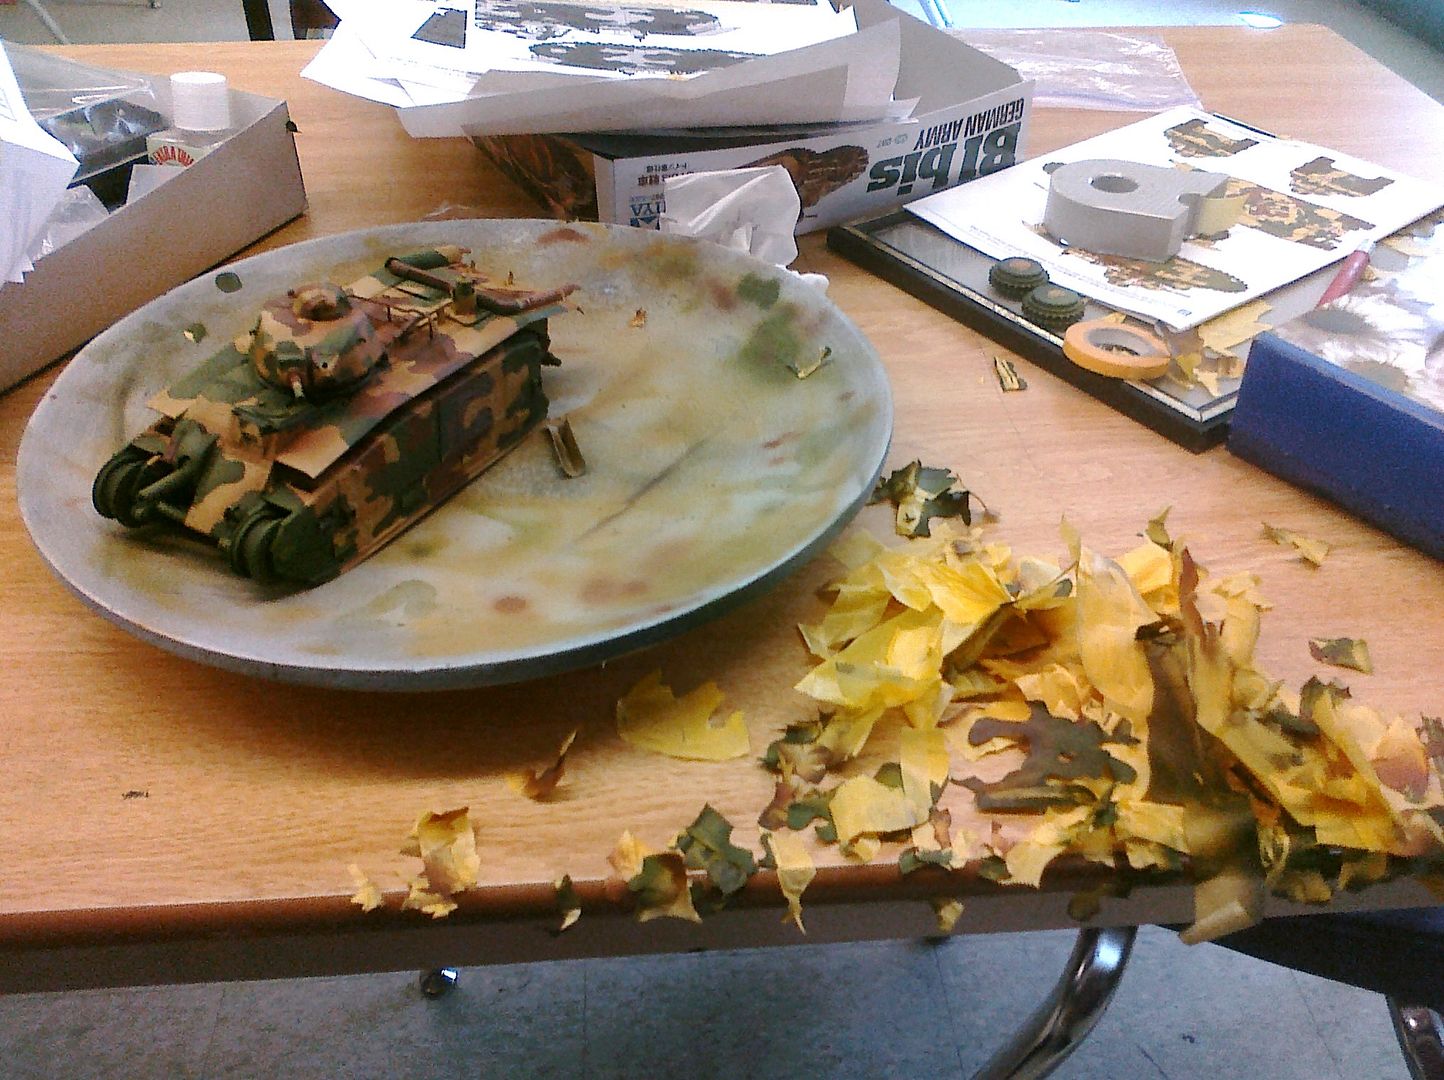
With the basecoat dry and cured over a few days and my initial shadows laid in as a sort of map to work from, I had to figure out how to approach this very complicated 3 colour camo scheme. I decided to copy the diagrams that Tamiya provided up to a 1:1 scale with the model. I grabbed an old glass picture frame that I had and laid out overlapping strips of Tamiya masking tape on it. I then rubbed graphite all over the back of my photocopied design and created a transfer which I applied to the tape with a ballpoint pen. This left me with a 1:1 drawing of the camo scheme on my tape and a WHOLE lot of cutting and placing to do! I started with the segments that would be kept the tan base coat that had already been applied.
I was extra careful to ensure that I had good adhesion as these masks would be staying in place throughout the remaining painting. I then began to lay in the masks for the brown sections as well as I decided that green would be the first colour sprayed. Once my masks were in place I mixed a Tamiya Green and began to lay in
with the spraying. Because of the Lacquer thinner and fine atomisation the paint dries REALLY quick. So I was able to lay in the base green all around and then remix my basecoat with some black green for shadowing and then a lighter tone for highlighting & panel differenitation. This was given a weekend to cure fully and then remasked - filling in the green zones and uncovering the ones that were to become brown.
with the spraying. Because of the Lacquer thinner and fine atomisation the paint dries REALLY quick. So I was able to lay in the base green all around and then remix my basecoat with some black green for shadowing and then a lighter tone for highlighting & panel differenitation. This was given a weekend to cure fully and then remasked - filling in the green zones and uncovering the ones that were to become brown.
The brown was primarily the same red brown colour that I had used to shade the tan basecoat as I thought this would give greater unity to the whole piece. I deepened the colour with touches of Vallejo SS camo black brown and actually just left thinner coats over the tan base as my primary highlight as I really liked the unified and slightly weathered look it allowed. Once this had been given time to dry I was SUPER excited and more than a little afraid to remove all the masks and see how I had done....
!!!!It was AWESOME!!!!
As much as I wish I had taken some better photos at this stage, I can say without hesitation that I was thrilled with the finish! The whole model looked amazing. The lighting was subtle and convincing, the variation in the panels was really interesting and following my initial basecoat shading, I had successfully matched shadows and highlights from one zone to the next with minimal need to retouch!
Now I just have to wait for my insignia decals to arrive in the mail from France and I will be ready to move forward! In the meantime I am going to start posting some of my other work: Golden Demon Entries, Warmachine, my current gaming table scenery, and finally (for those who have been emailing me and asking) More BEASTMEN! Hot diggity Dang lots of good stuff to come soon!







No comments:
Post a Comment